mutantC_V4 All the info you need to make one
New Features in mutantC_V4
mutantC_V4 is successor of mutantC_V3 with more features.
This improves big parts and brings new improvements like .
- Now have a Lite version that needs even less parts and easy to build.
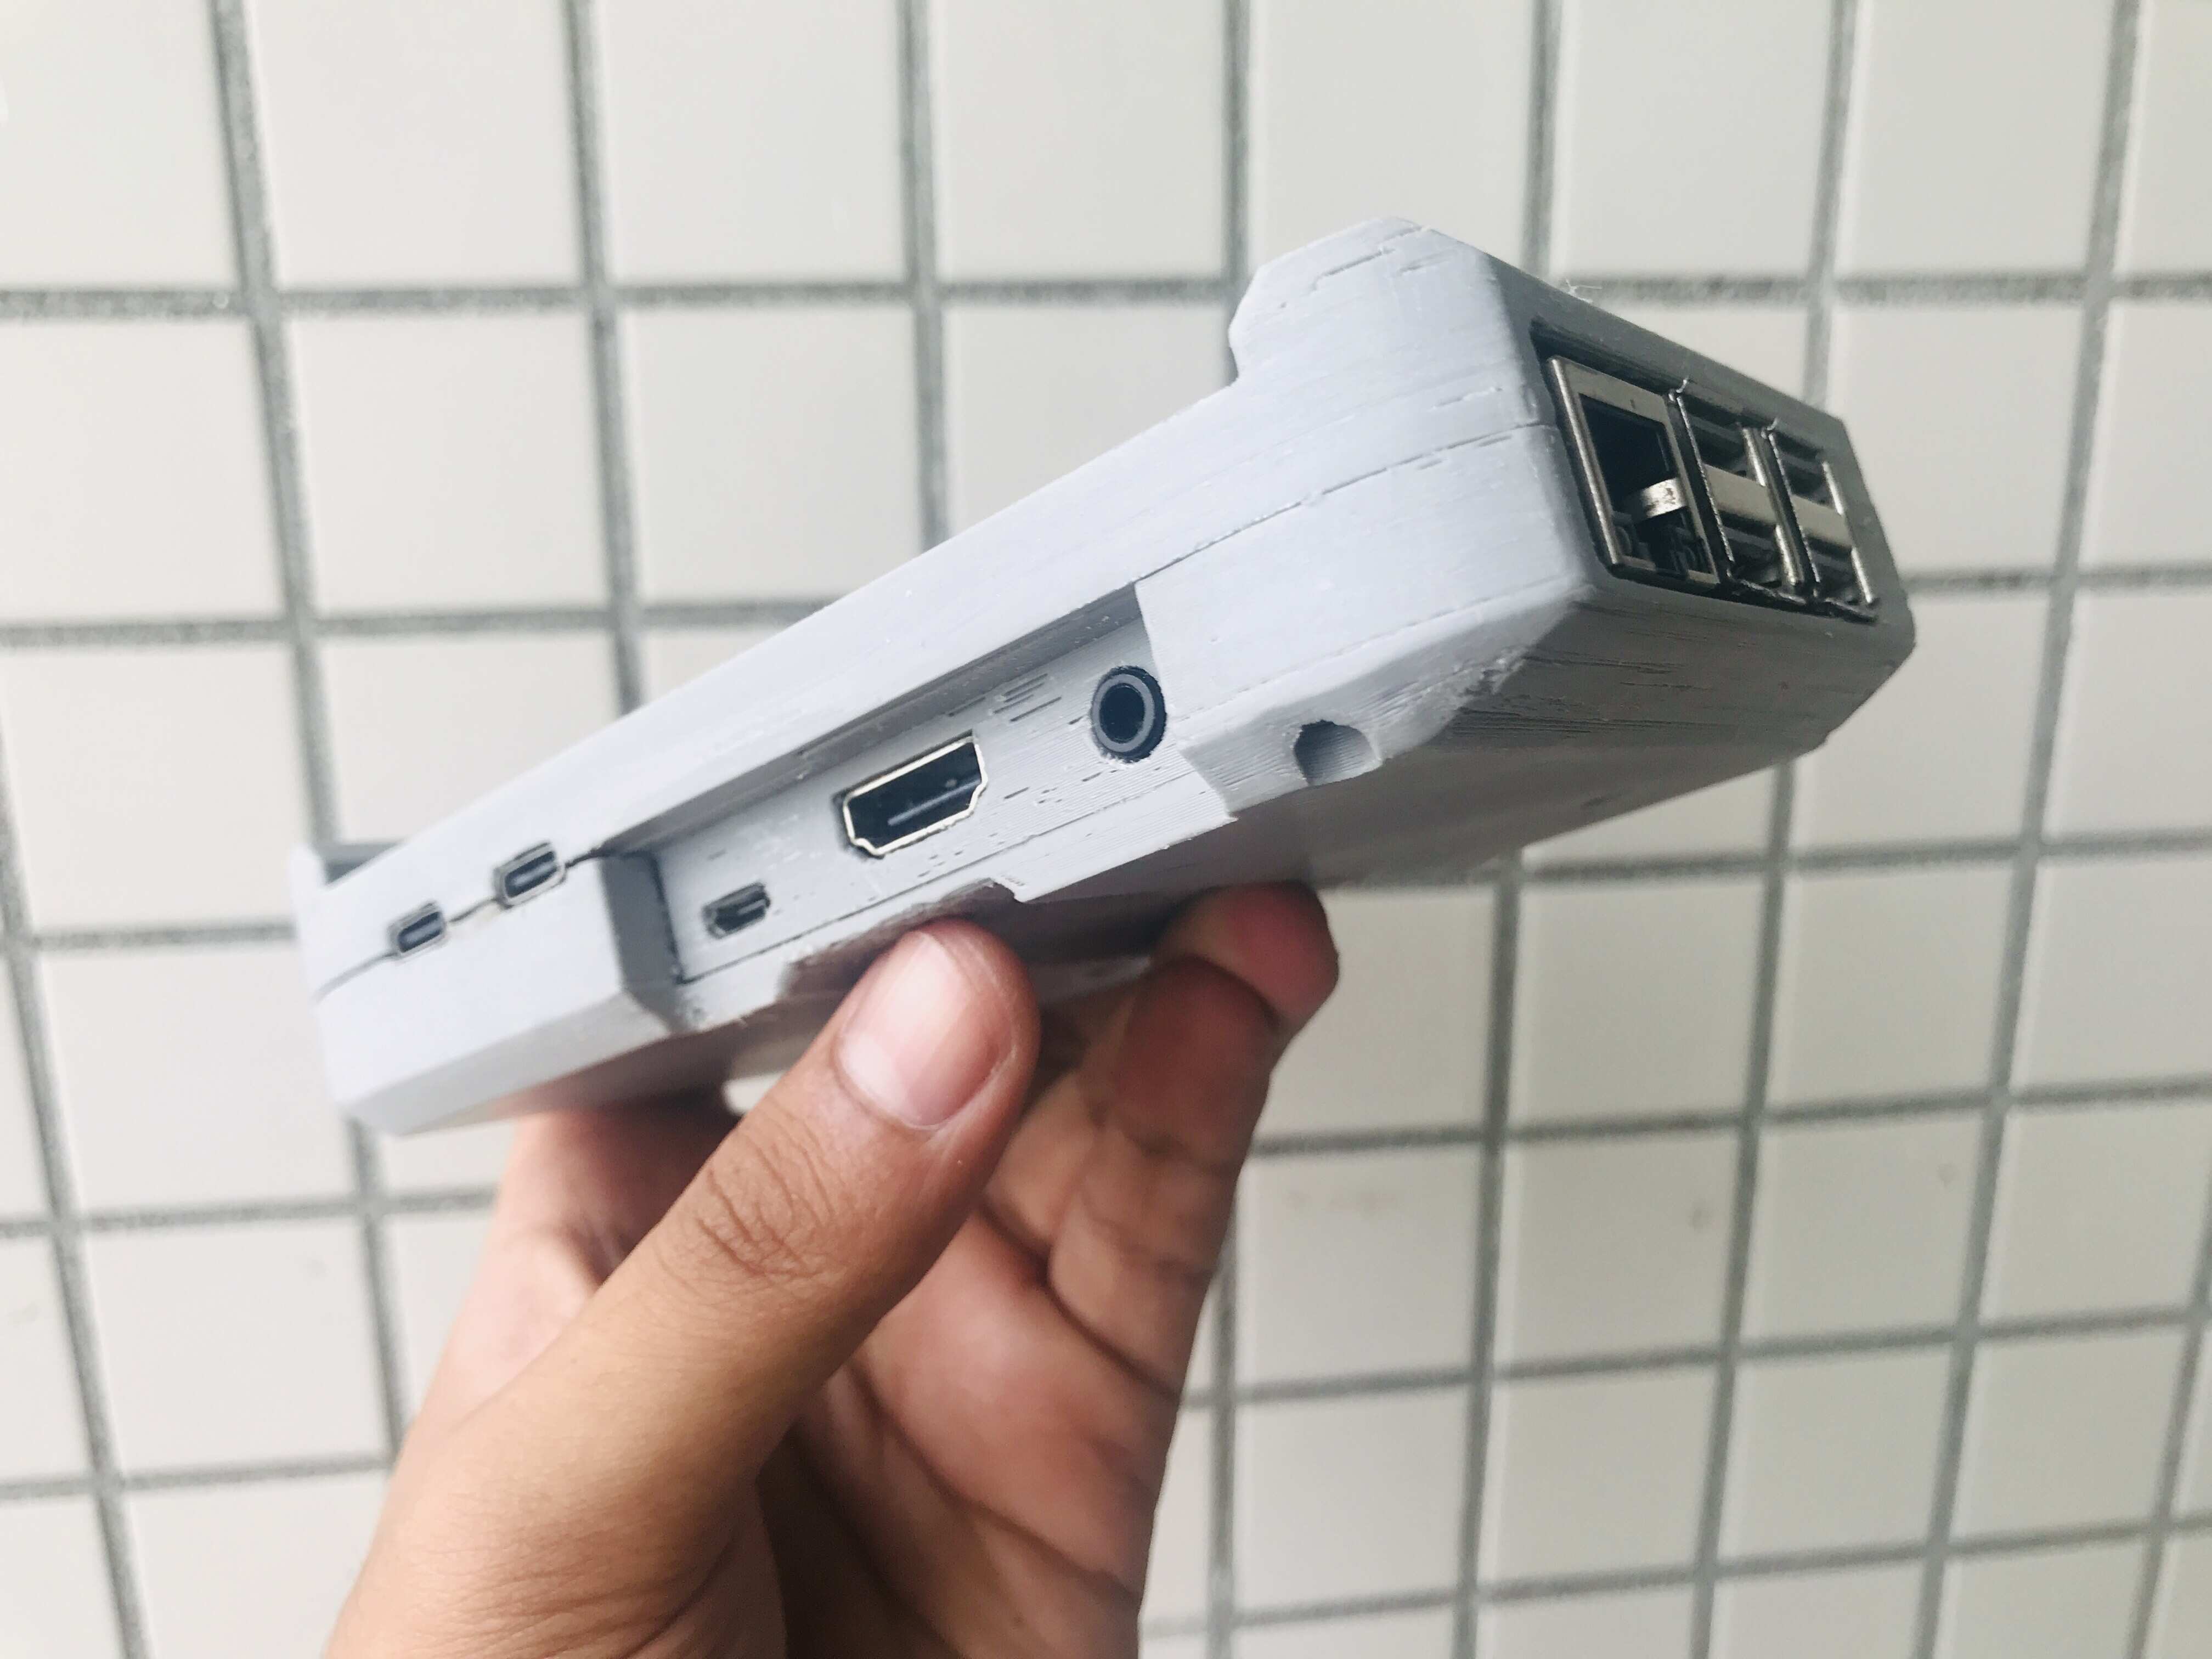
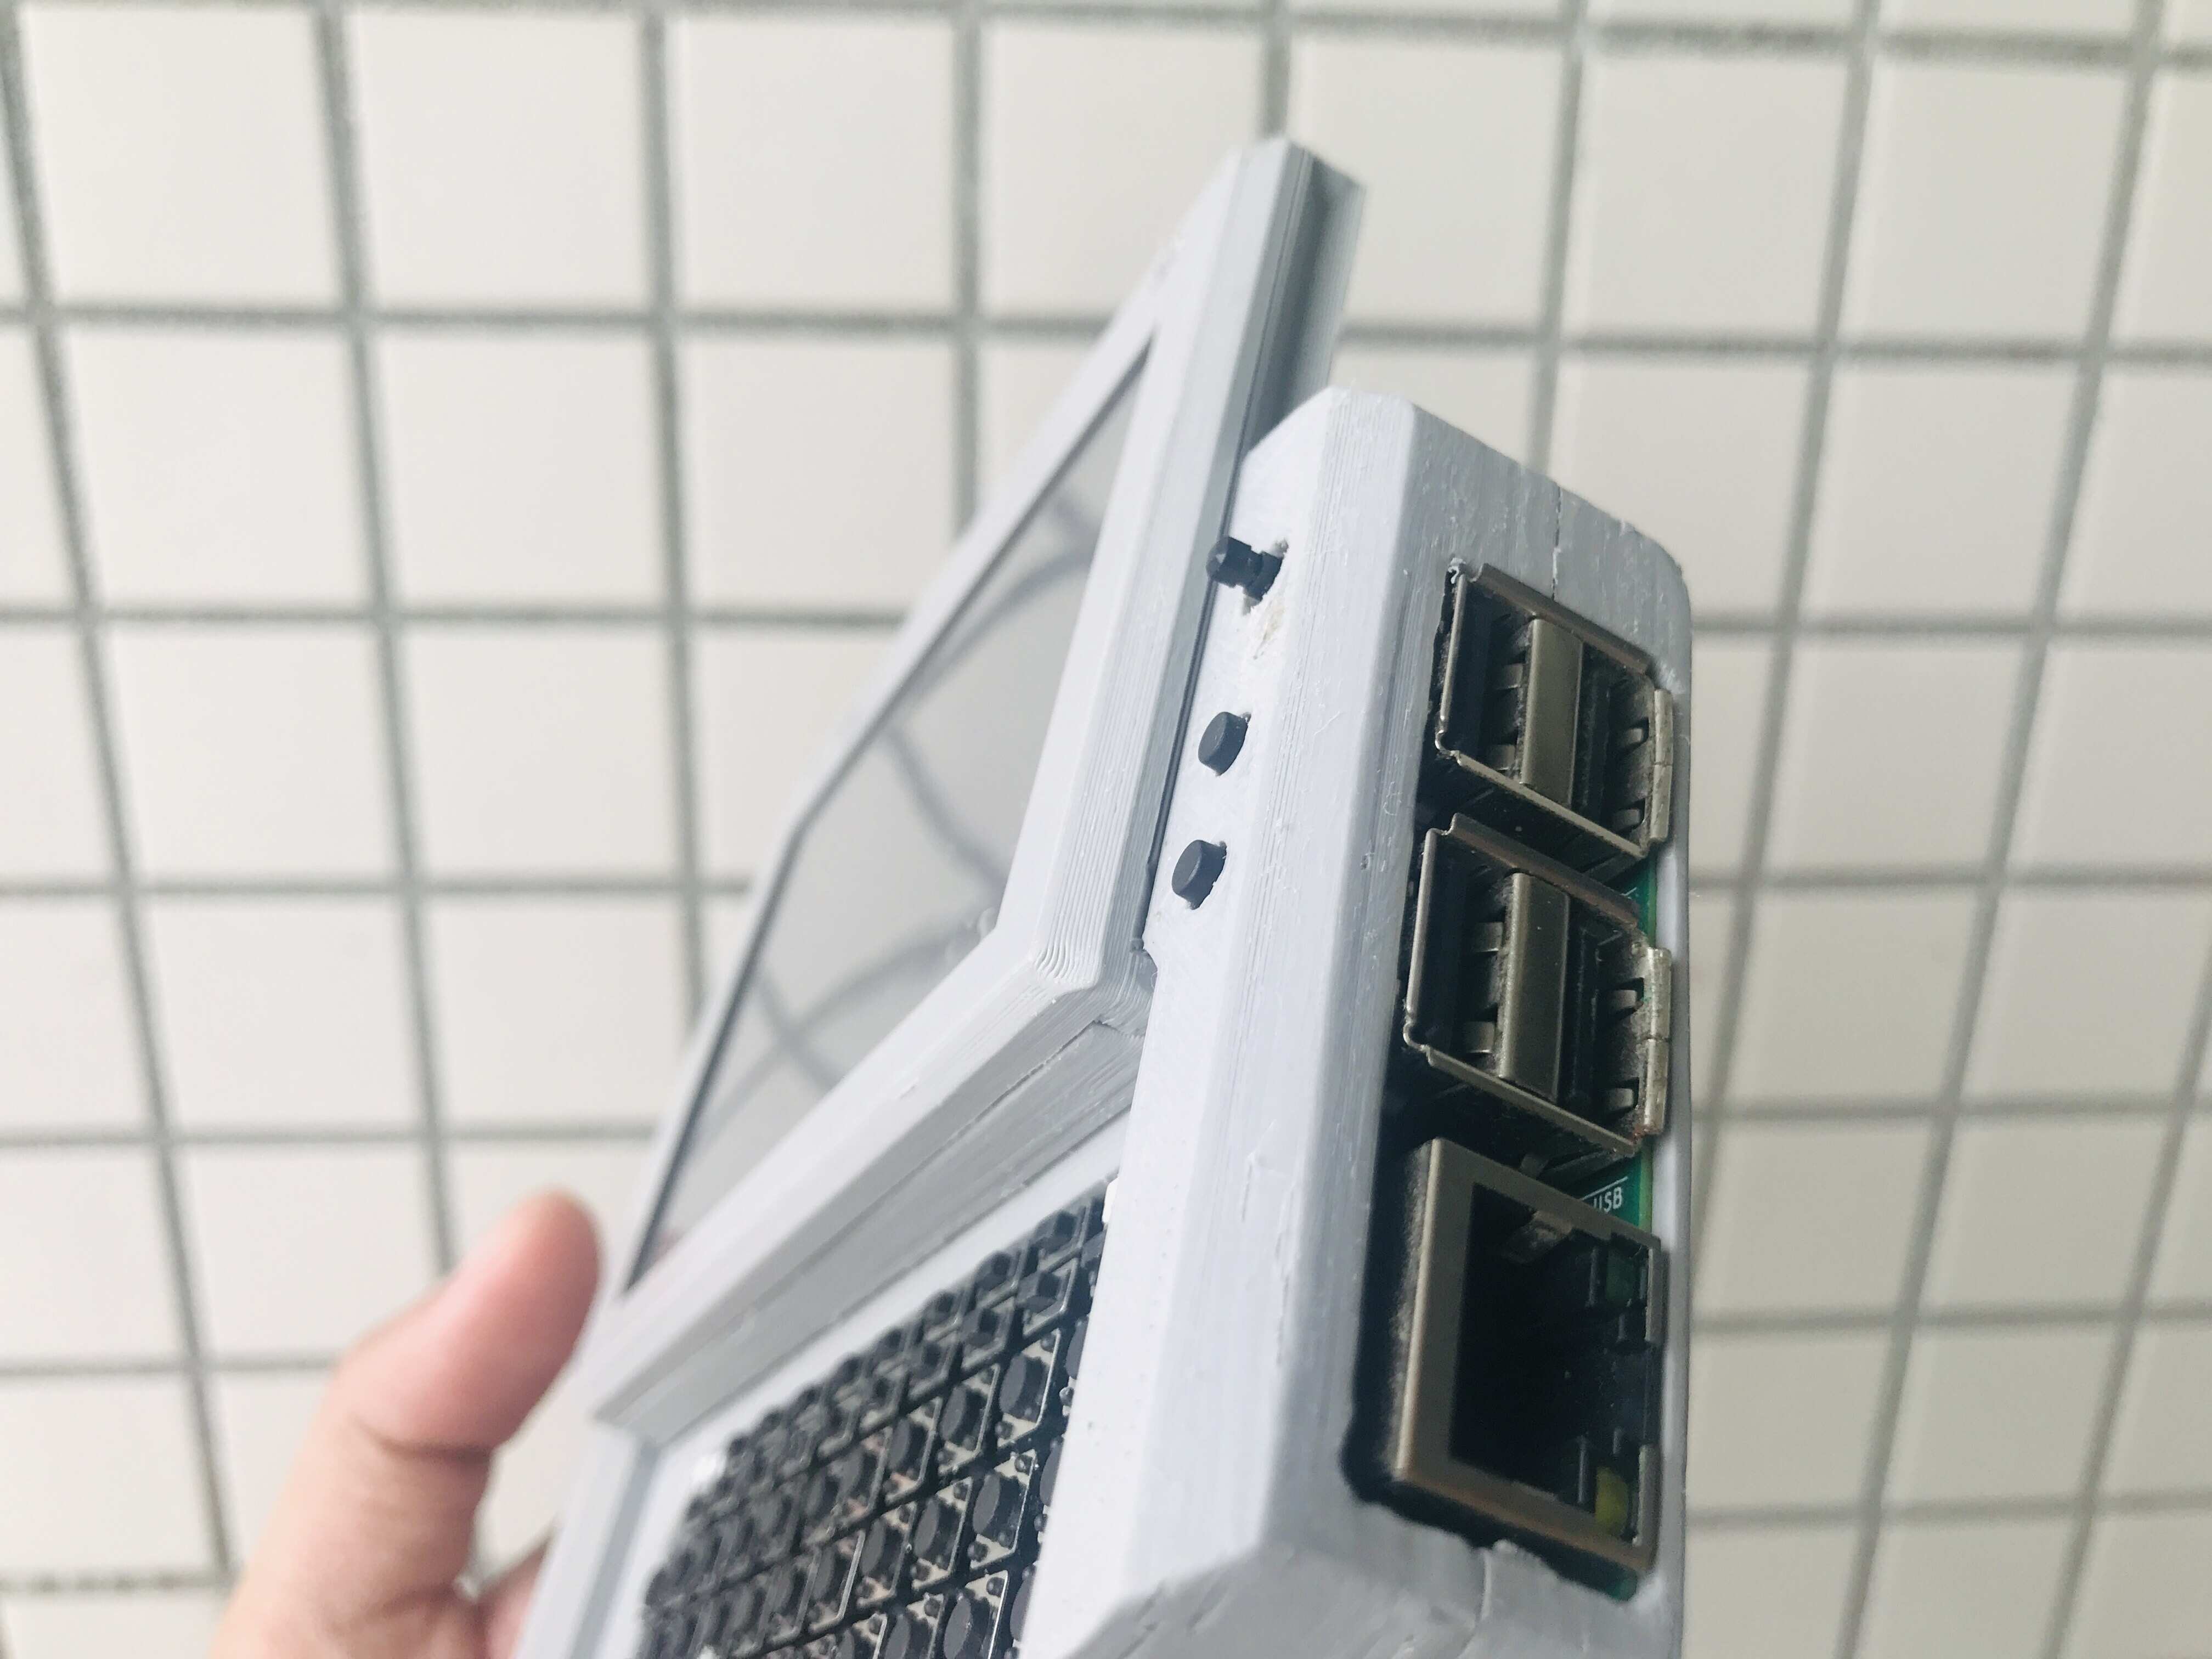
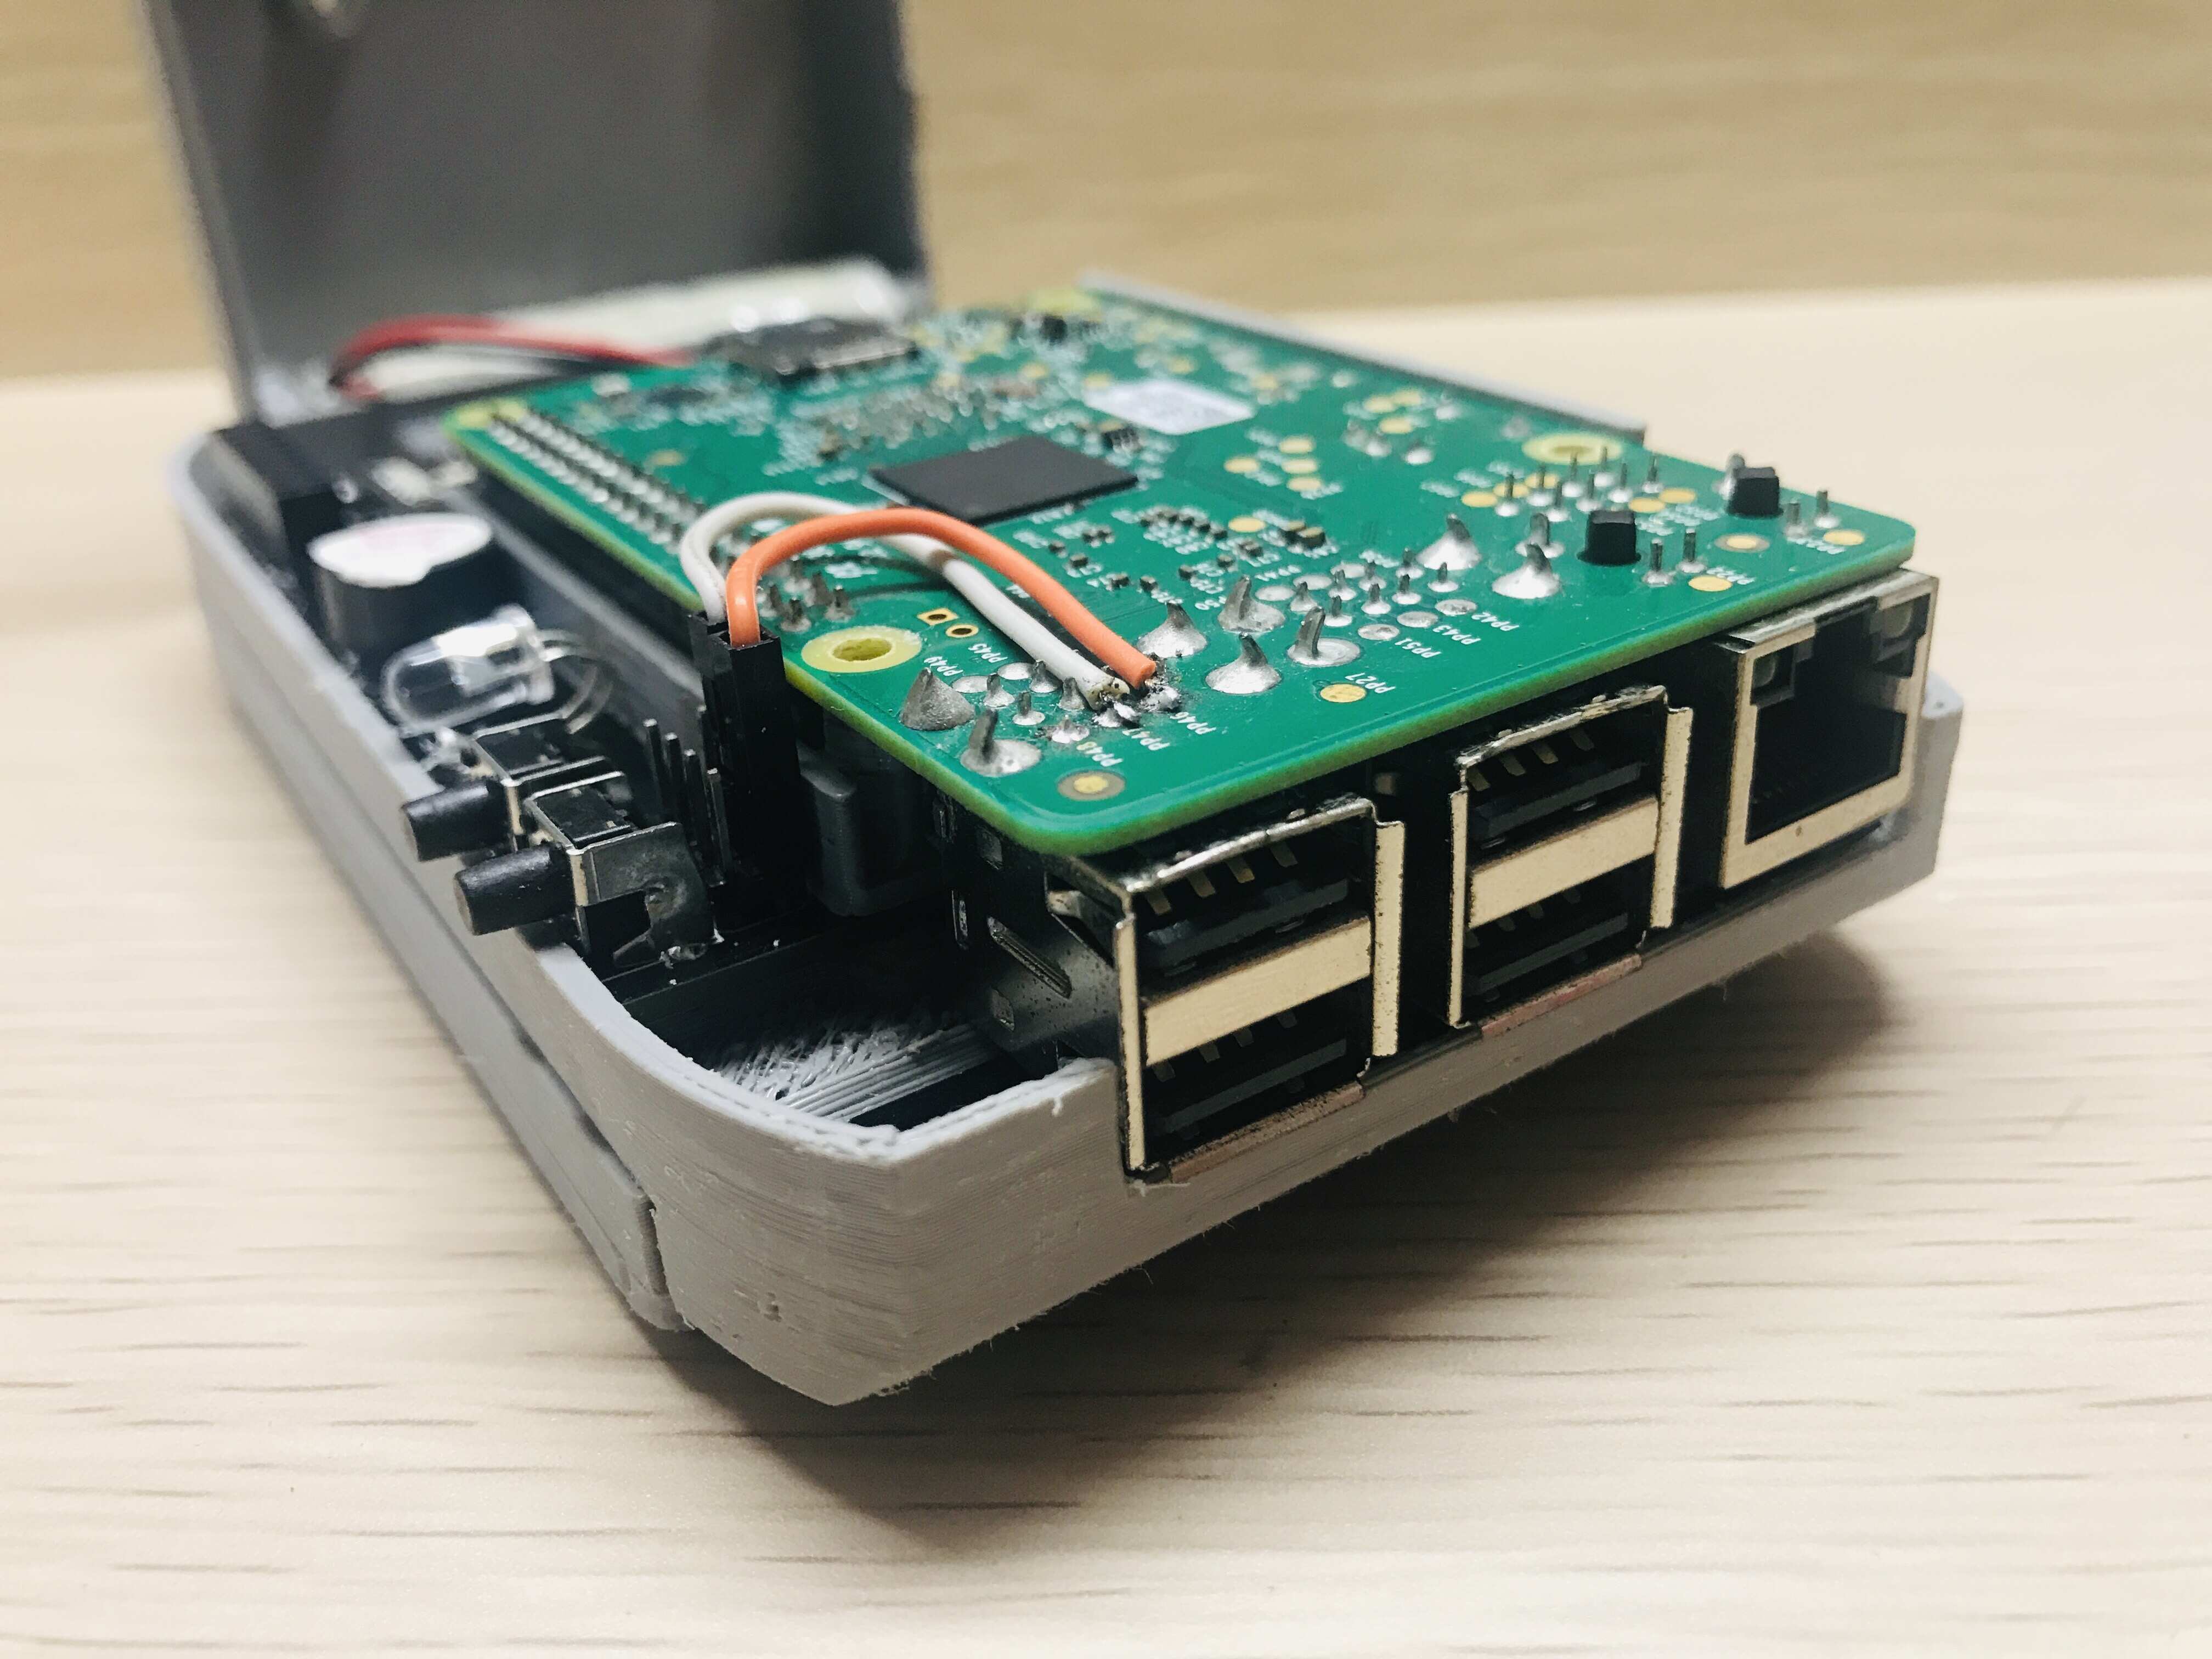
- Has native Serial and Ethernet port.
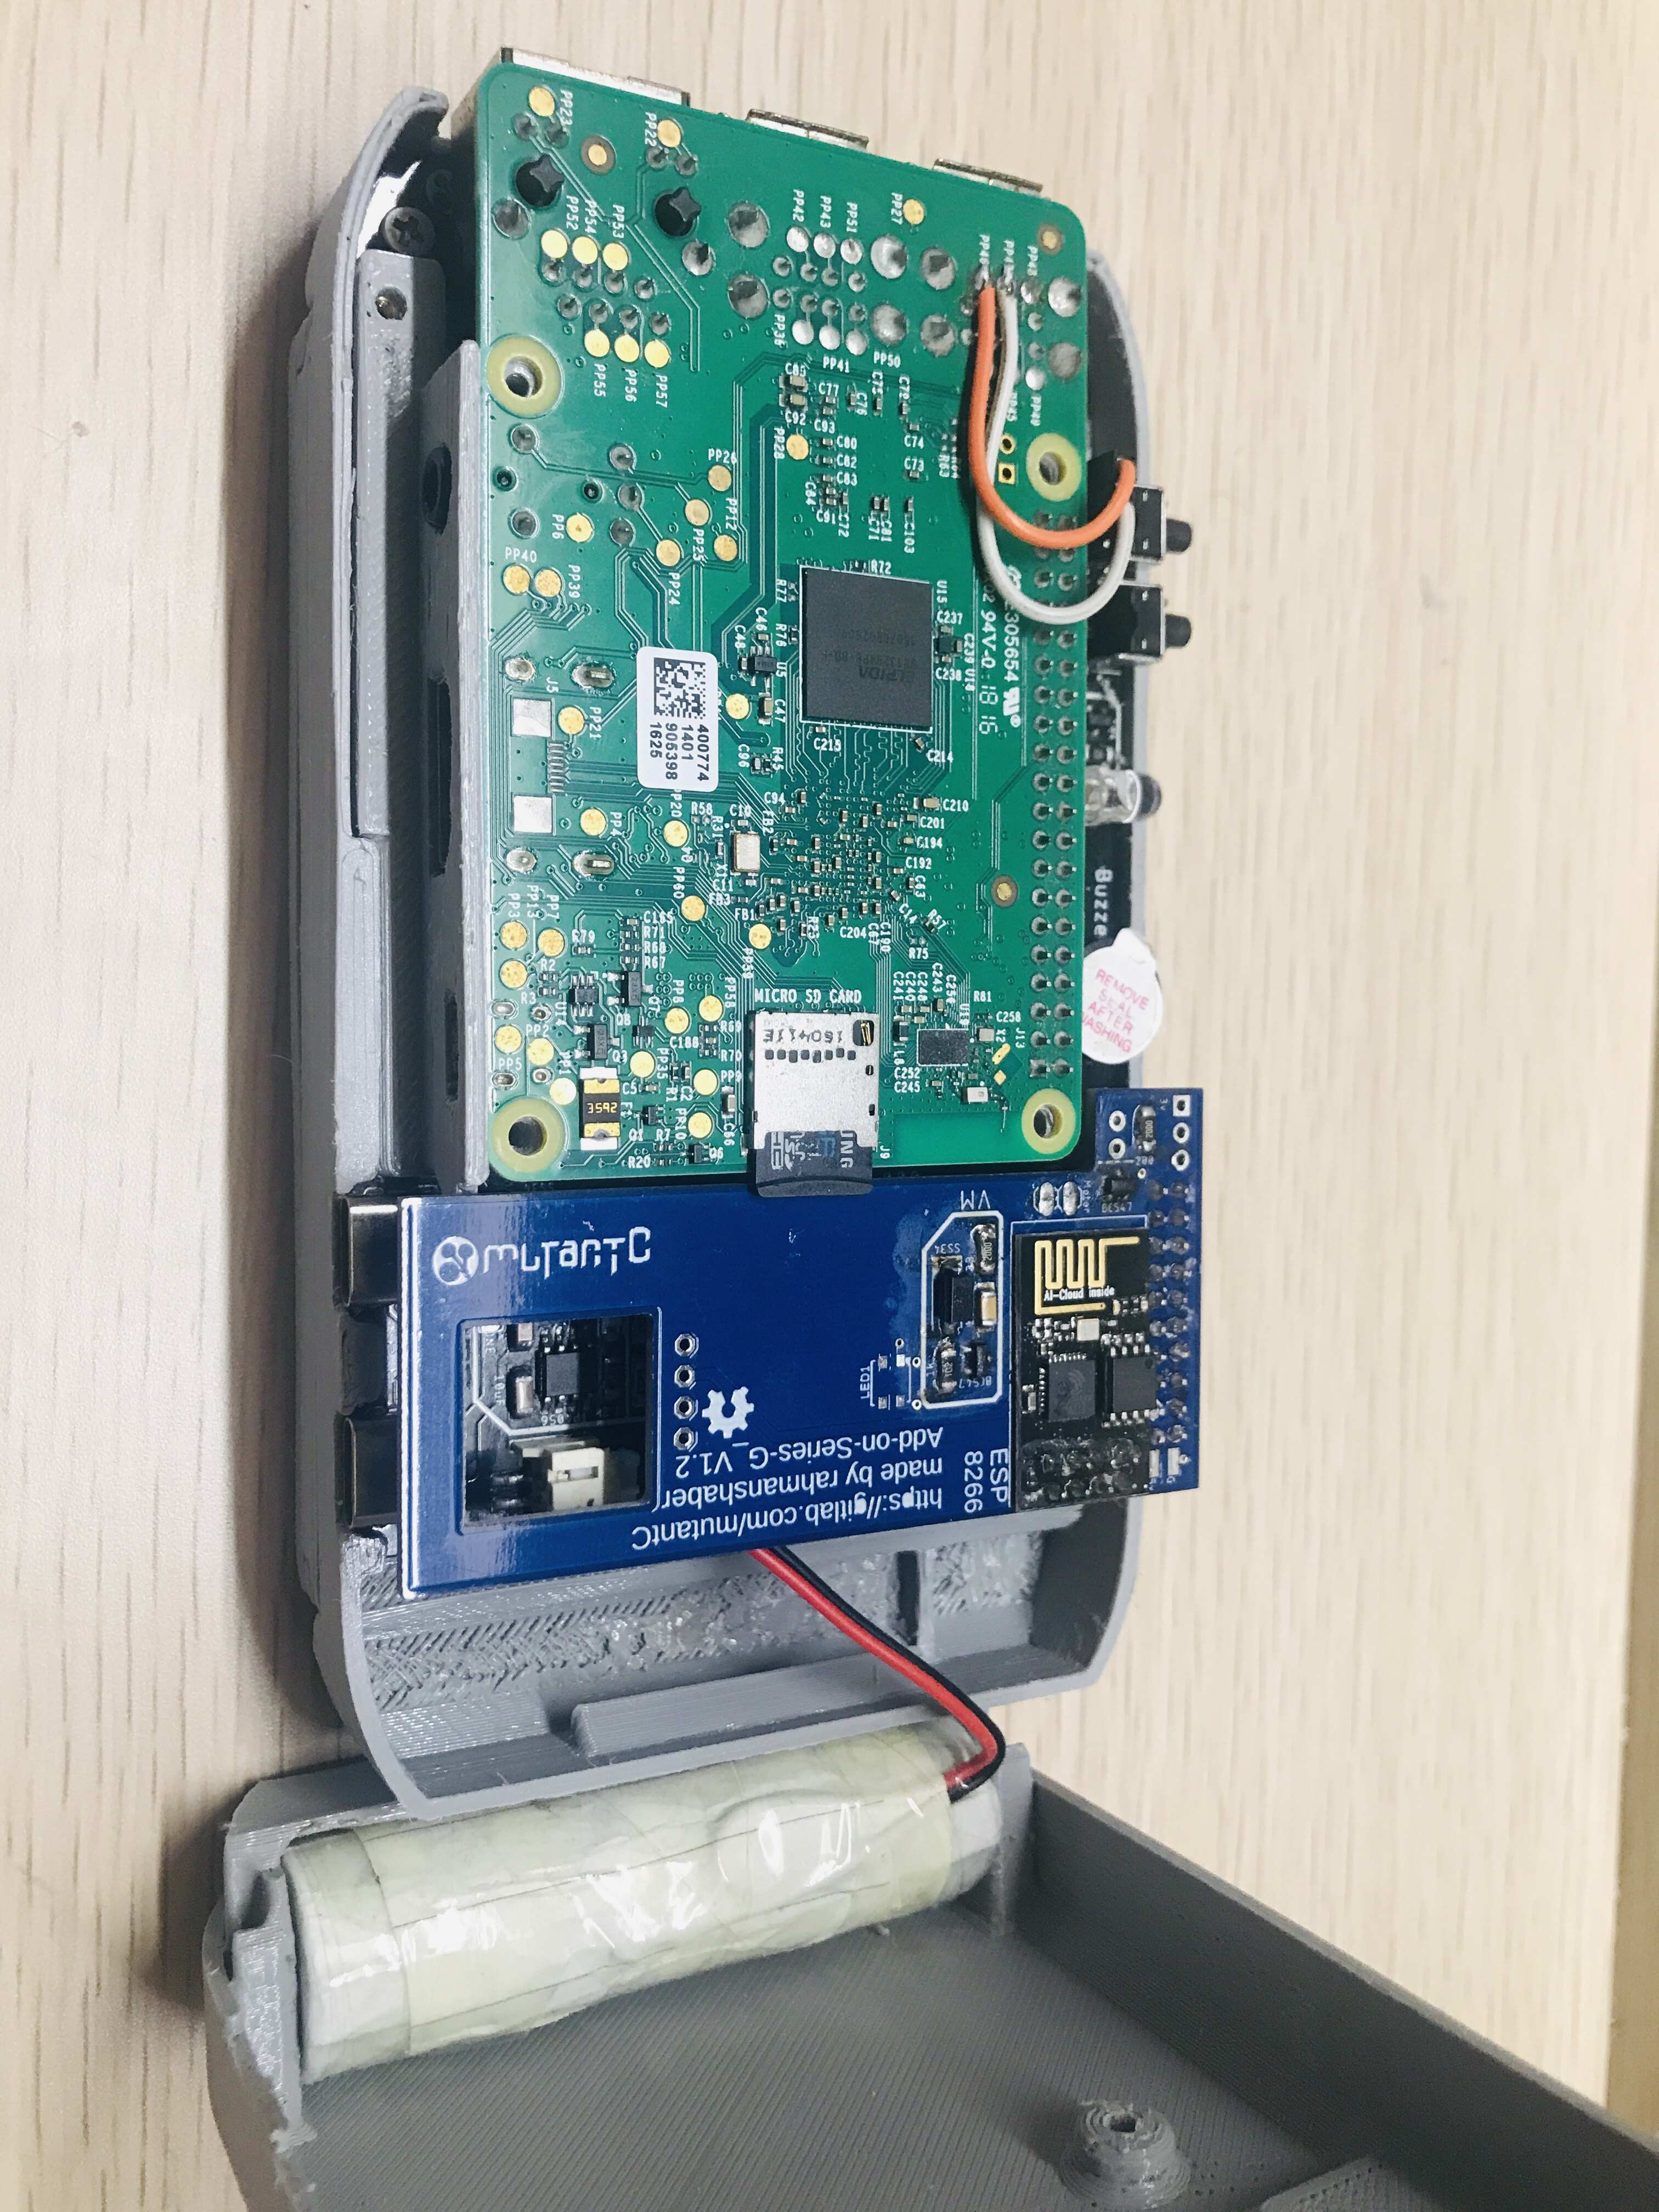
- Now uses ESP32-S2, so easy to solder and less loss wire.
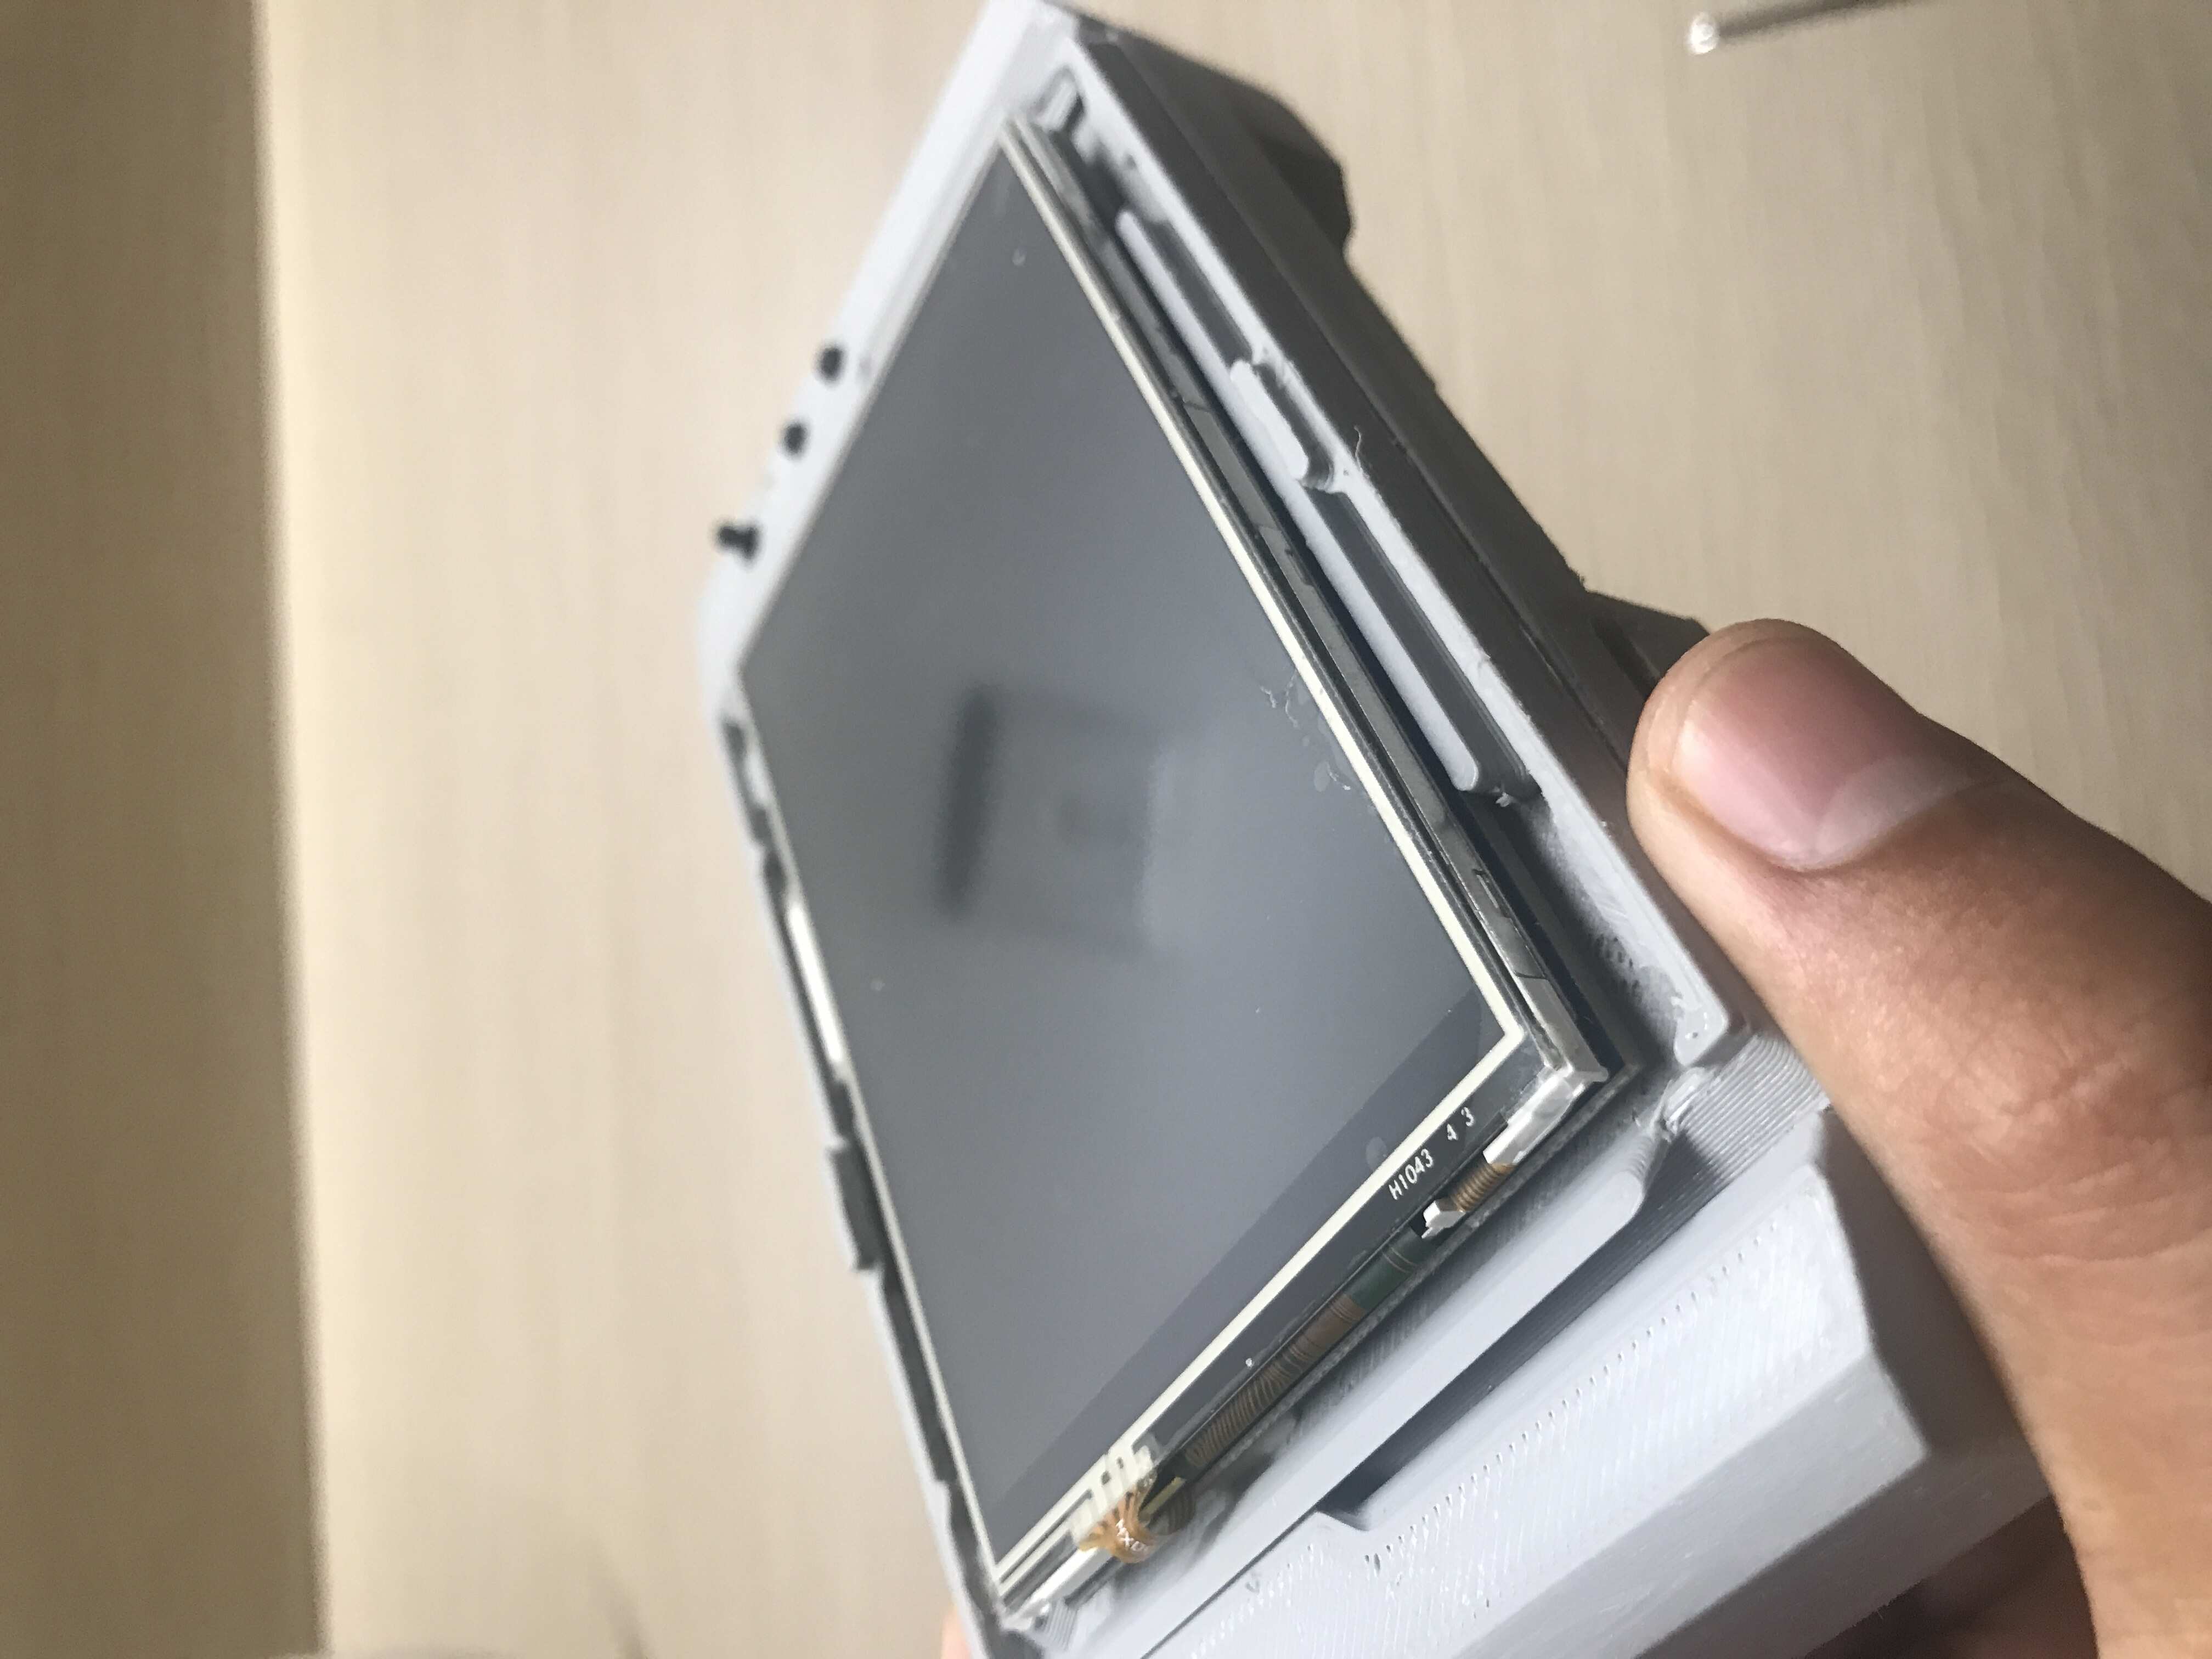
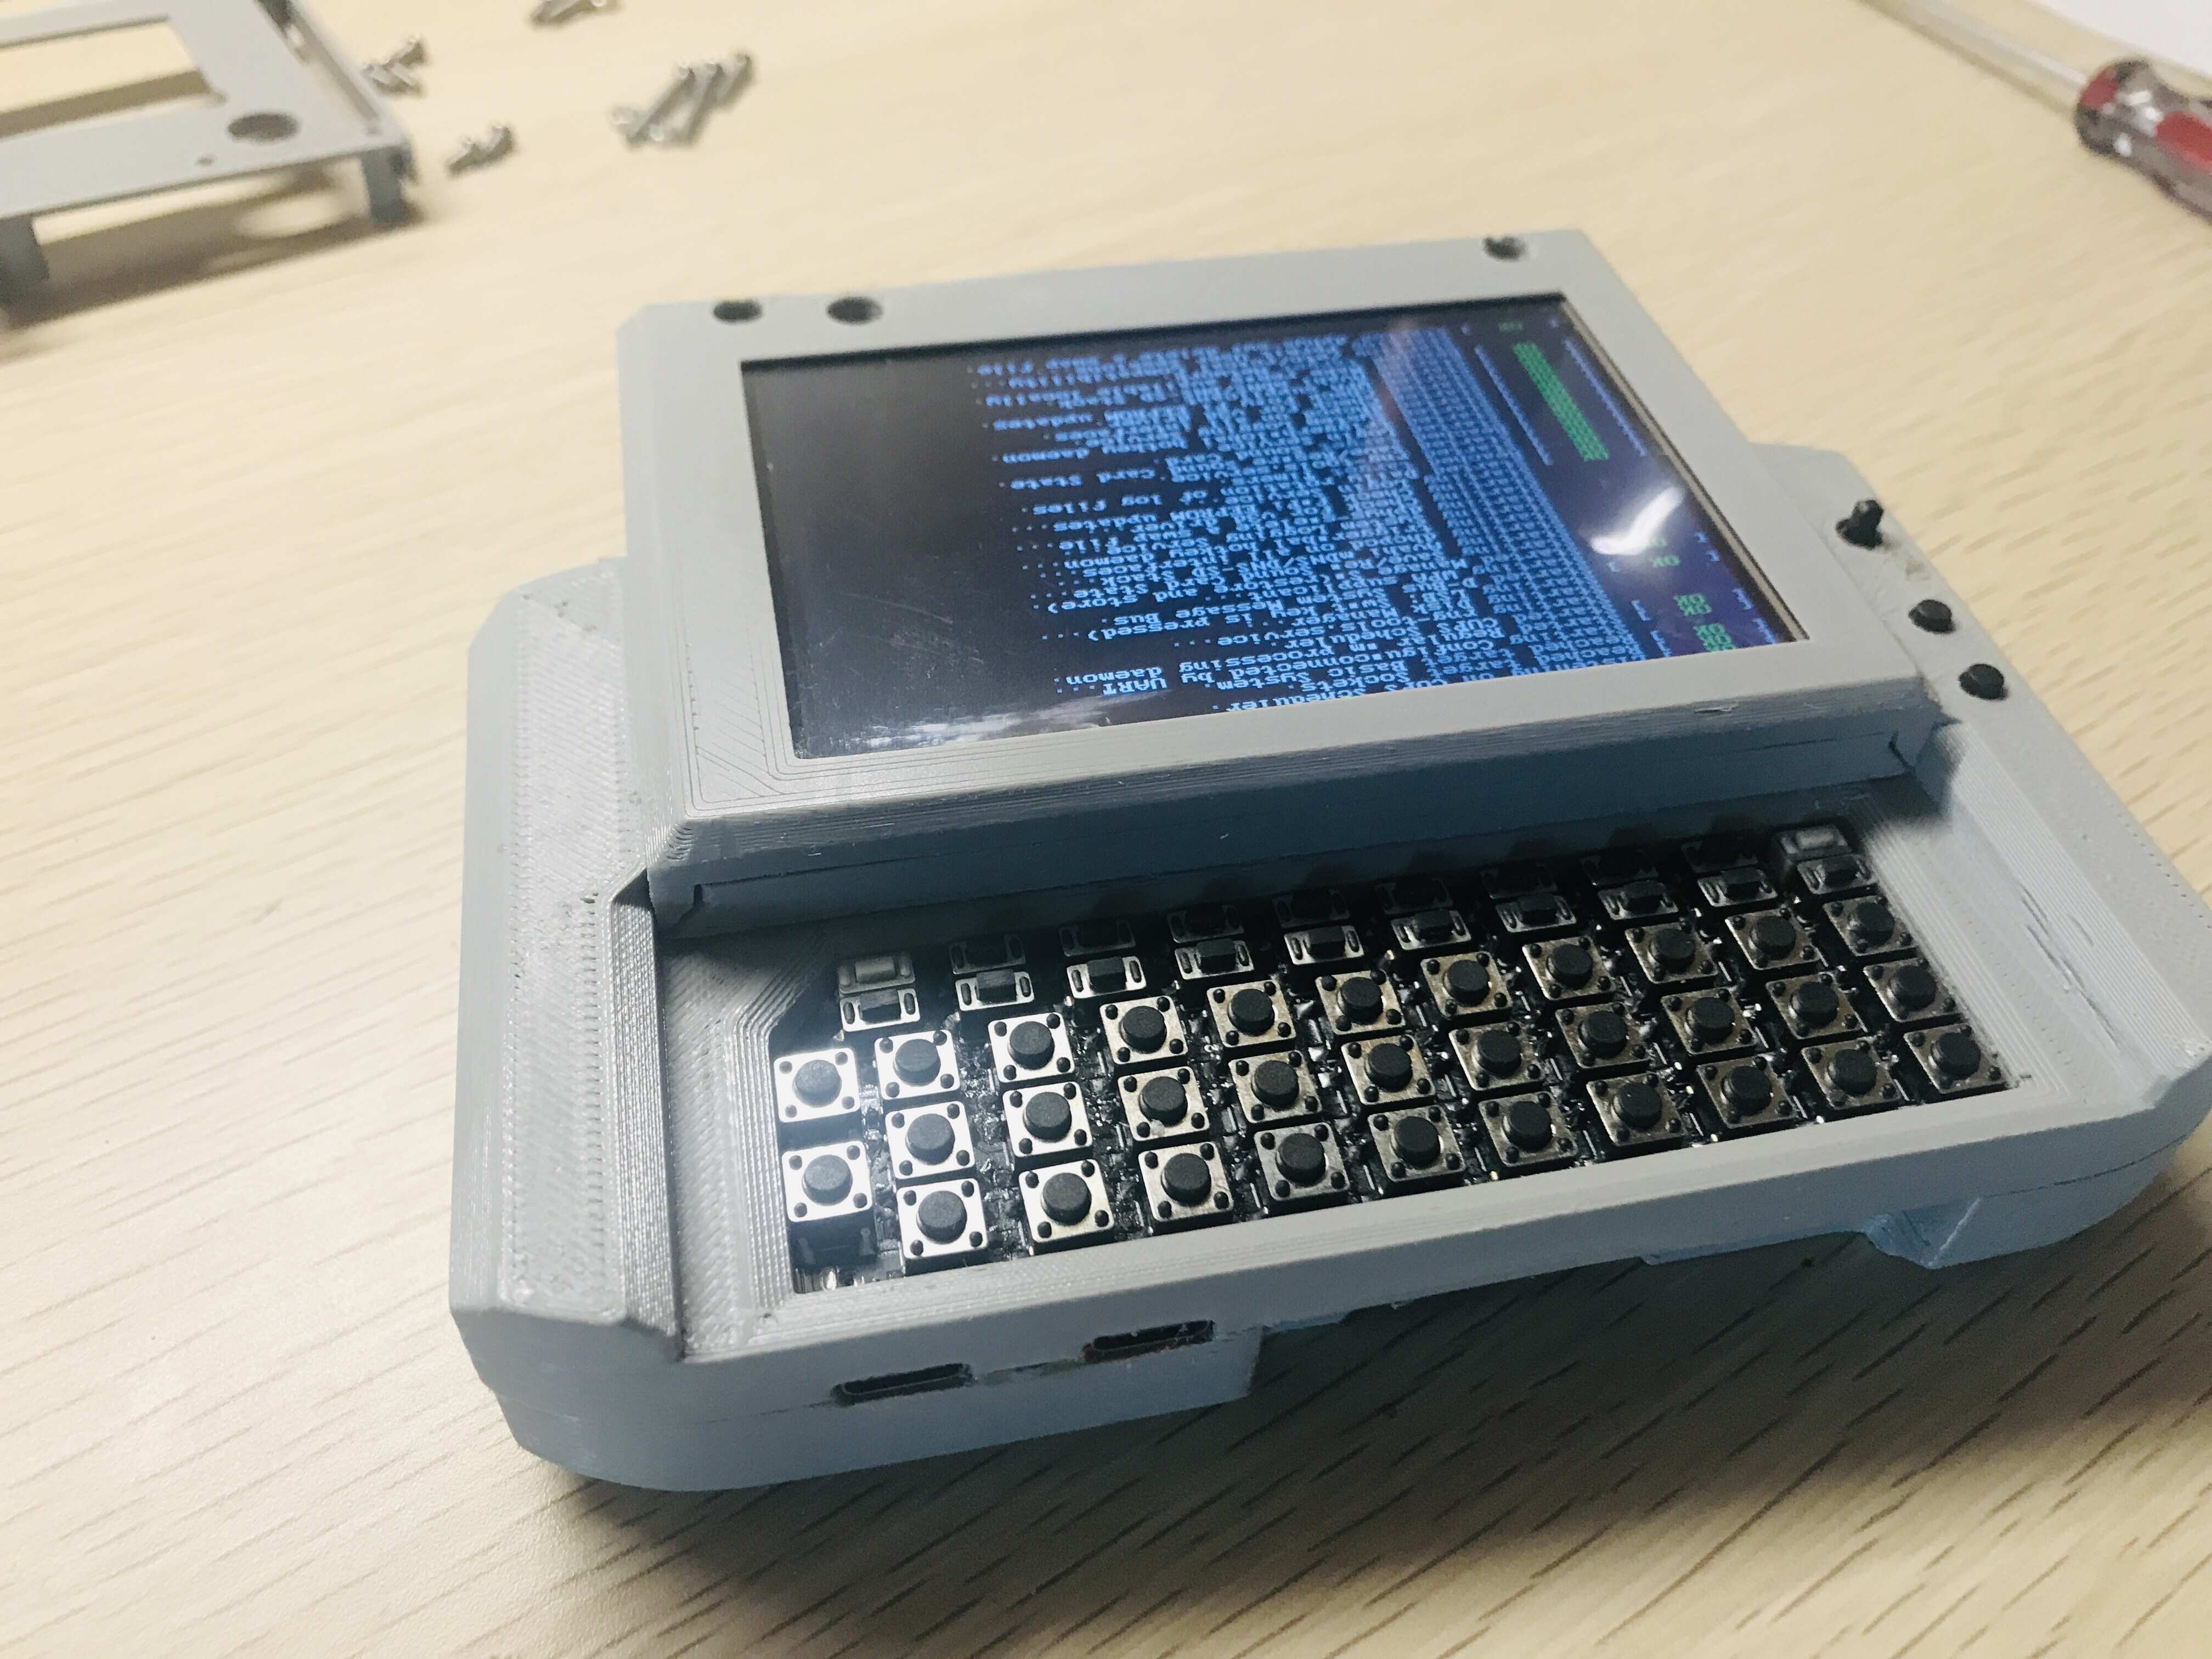
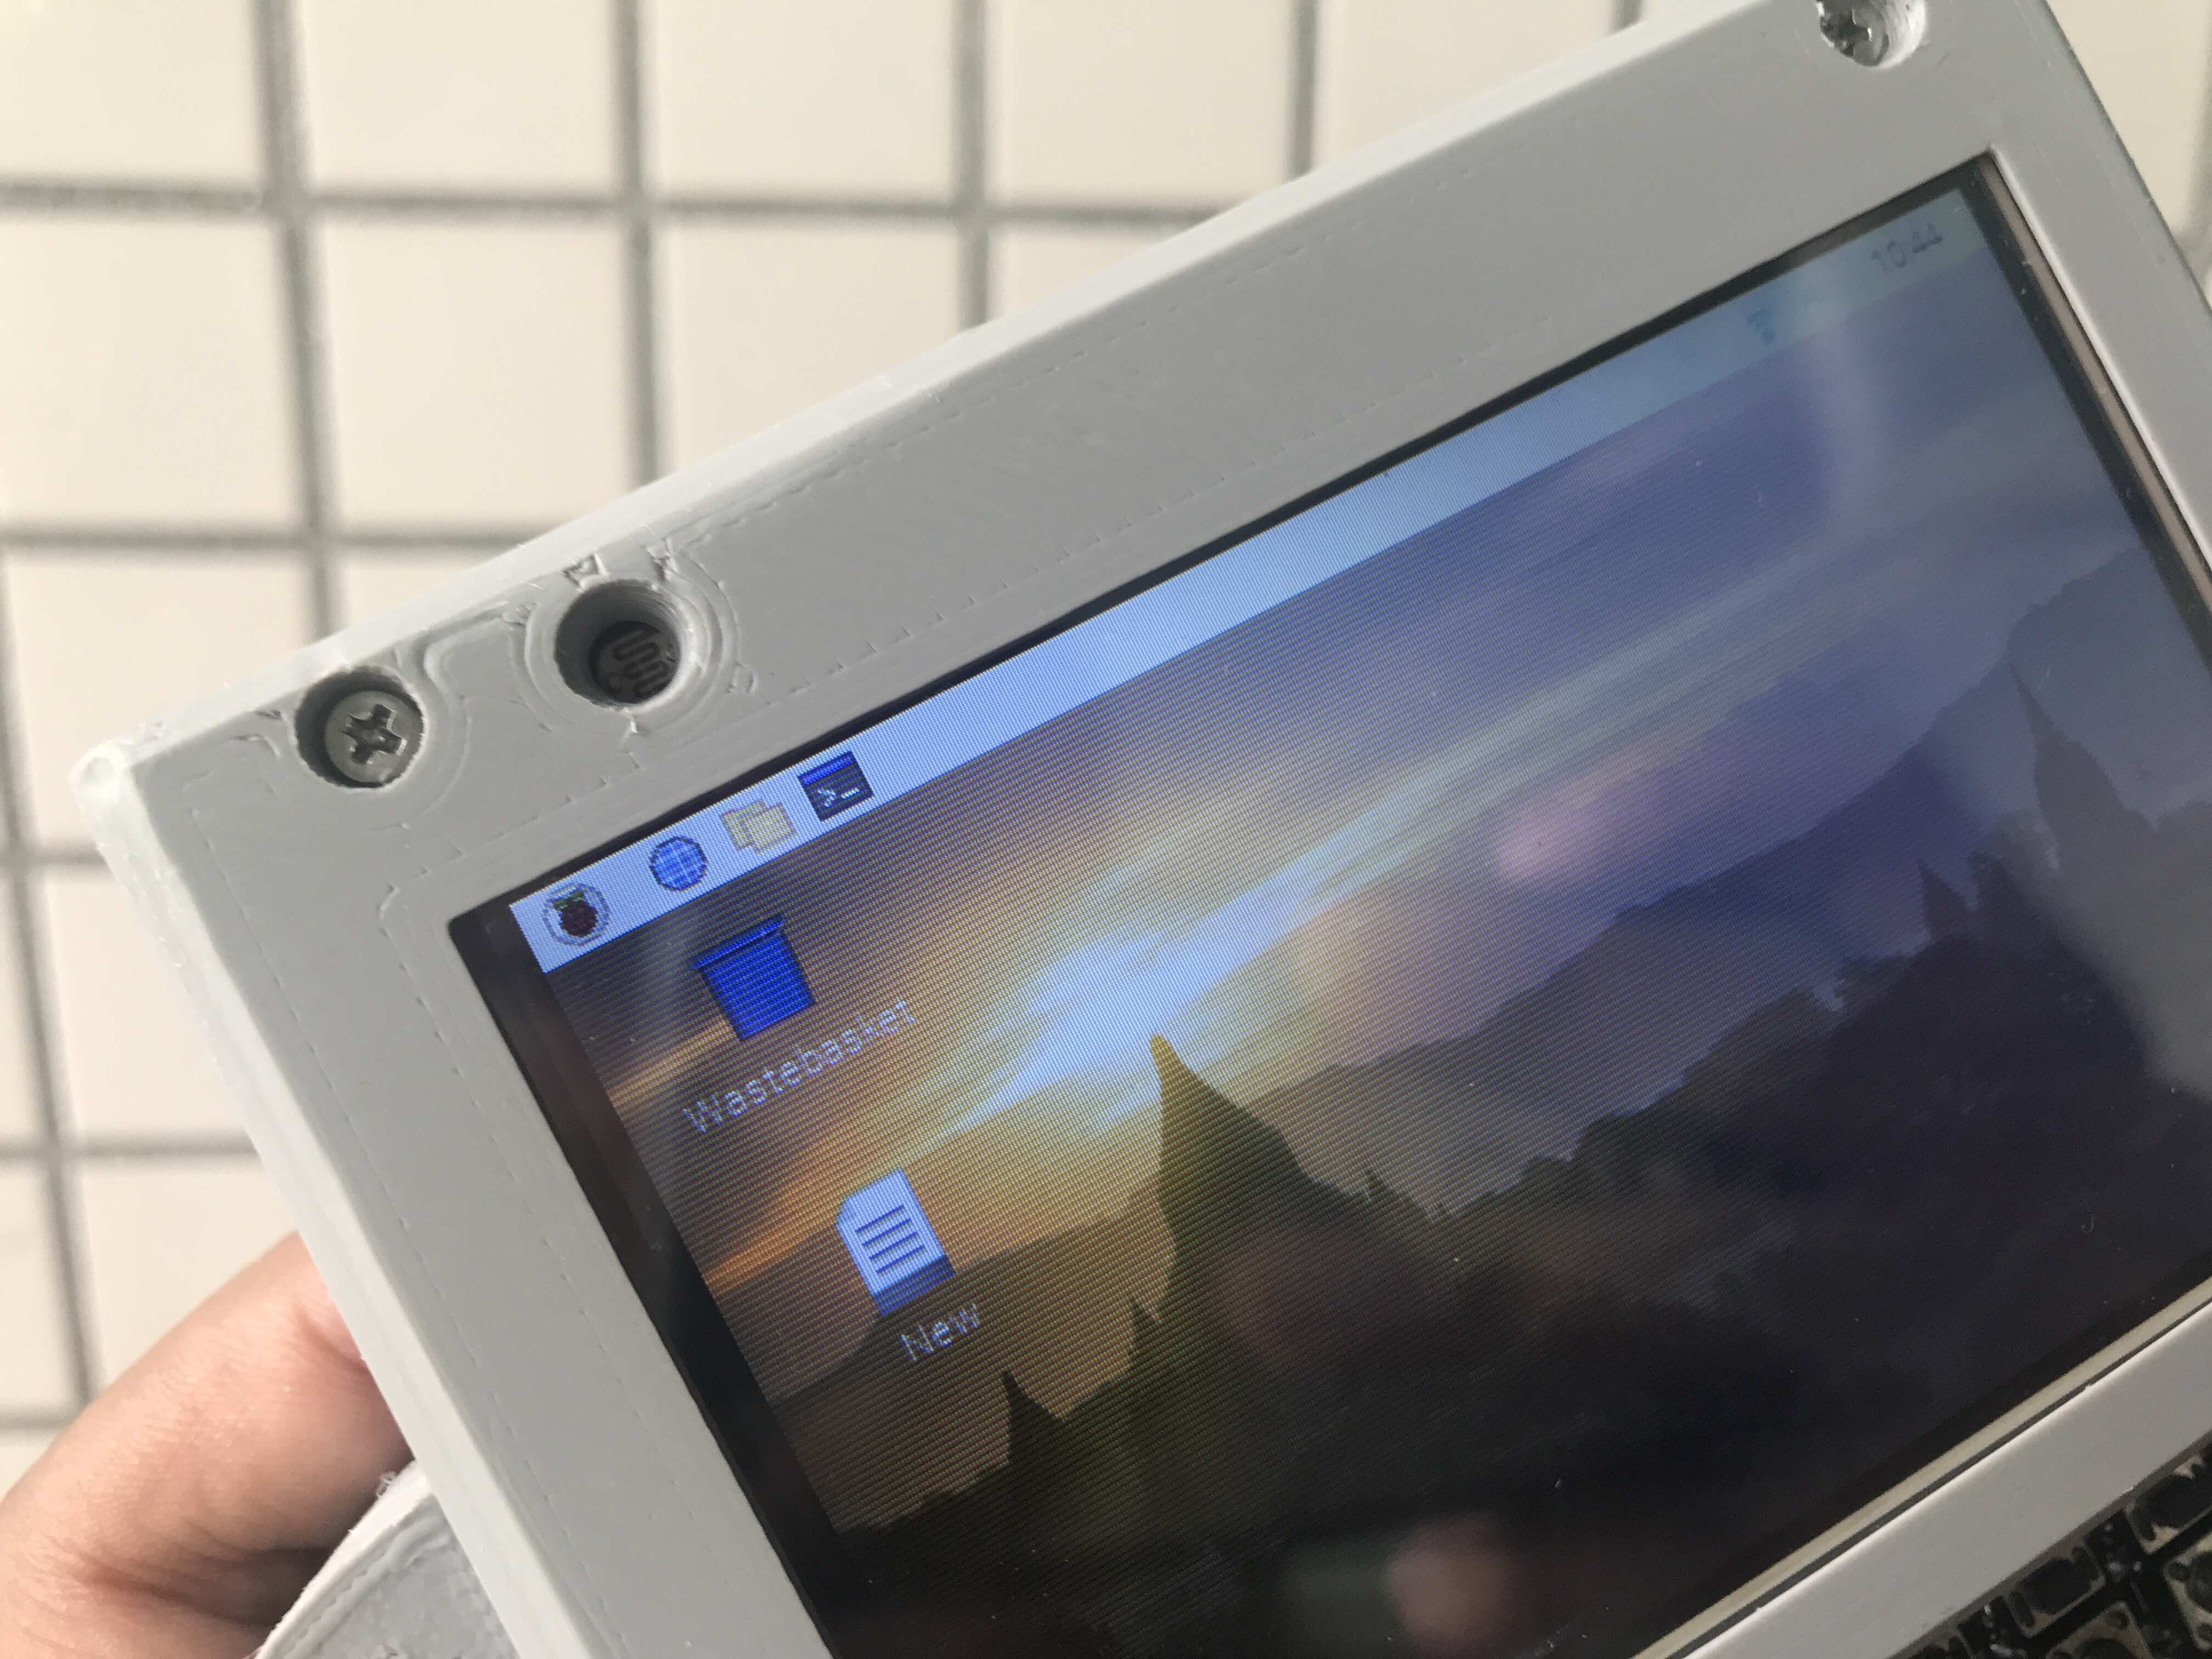
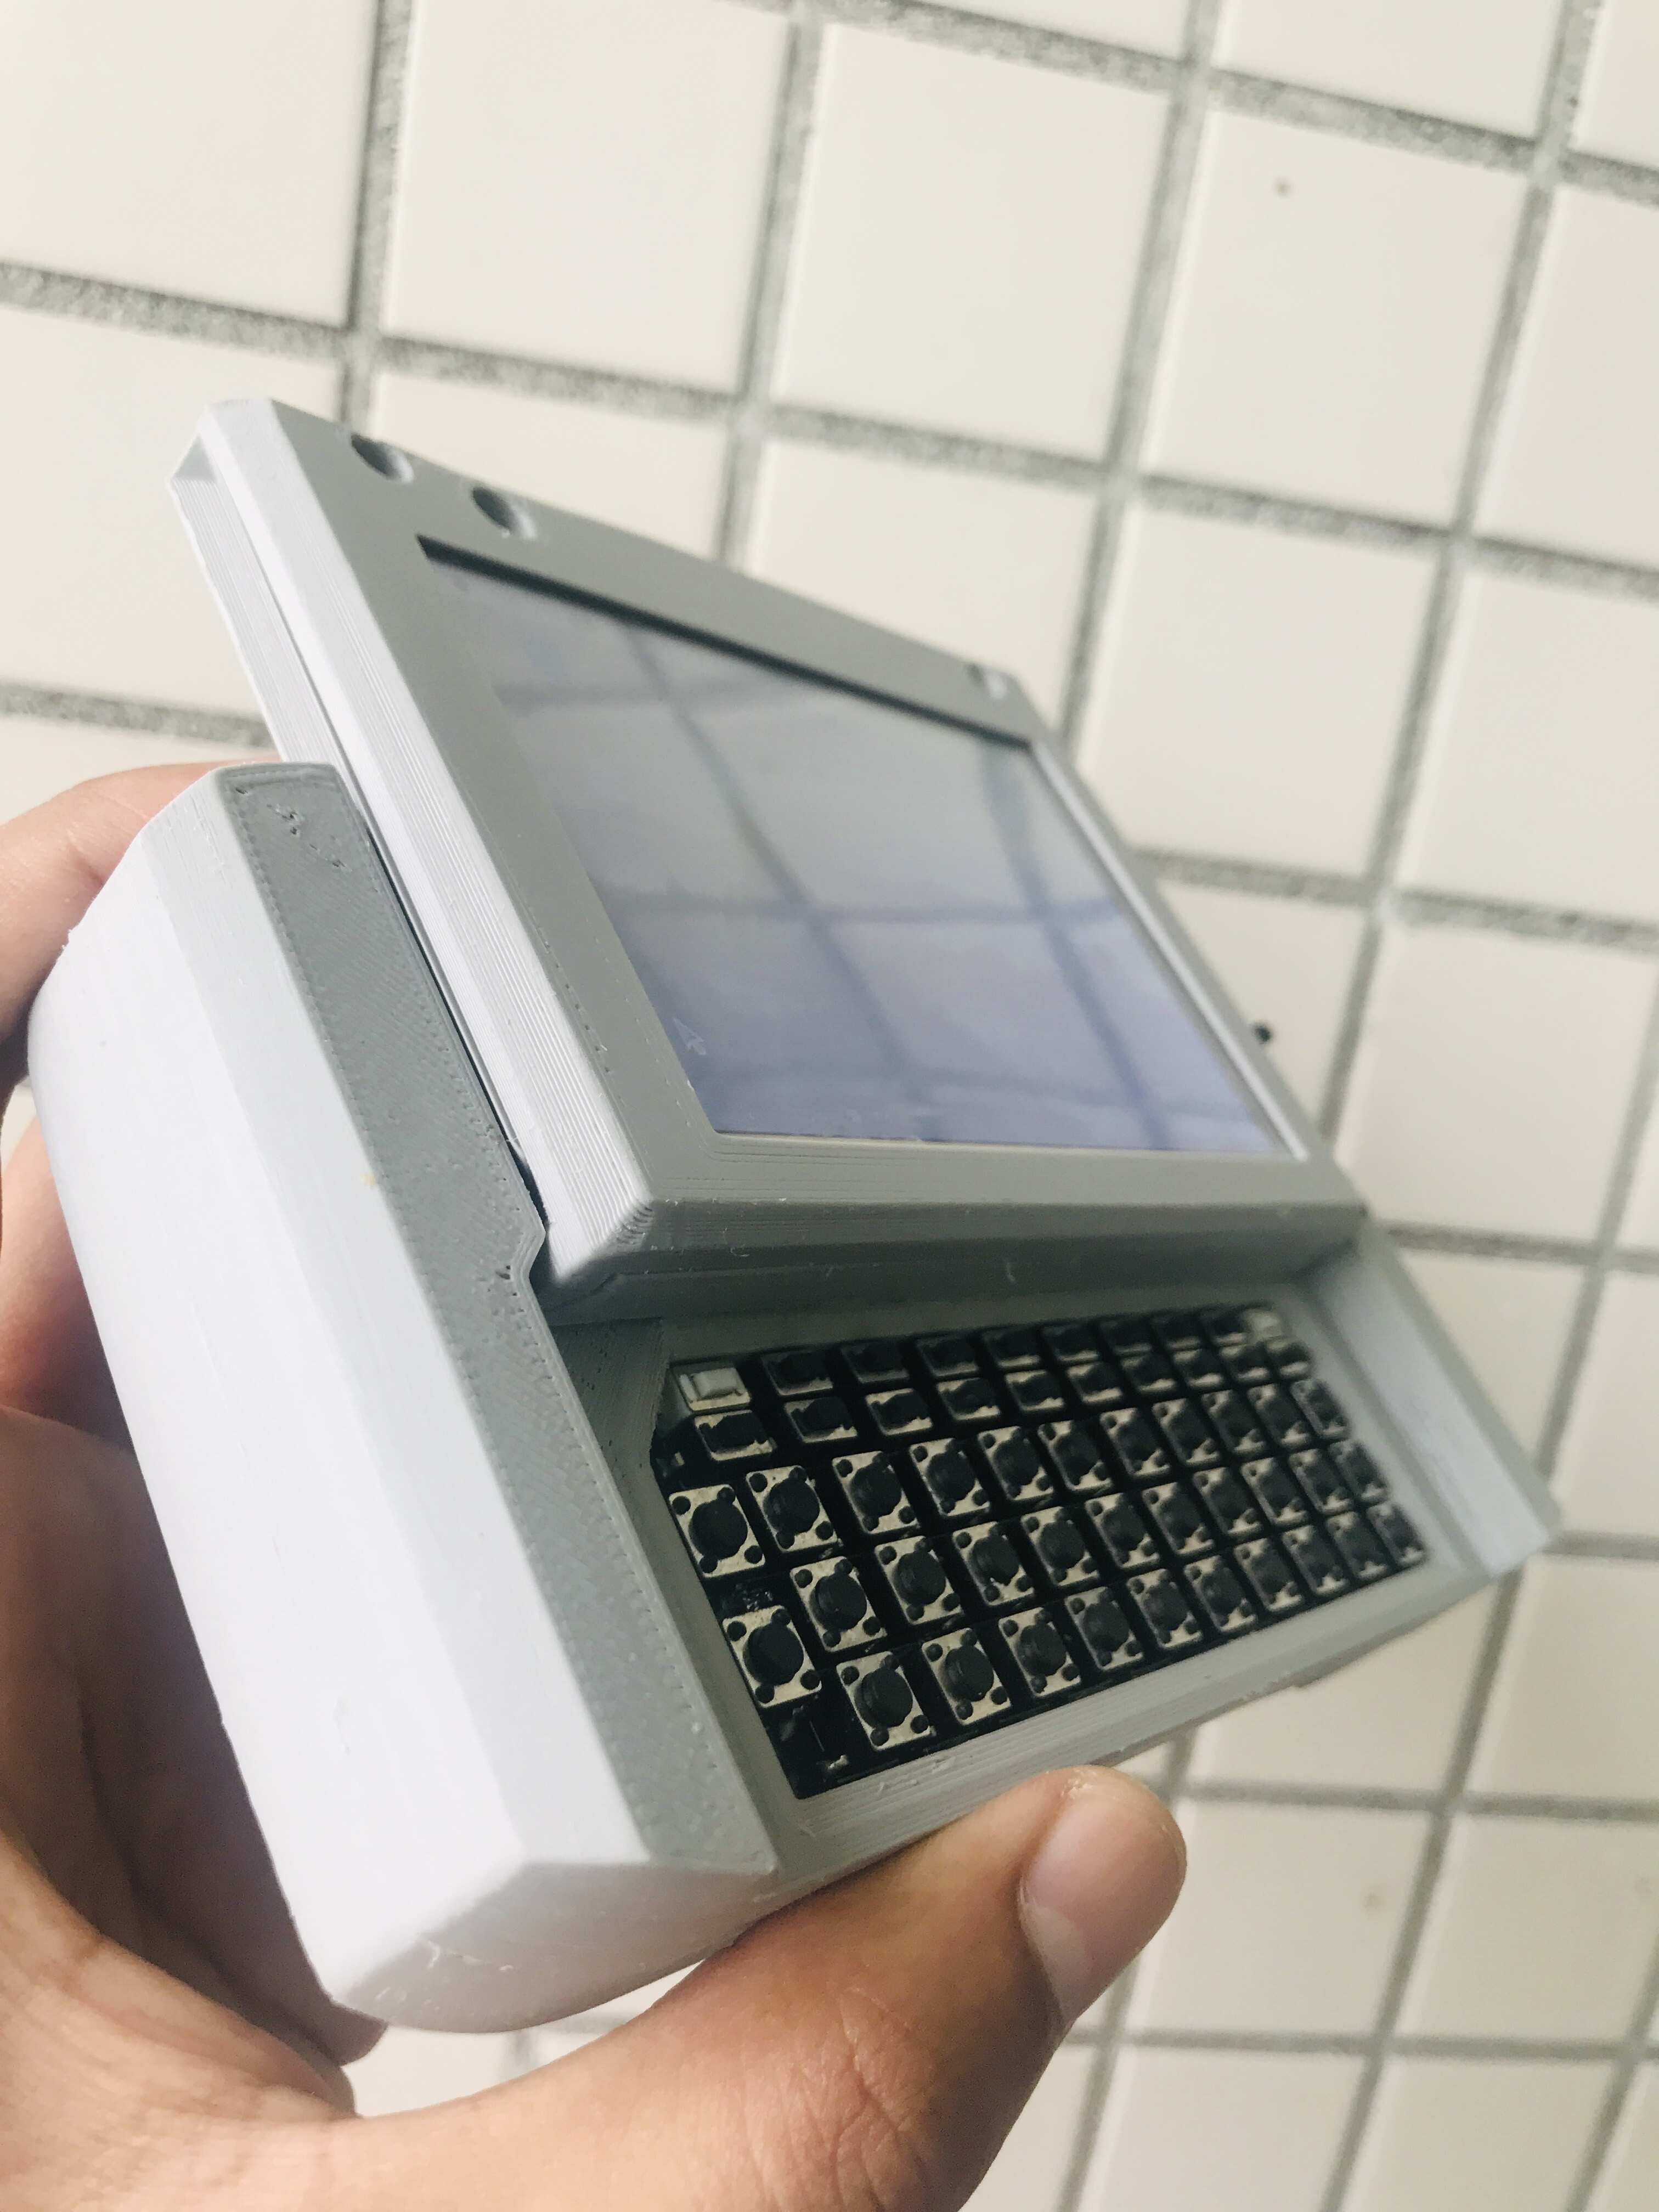
- 4 inch IPS display, up-to 4GB RAM, 2 HDMI out.
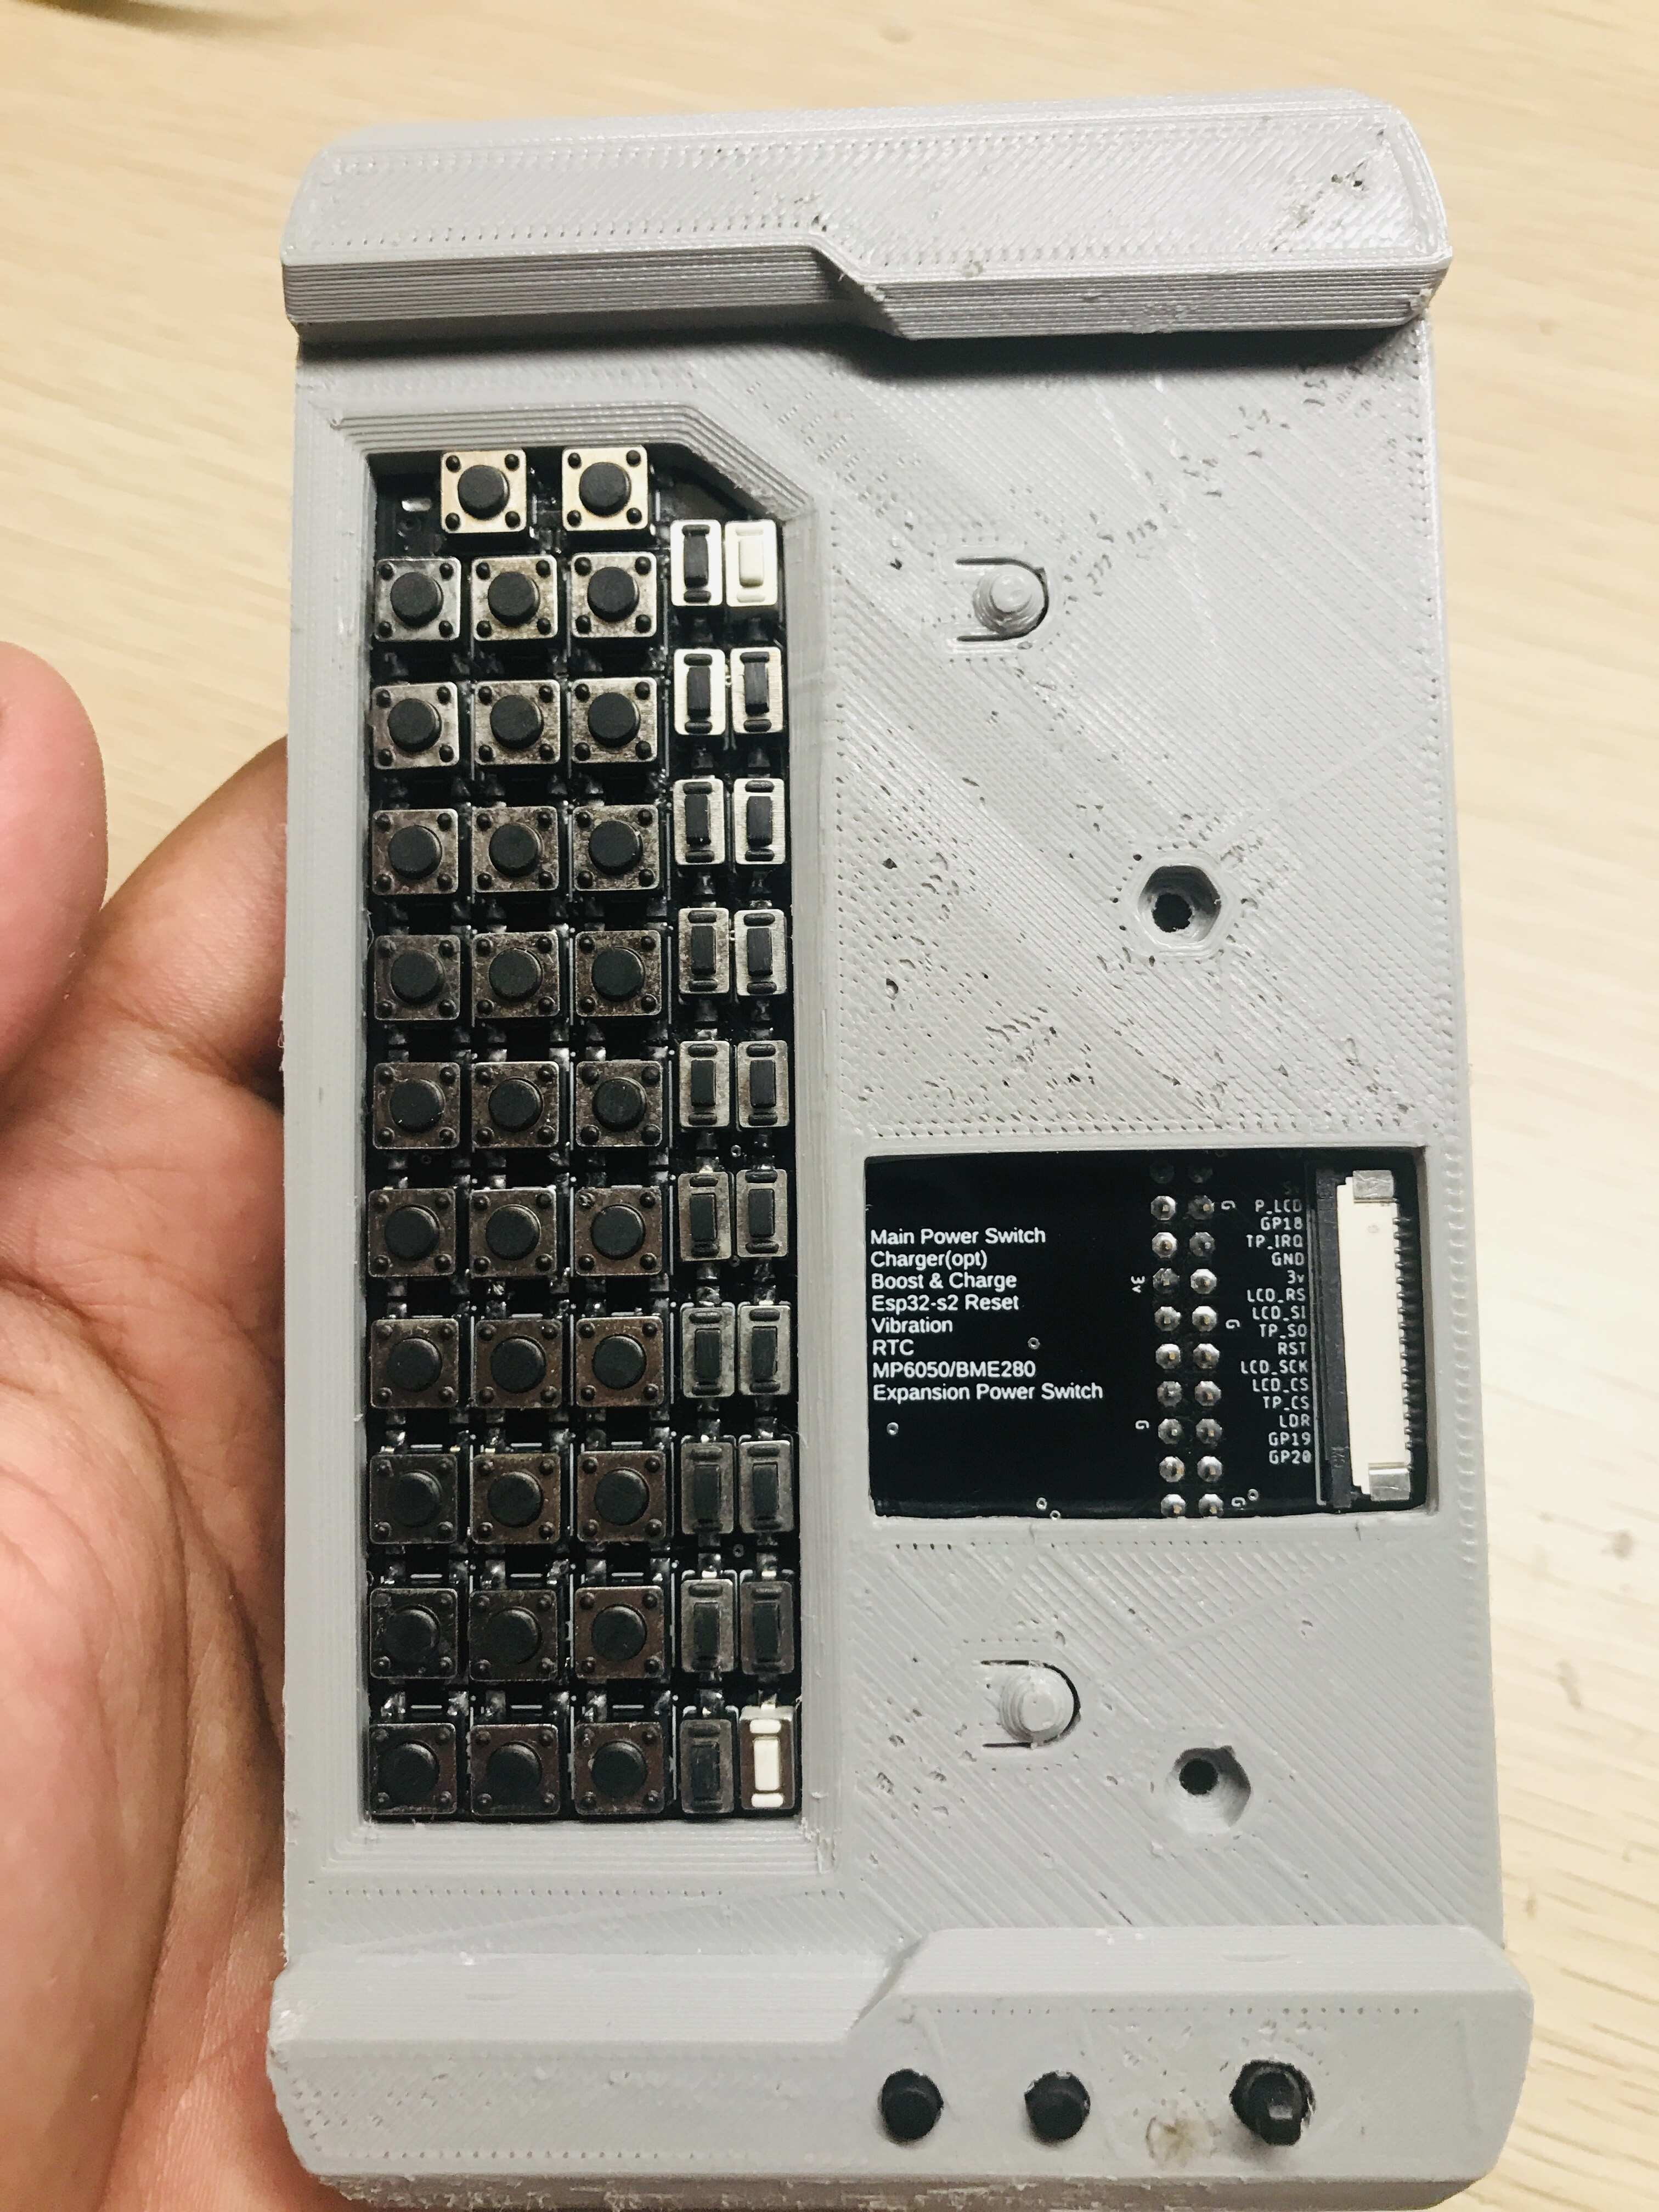
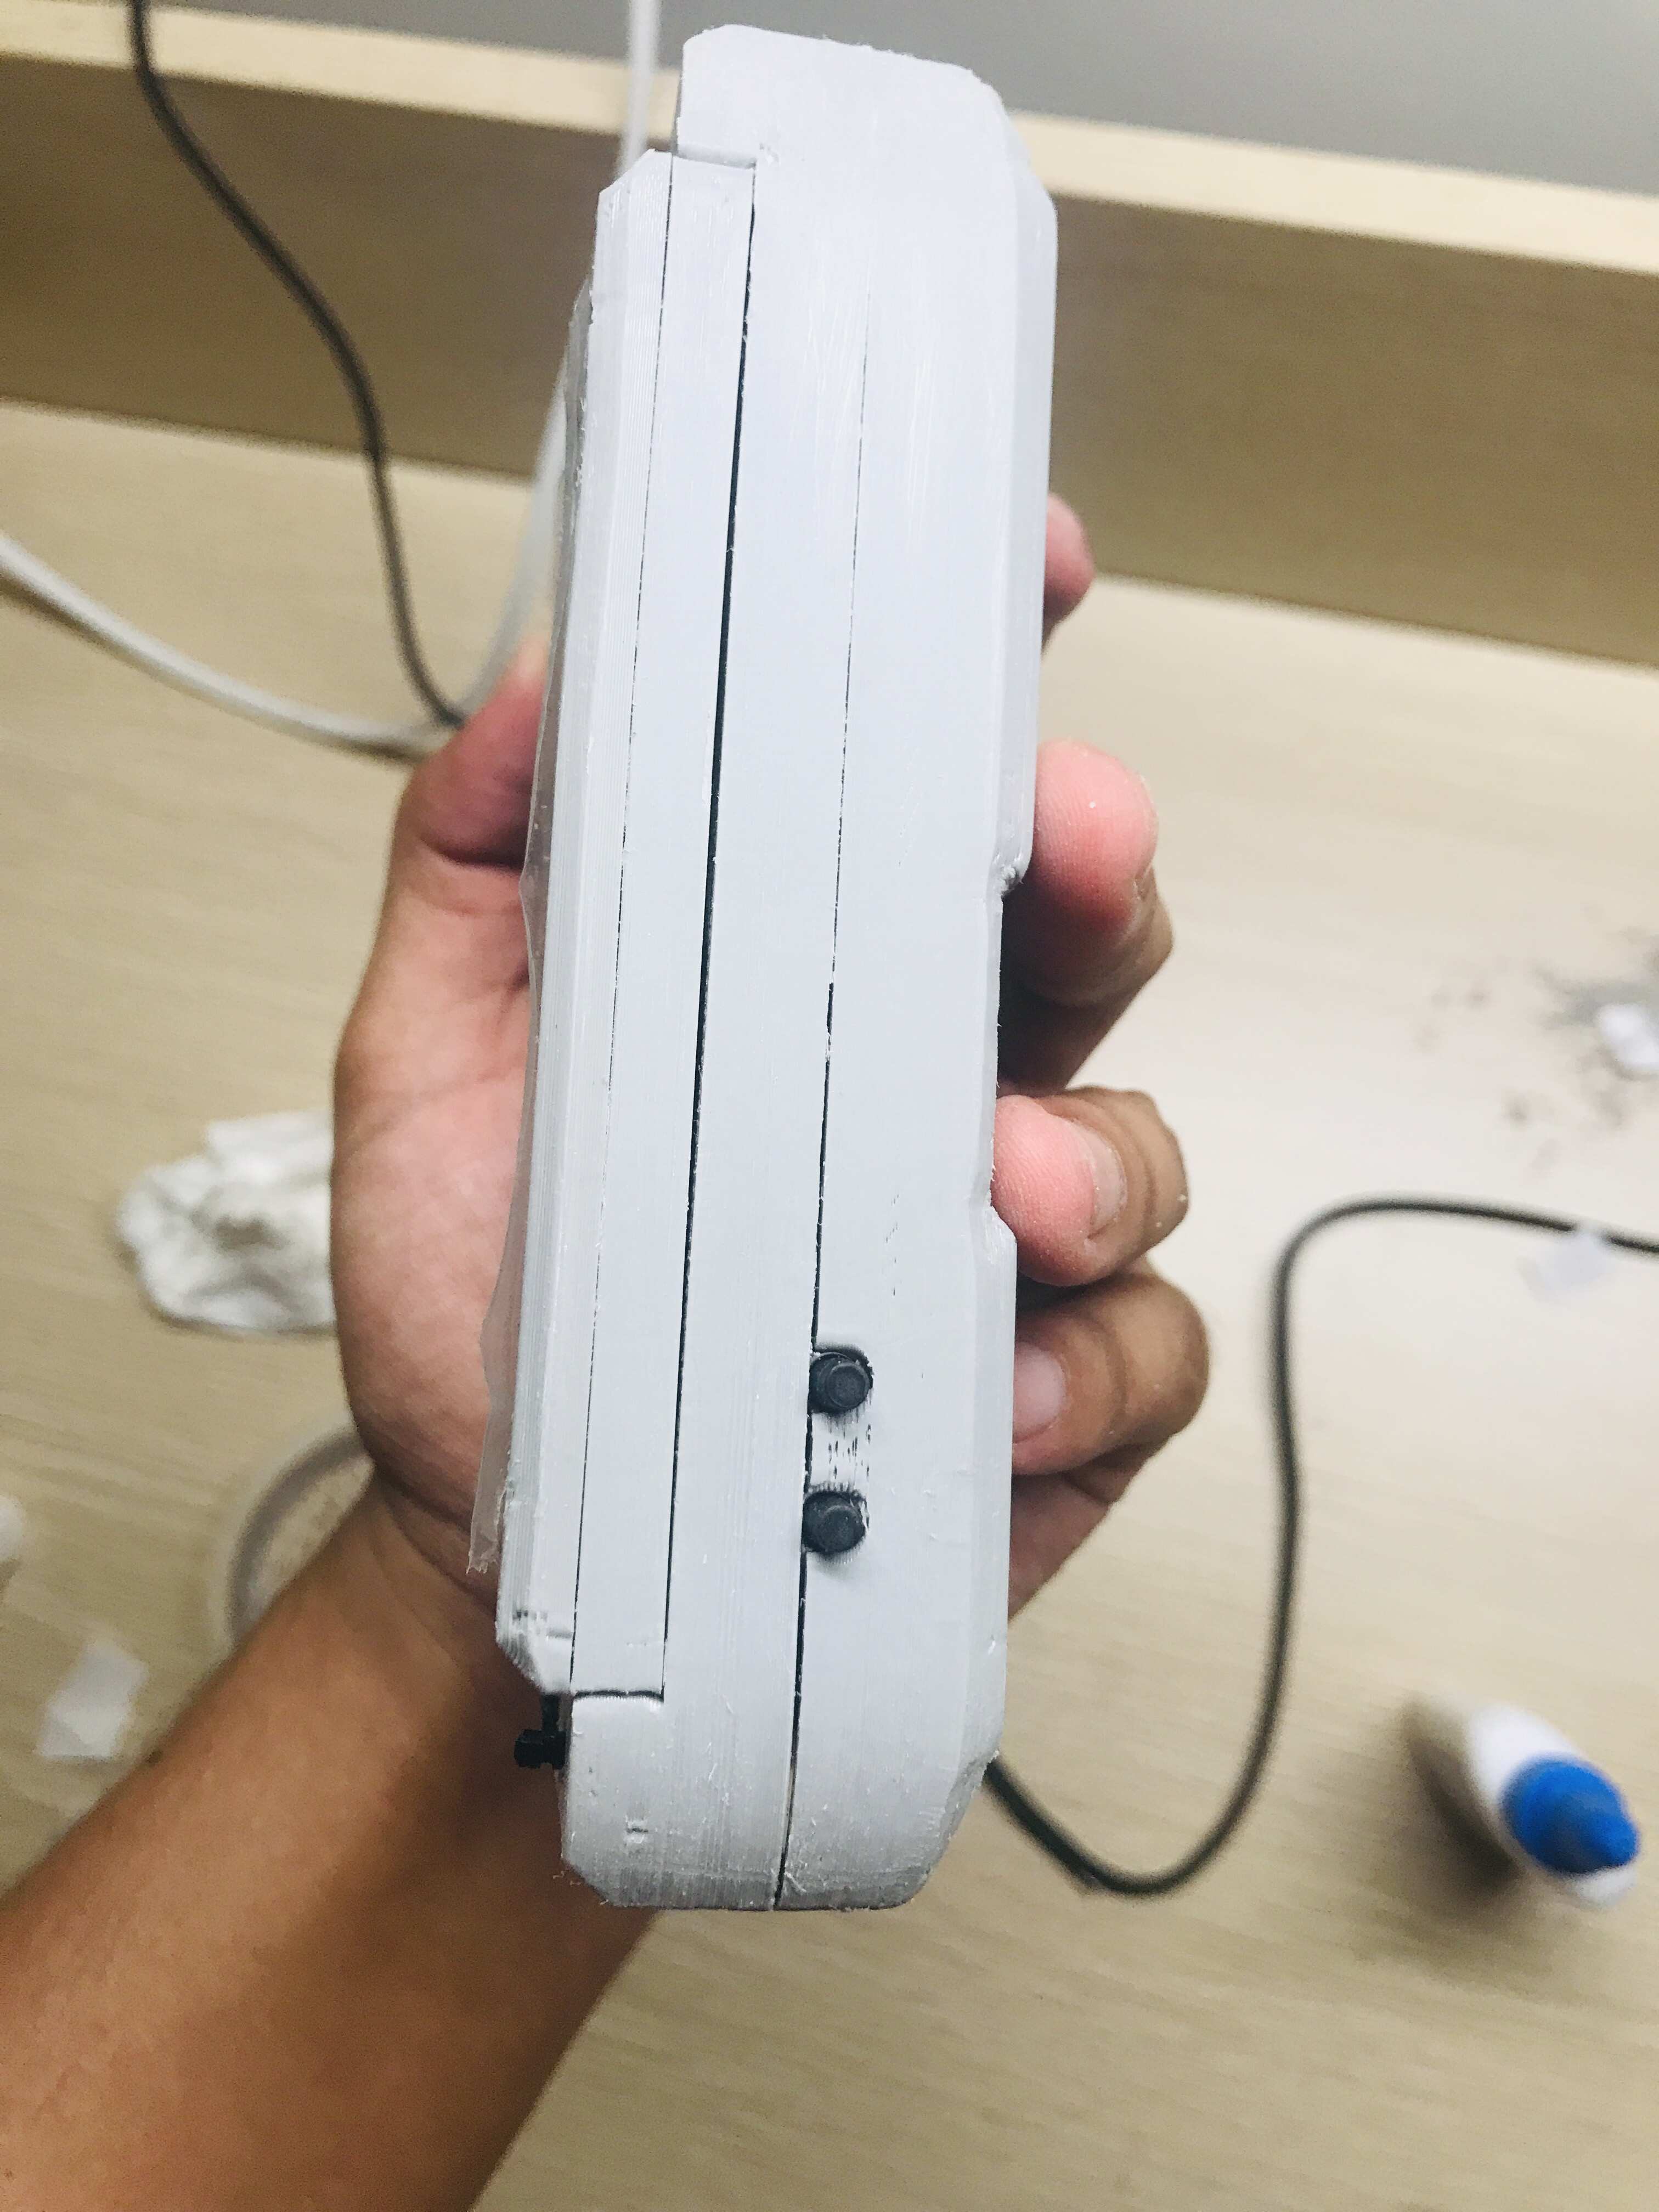
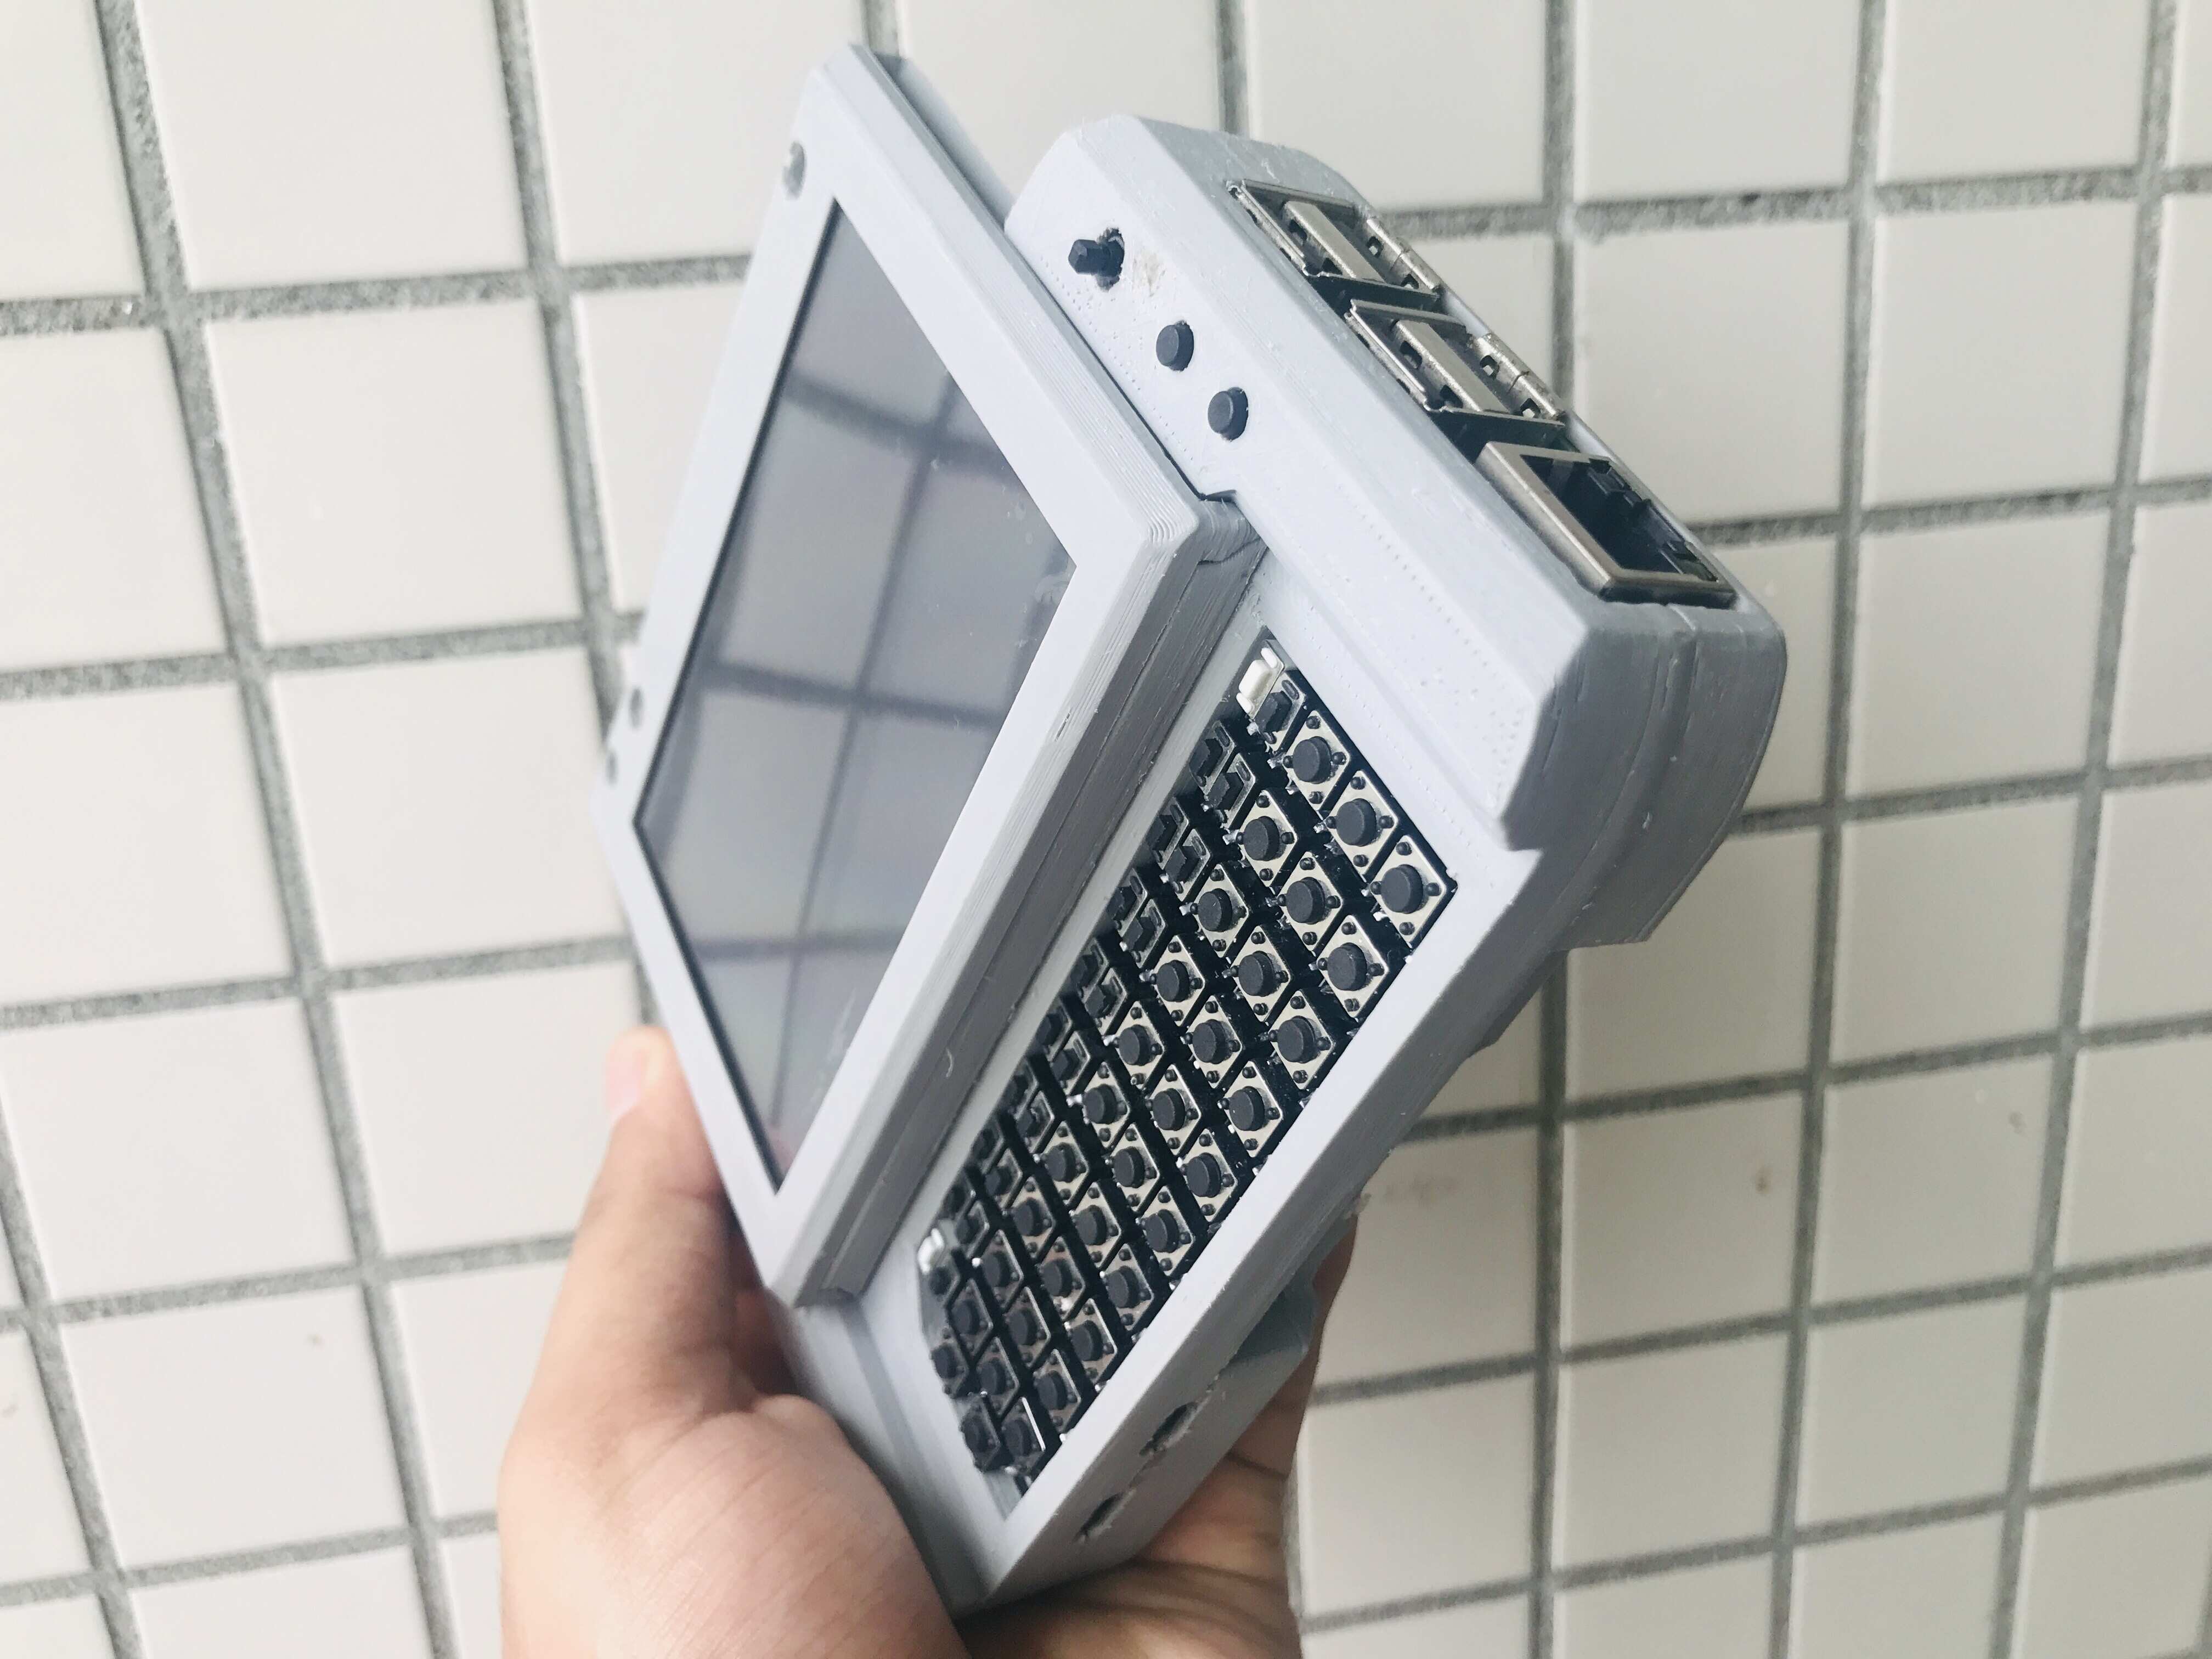
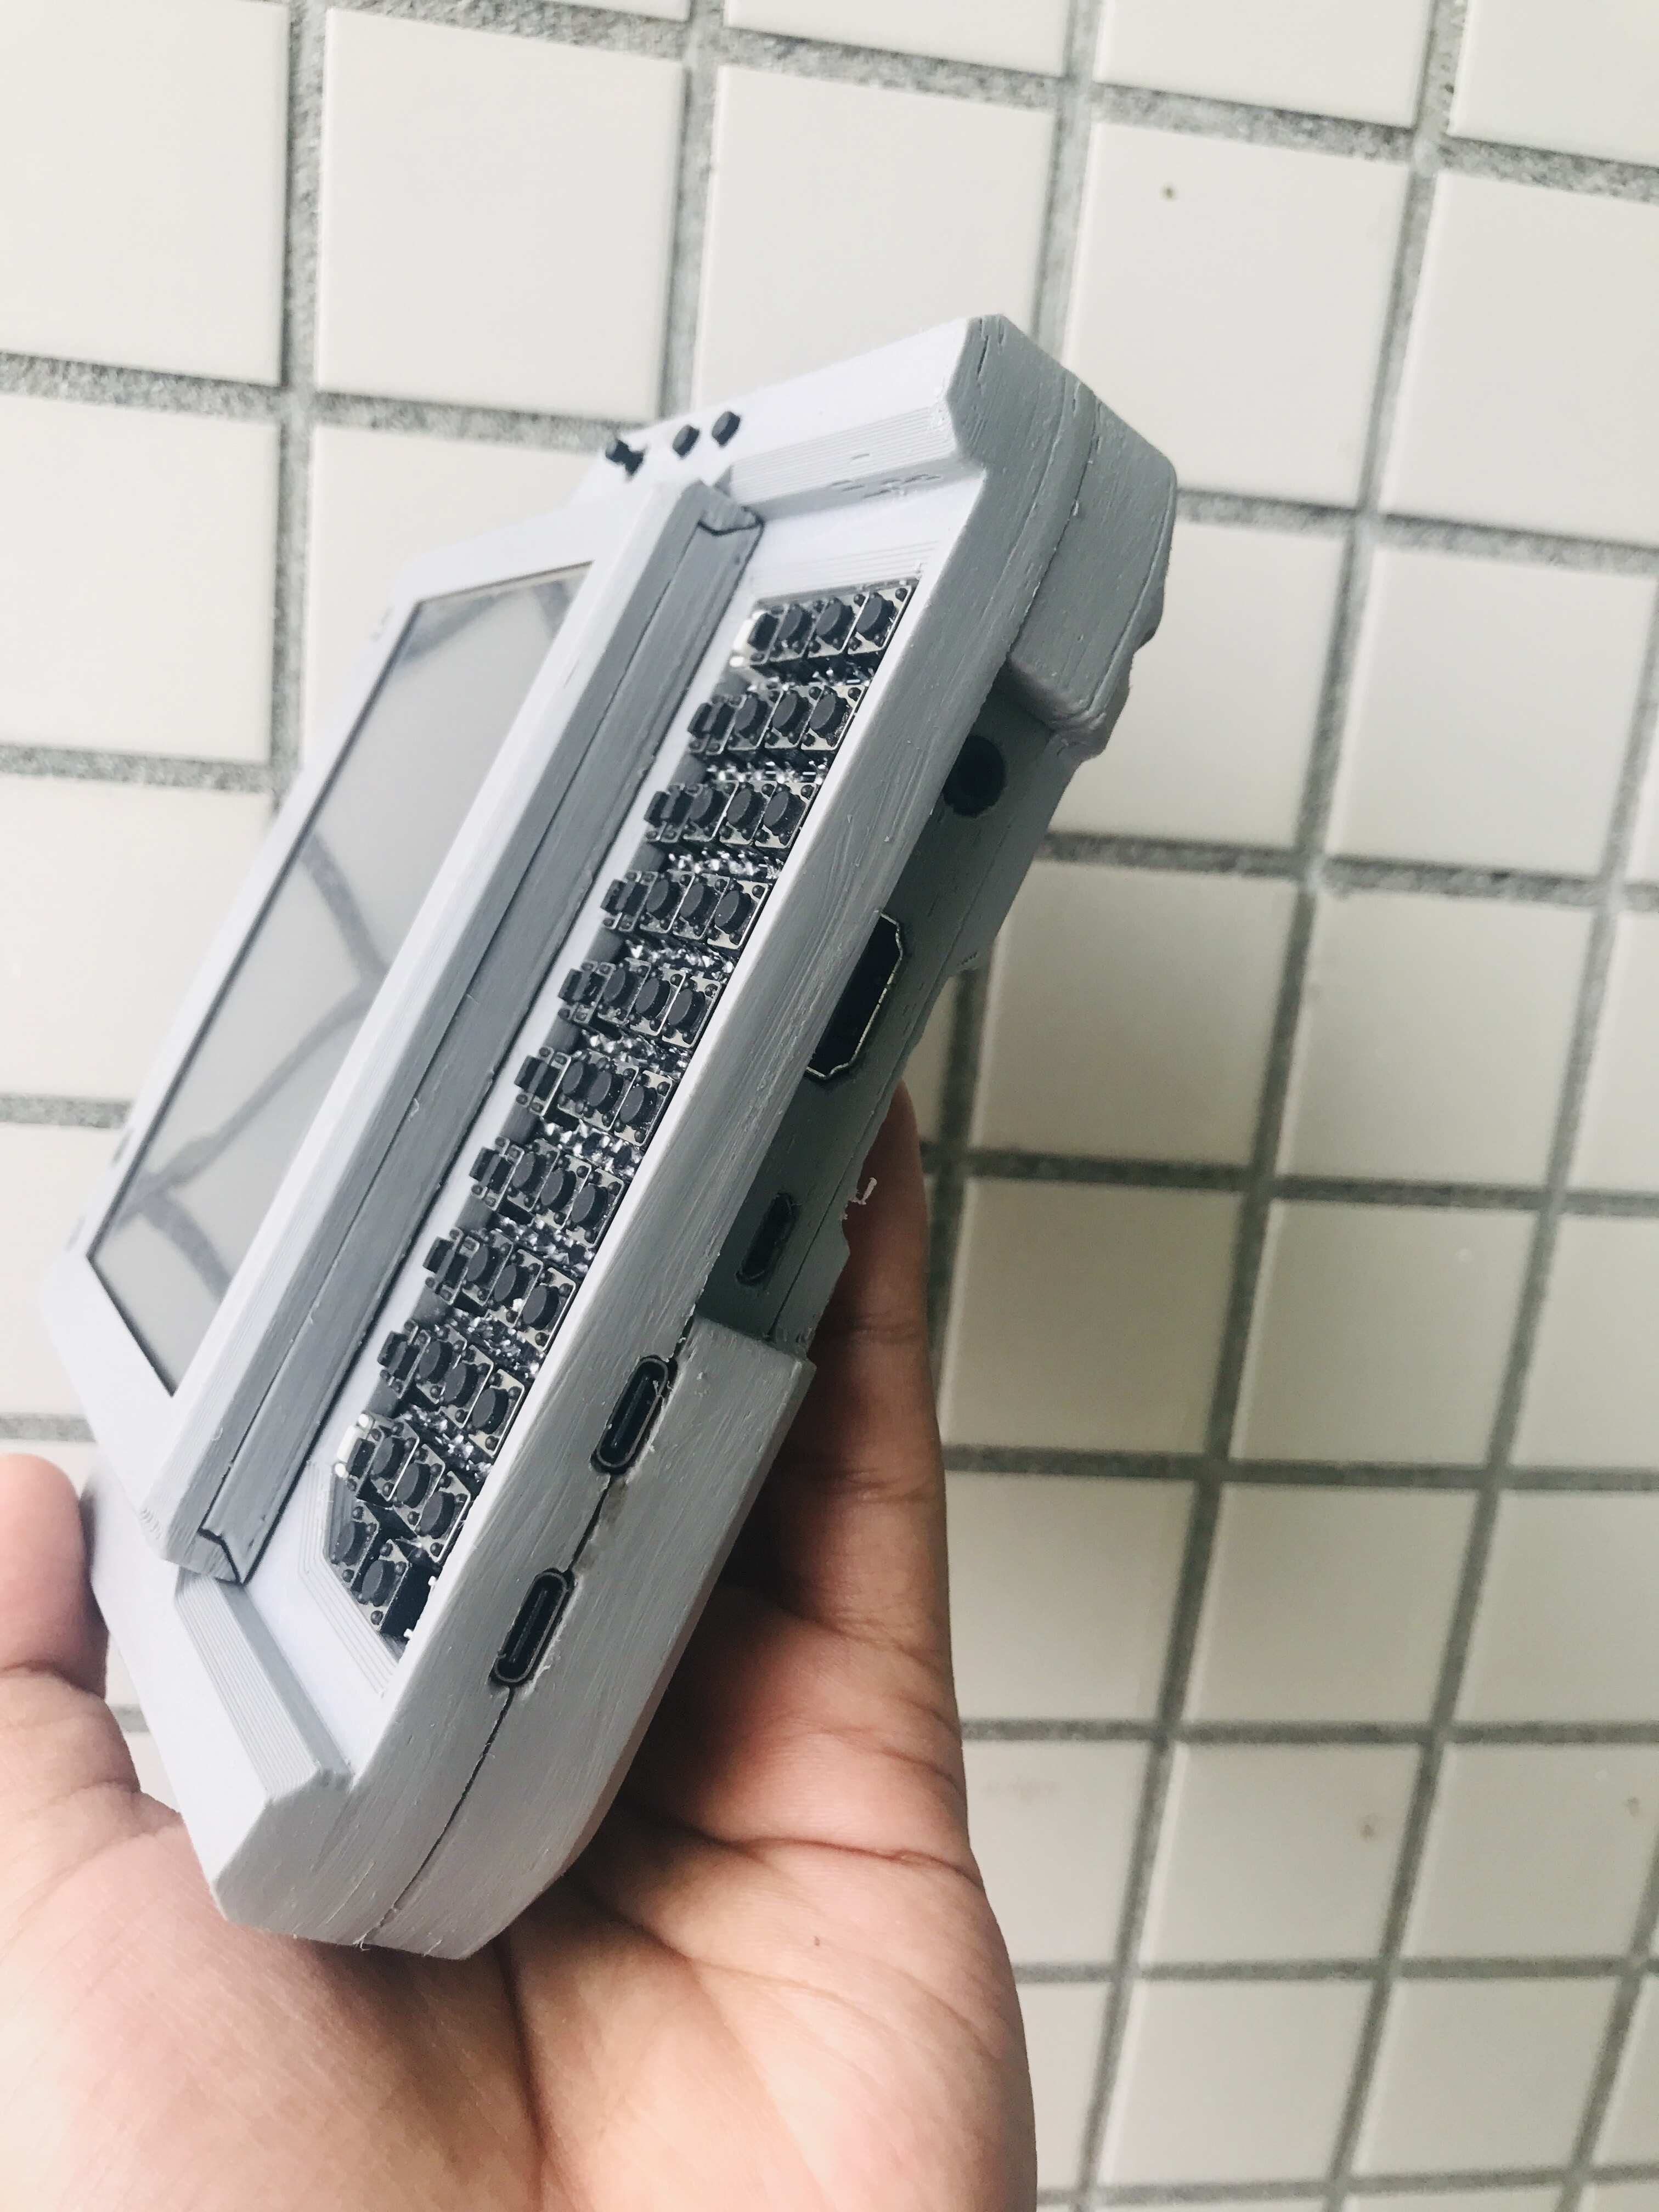
- 56 key customizable keyboard, 2 shoulder button for navigation.
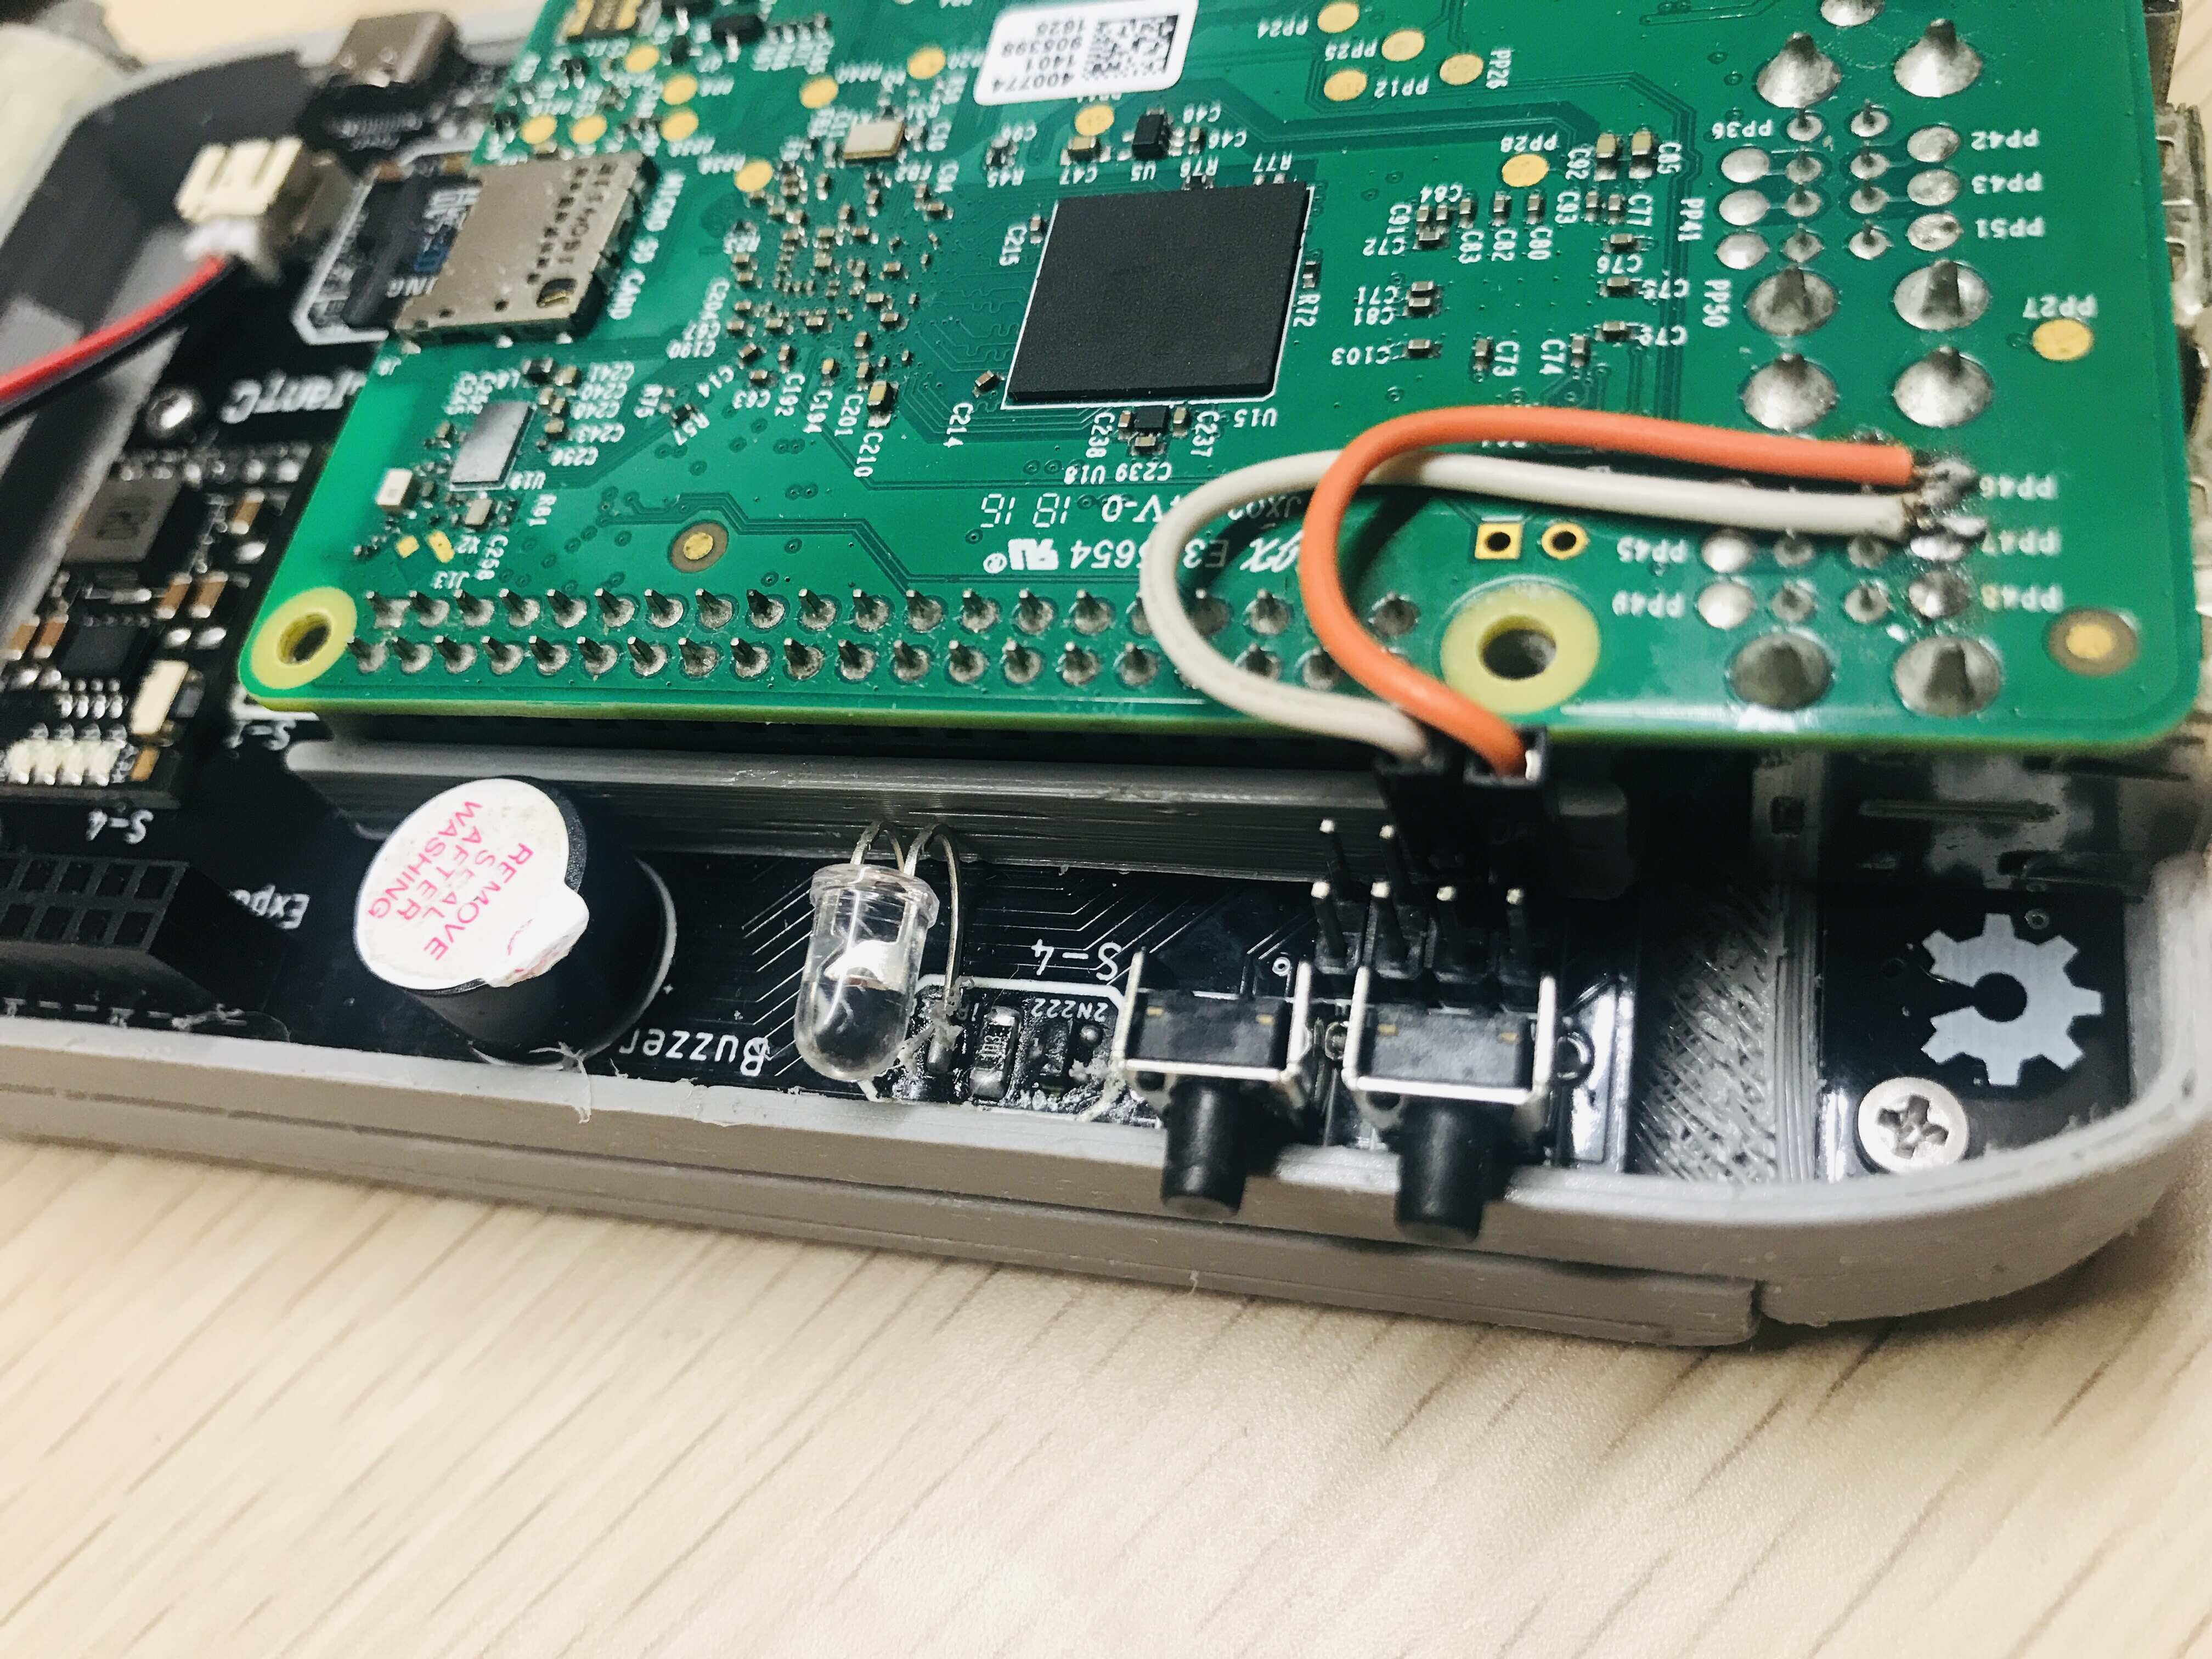
- Have RTC, Buzzer, Vibration, LDR and IR Transmitter.
- Control your home appliances using mutant's IR Transmitter.
- Auto turn off Display when Display is covered, like when mutanC is on your pocket.
- Supports all new & previous Add-ons, see all from HERE.
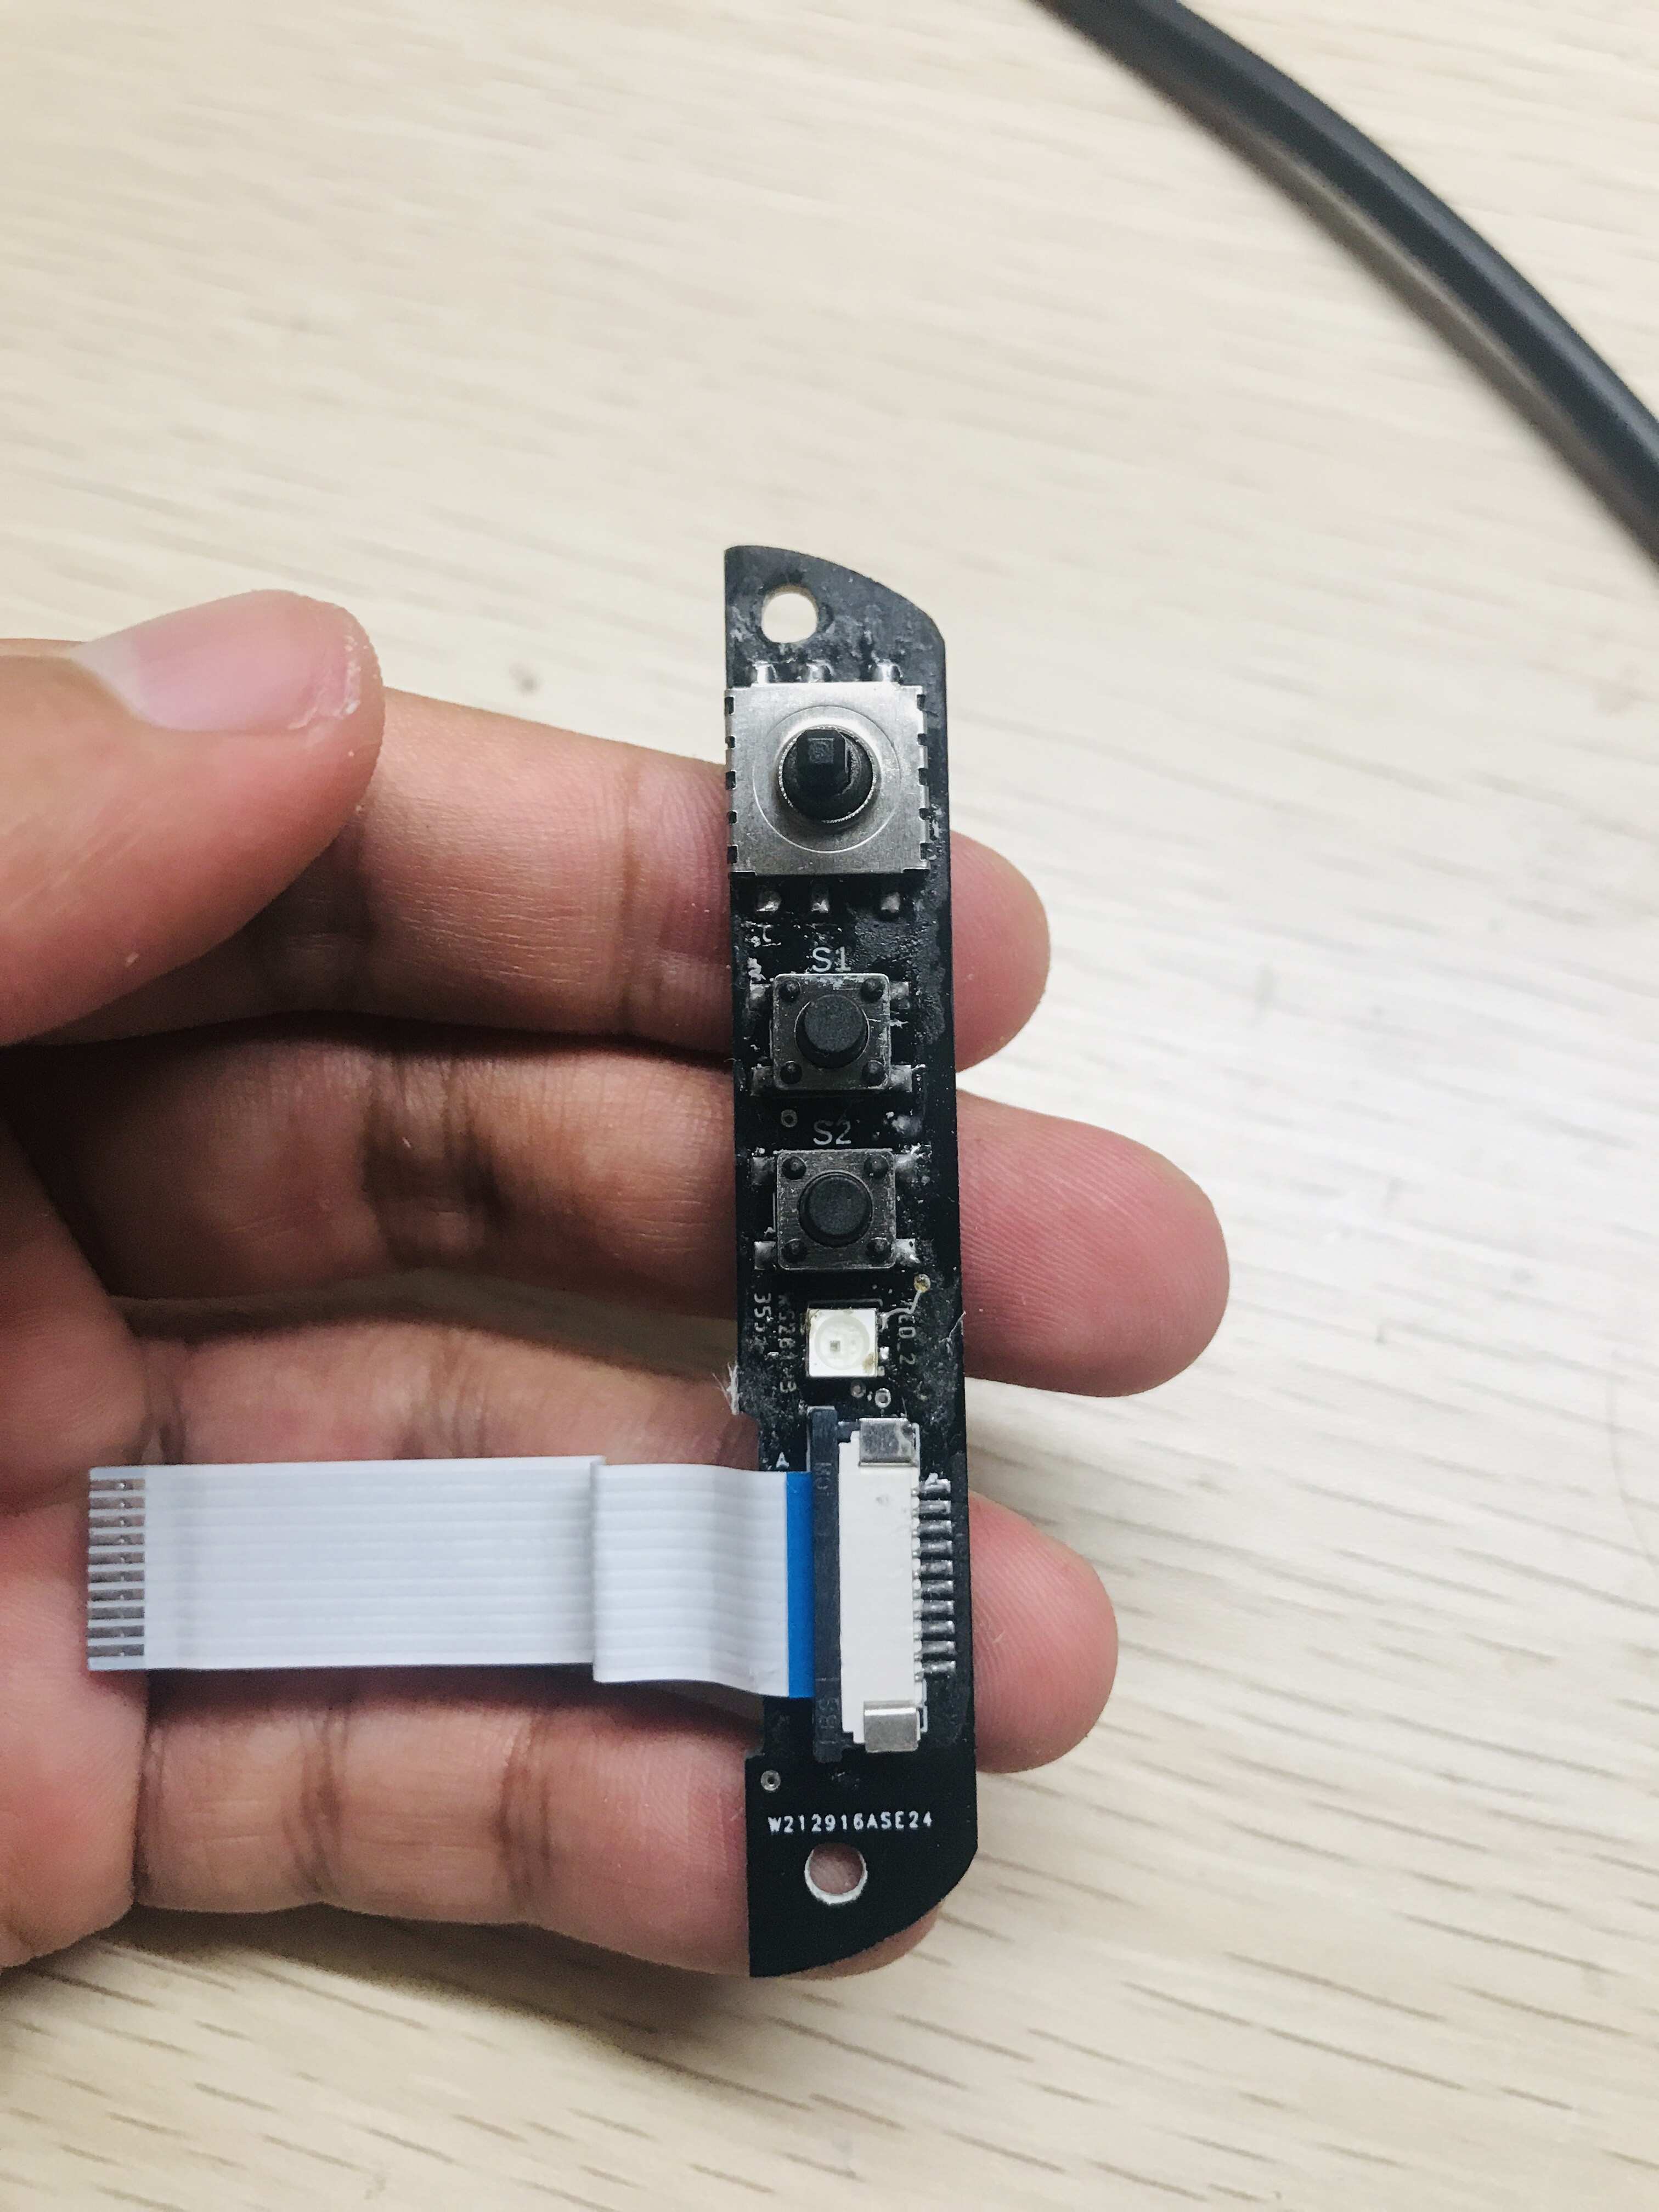
- ThumbStick to have mouse support with left, right buttons.
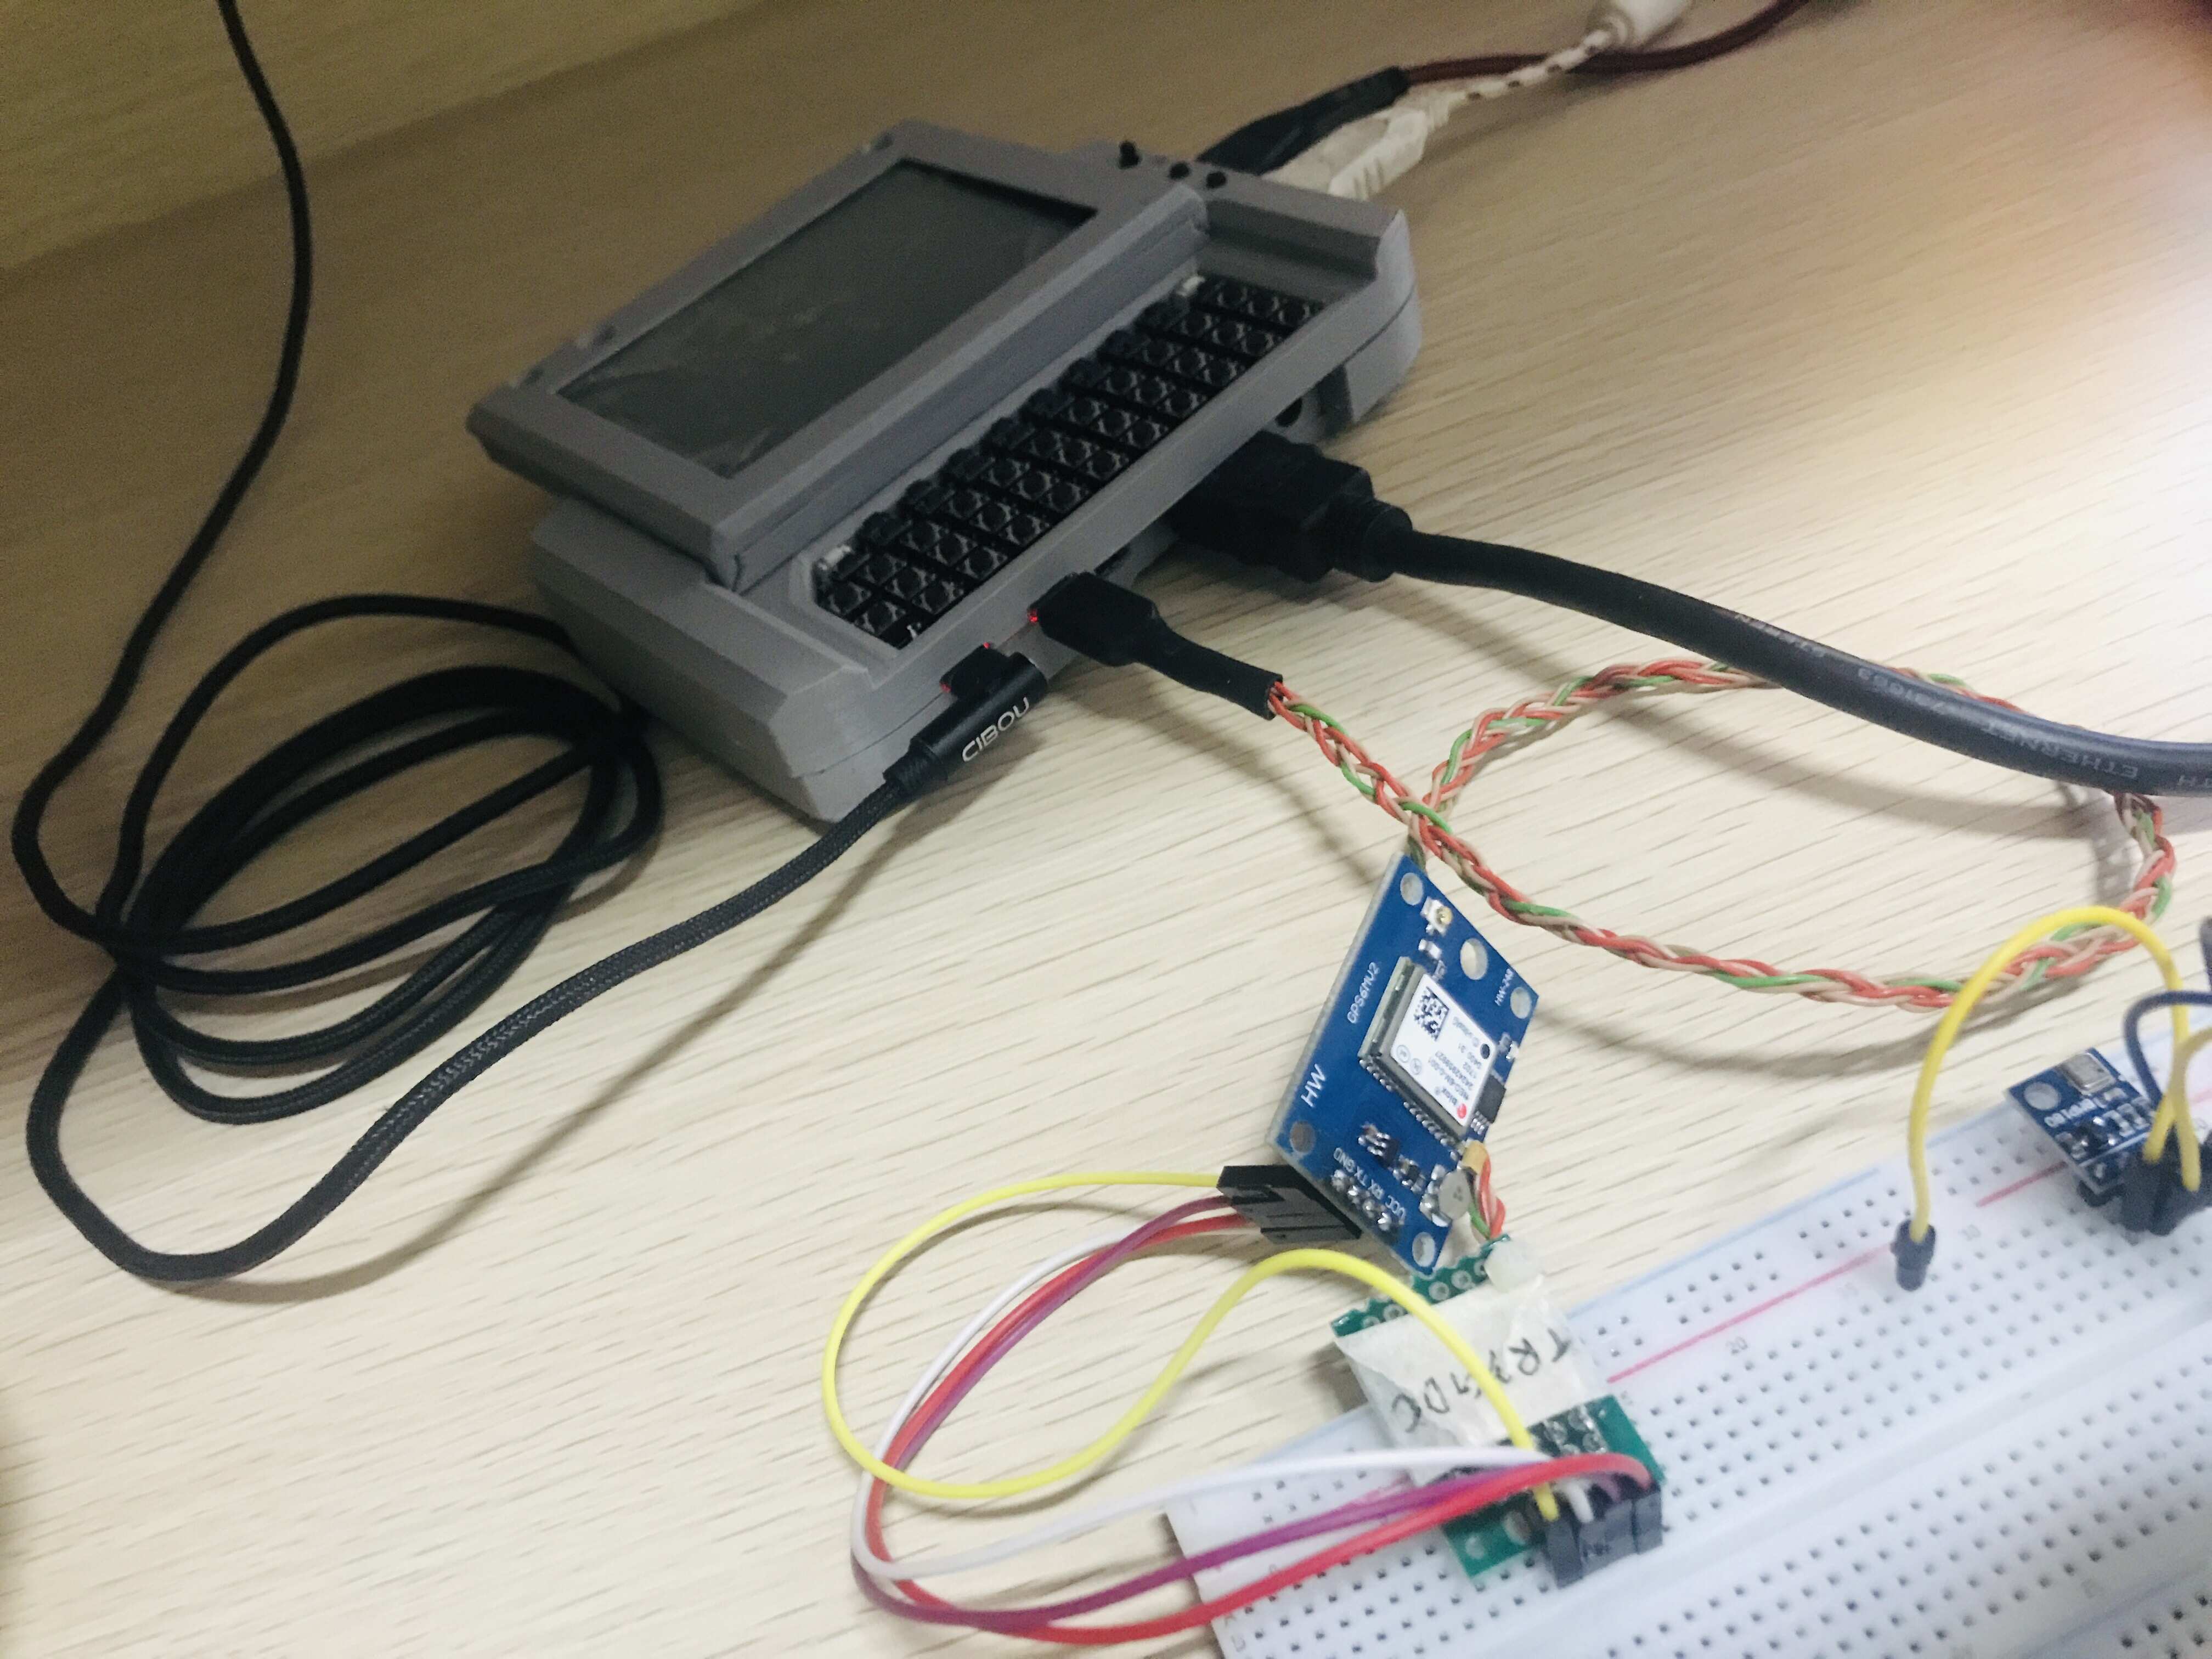
- Gyro support using MPU6050 module or Pressure or Temp and Humidity support using BME280 module.
- Able to power off modules, Display, Add-ons using keyboard button.
- Full power off using OS and keyboard key.
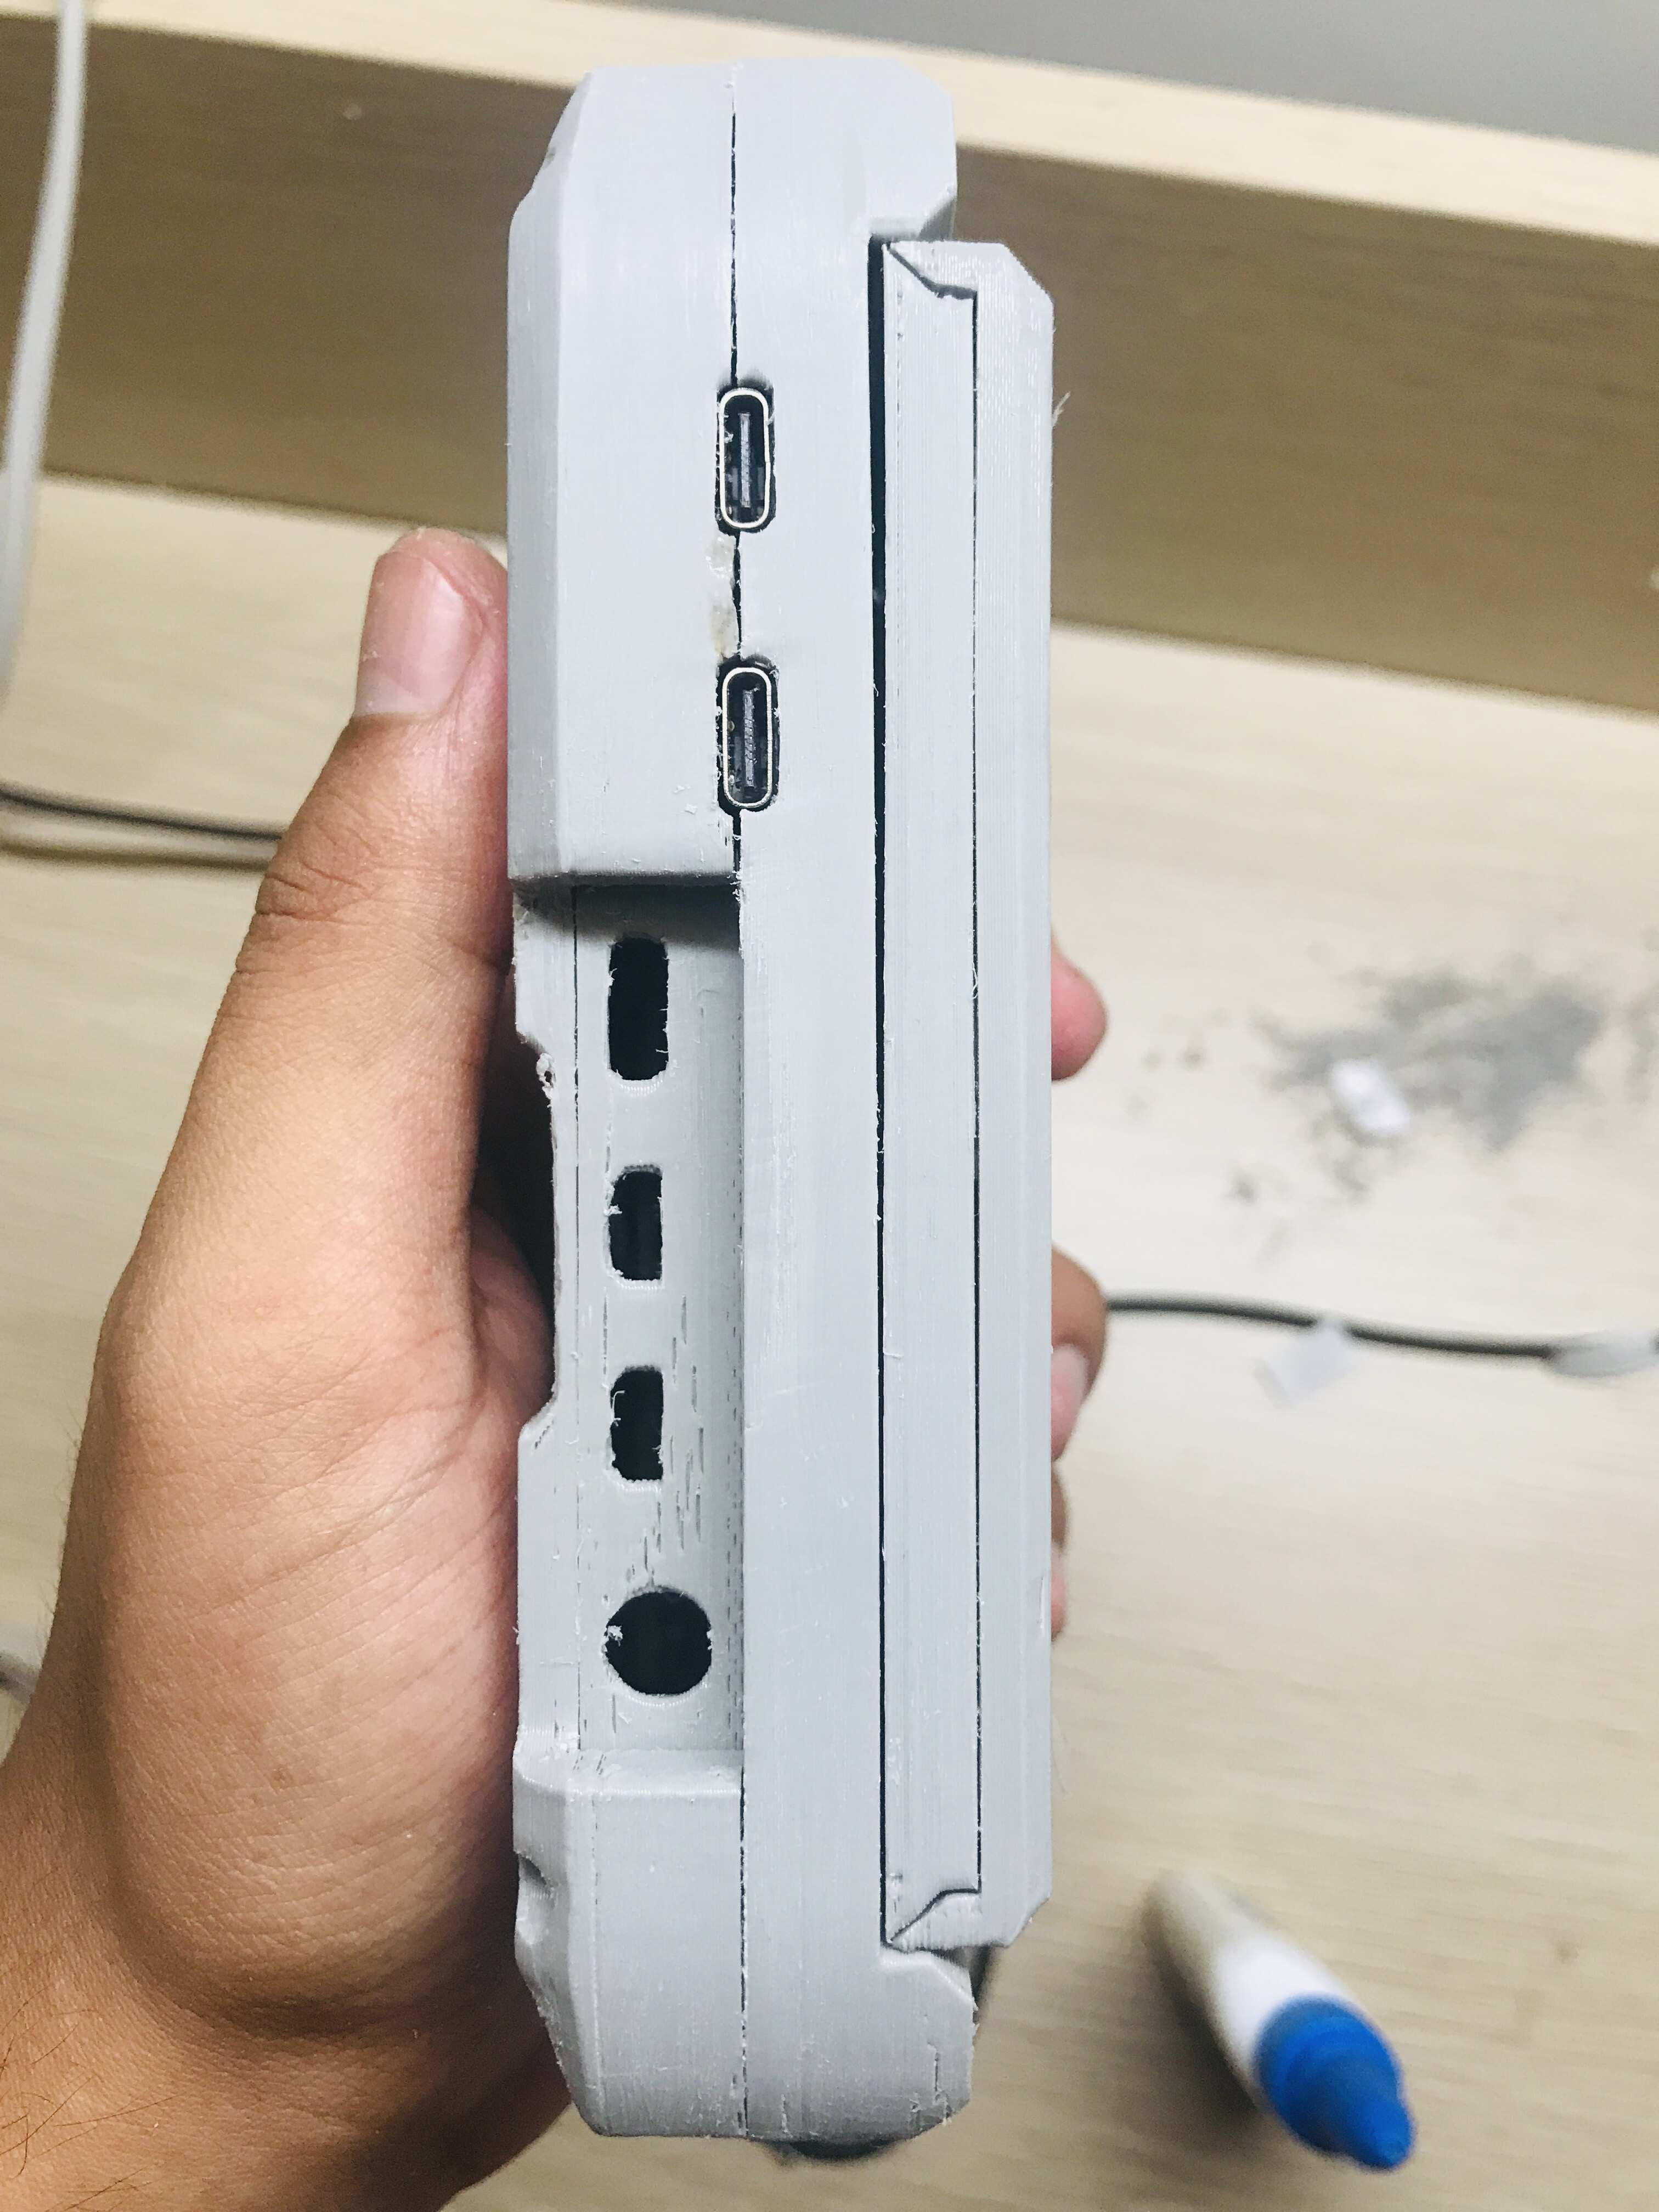
- USB_C formfactor Nurolink/docking port with UART, I2C and Power.
- Read battery Power level and power off the device when battery is low.
- 2 NeoPixel, one connected to ESP32-S2 and another connected Pi.
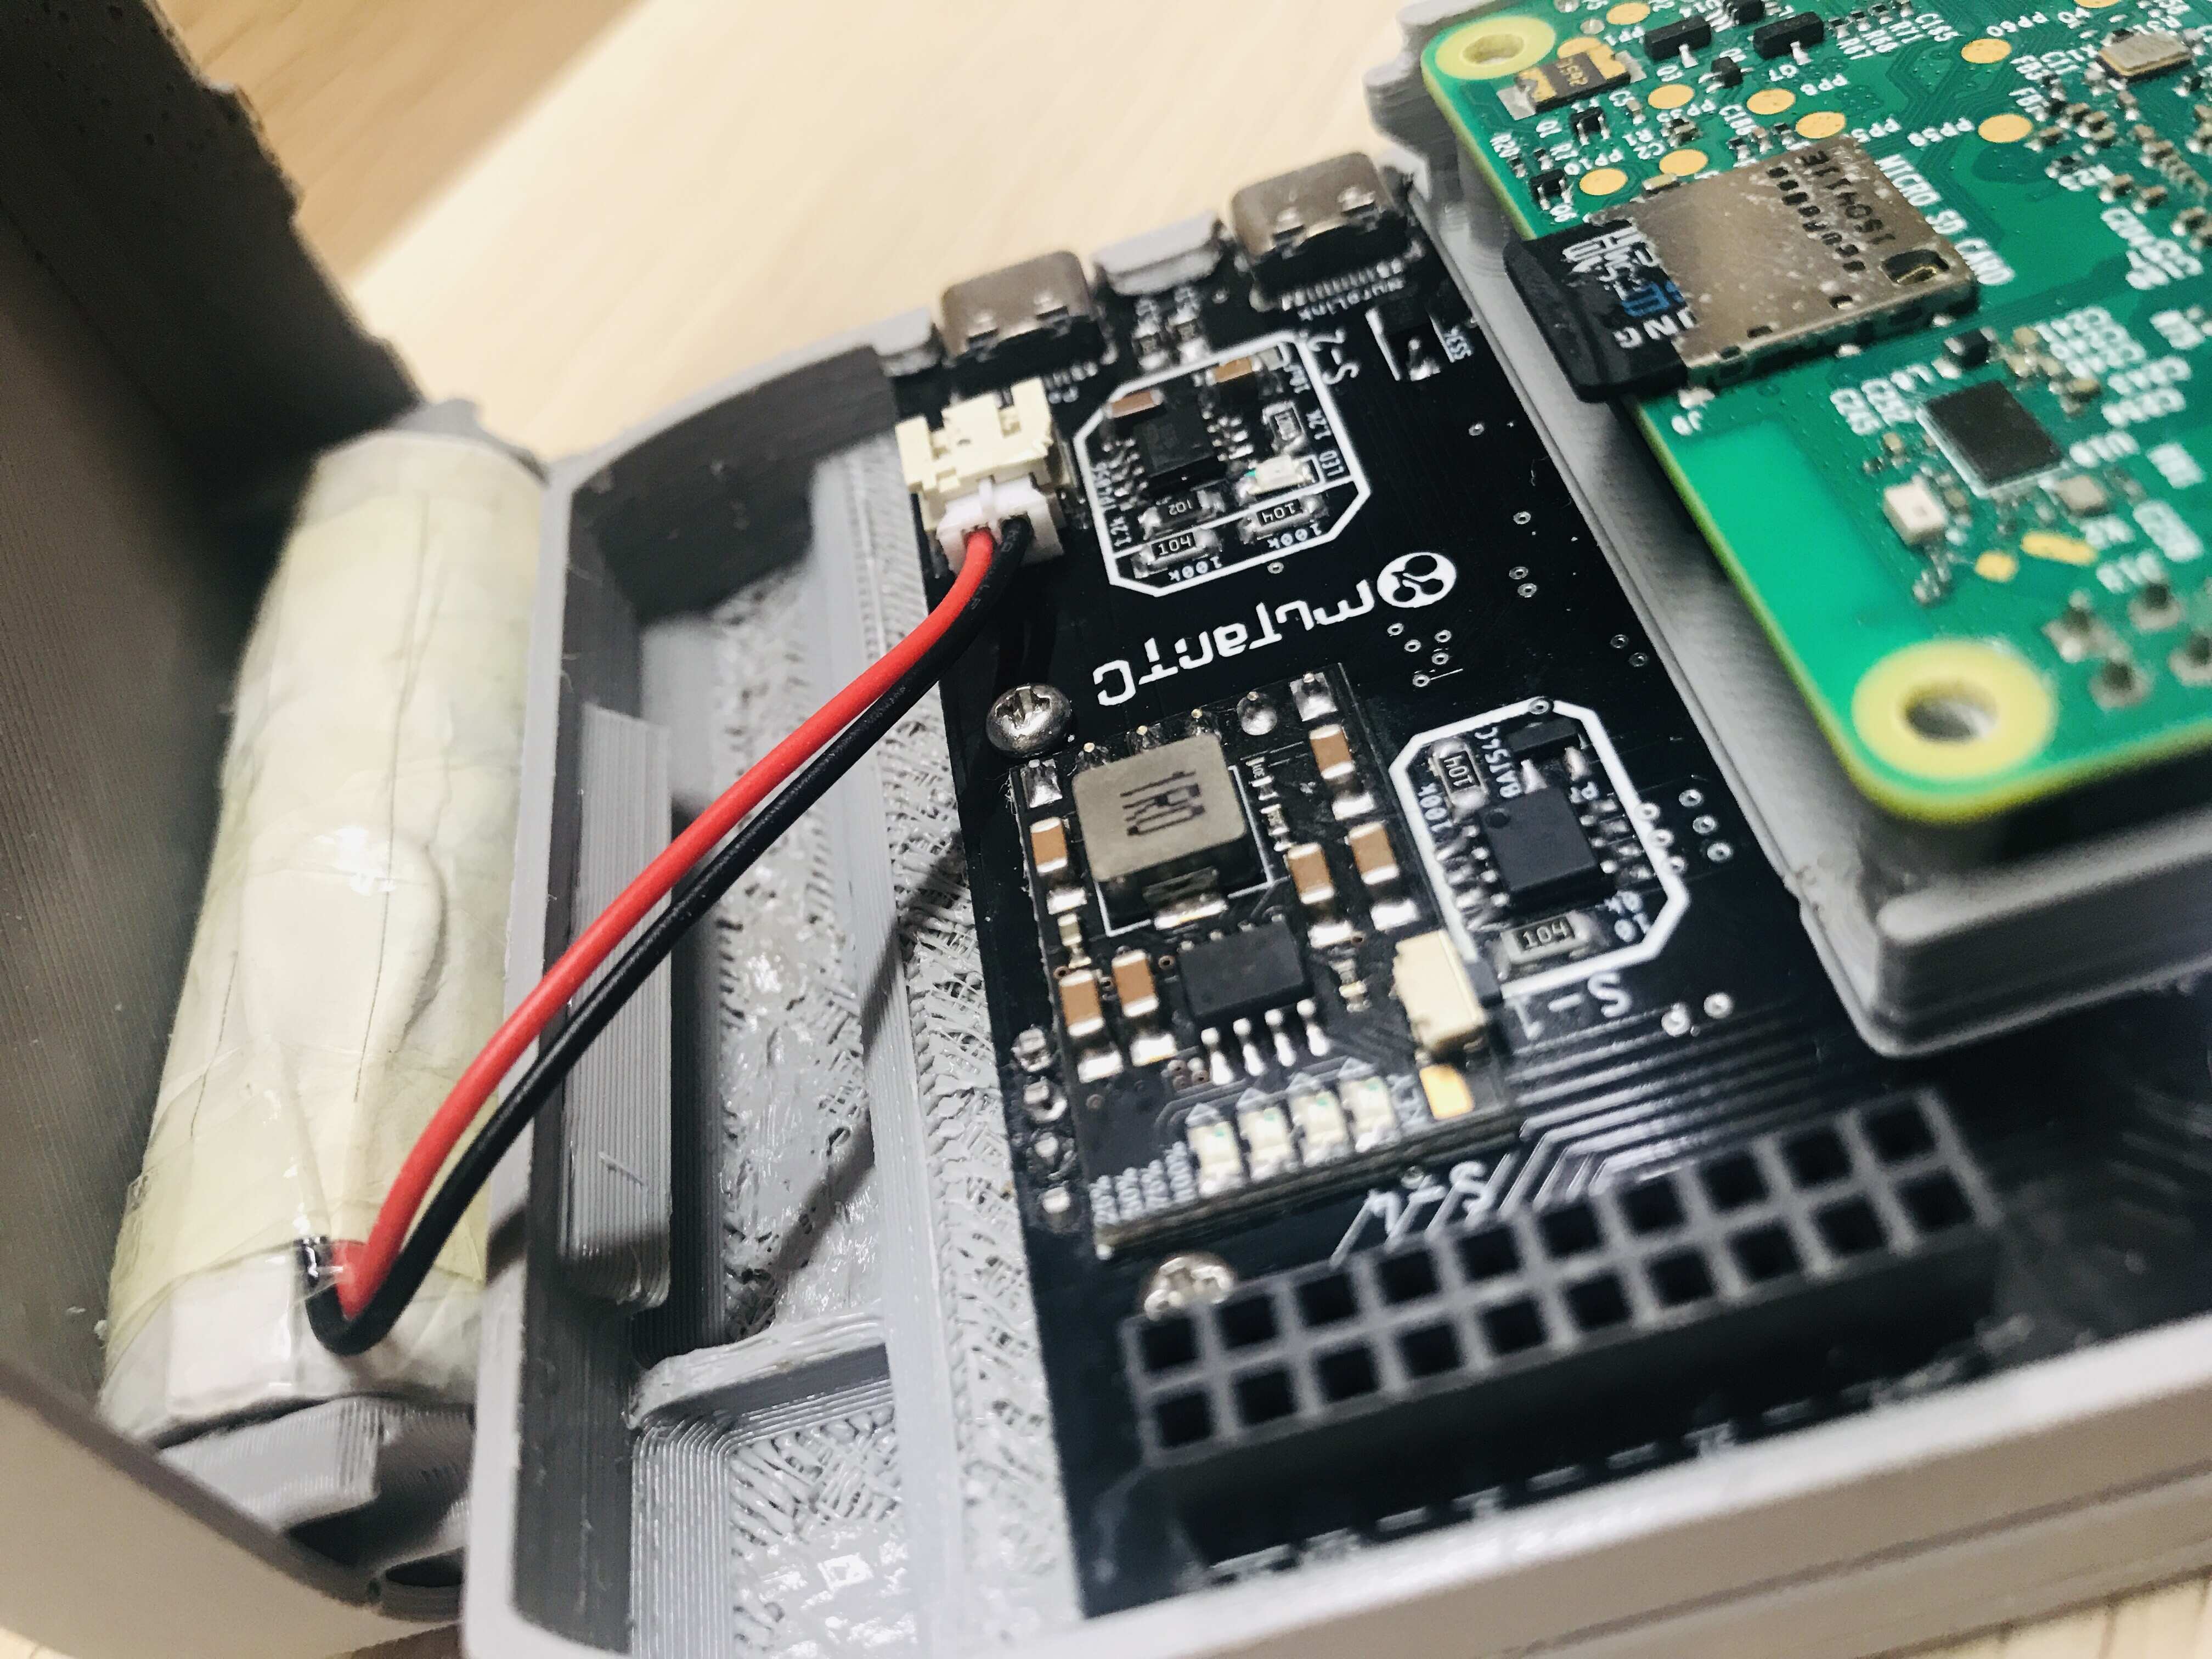
- 18650 battery with charge and discharge protection.
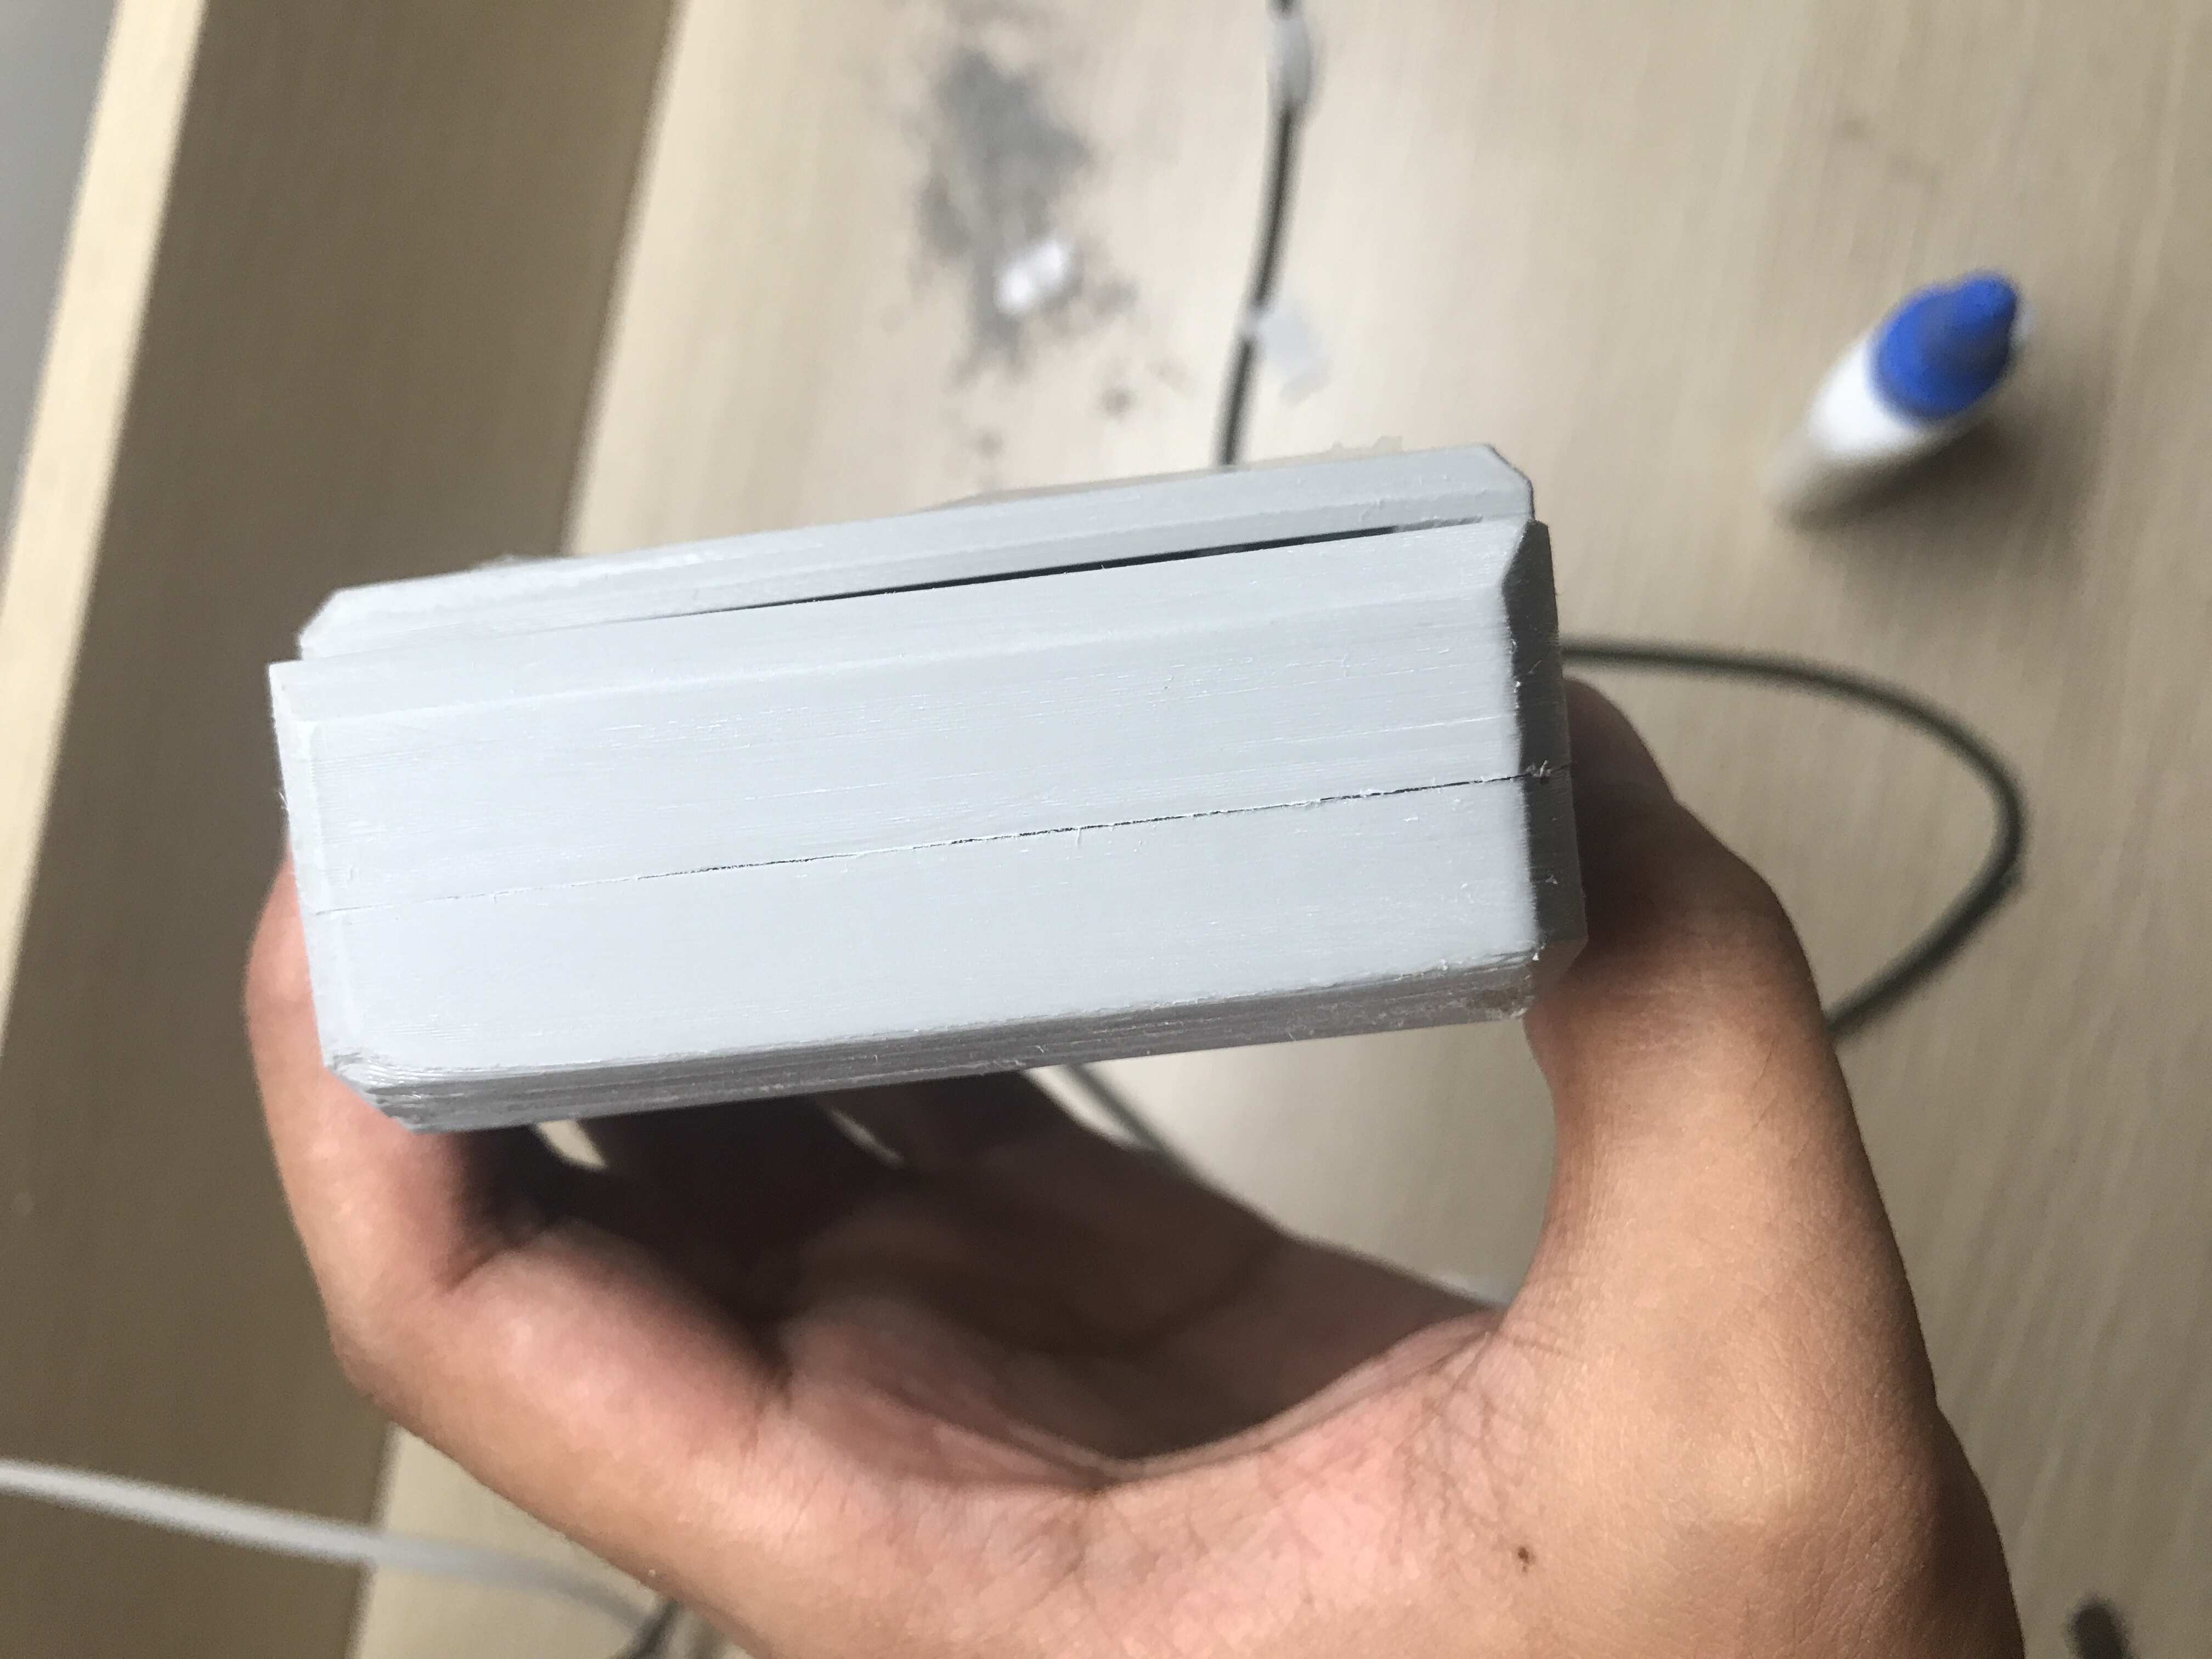
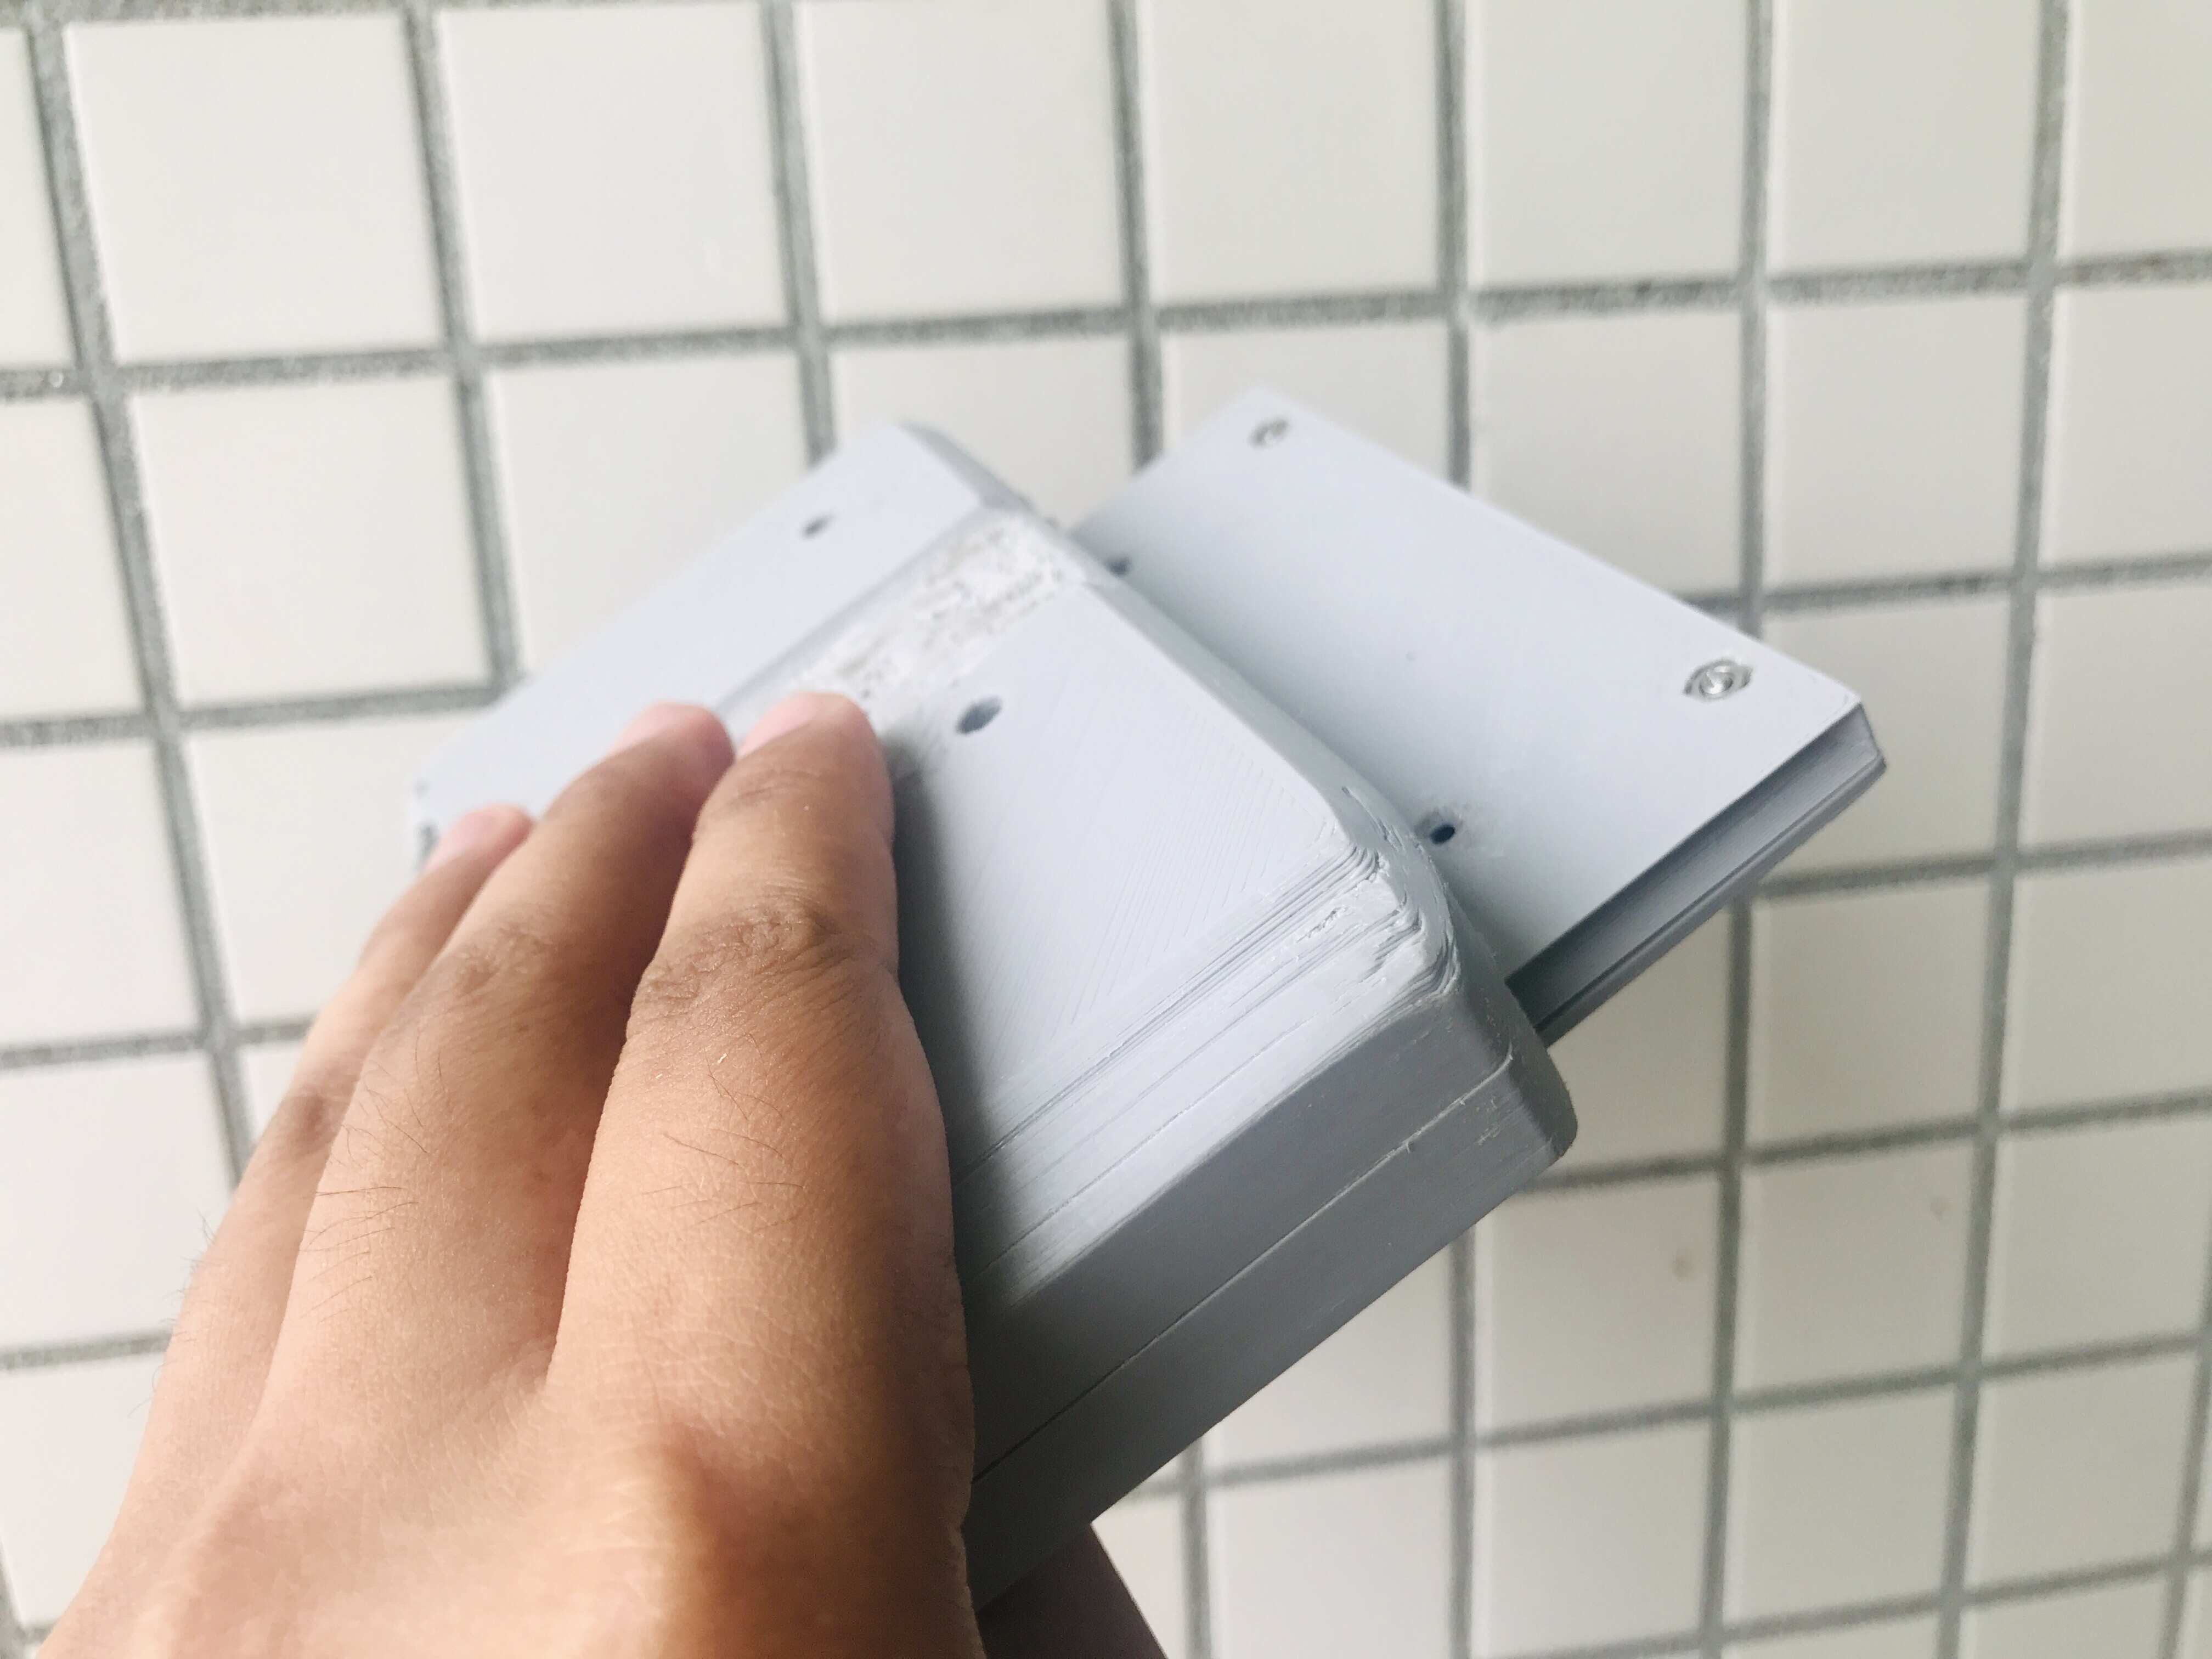
- Improvements to casing to better fit out from the print.
Getting started
Take a look at this in 3D using AutoDesk Fusion 360 Online.
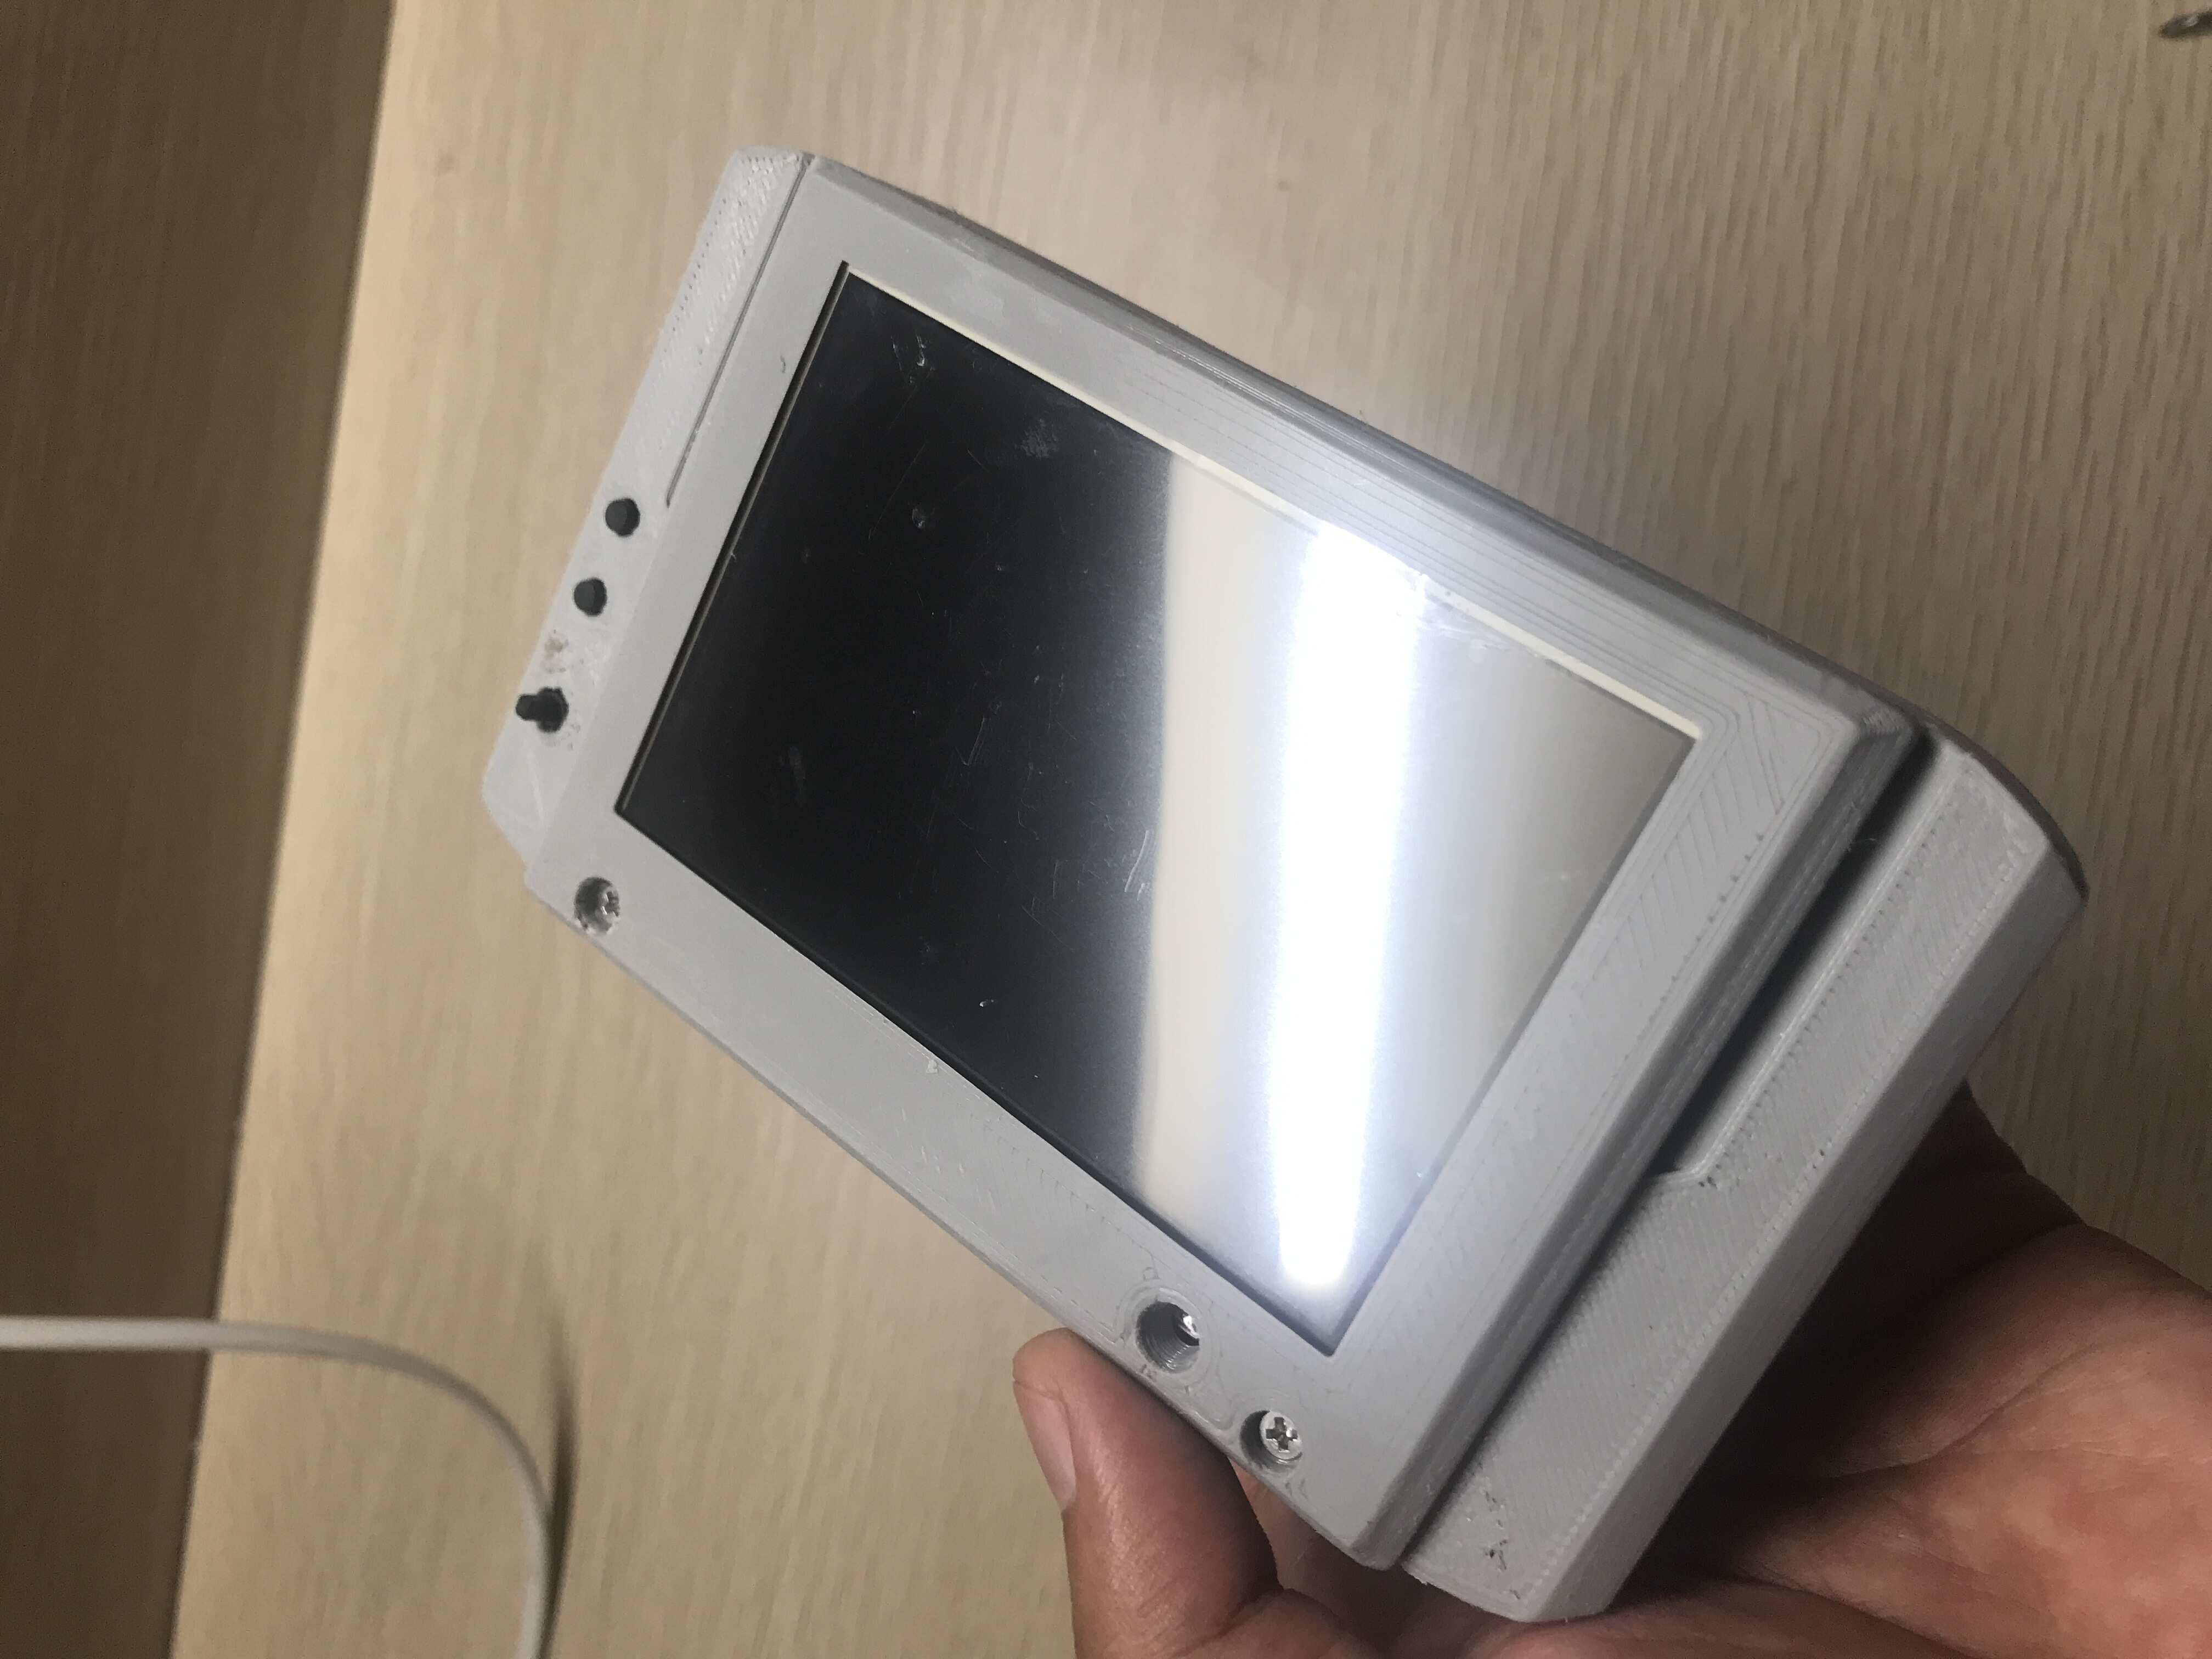
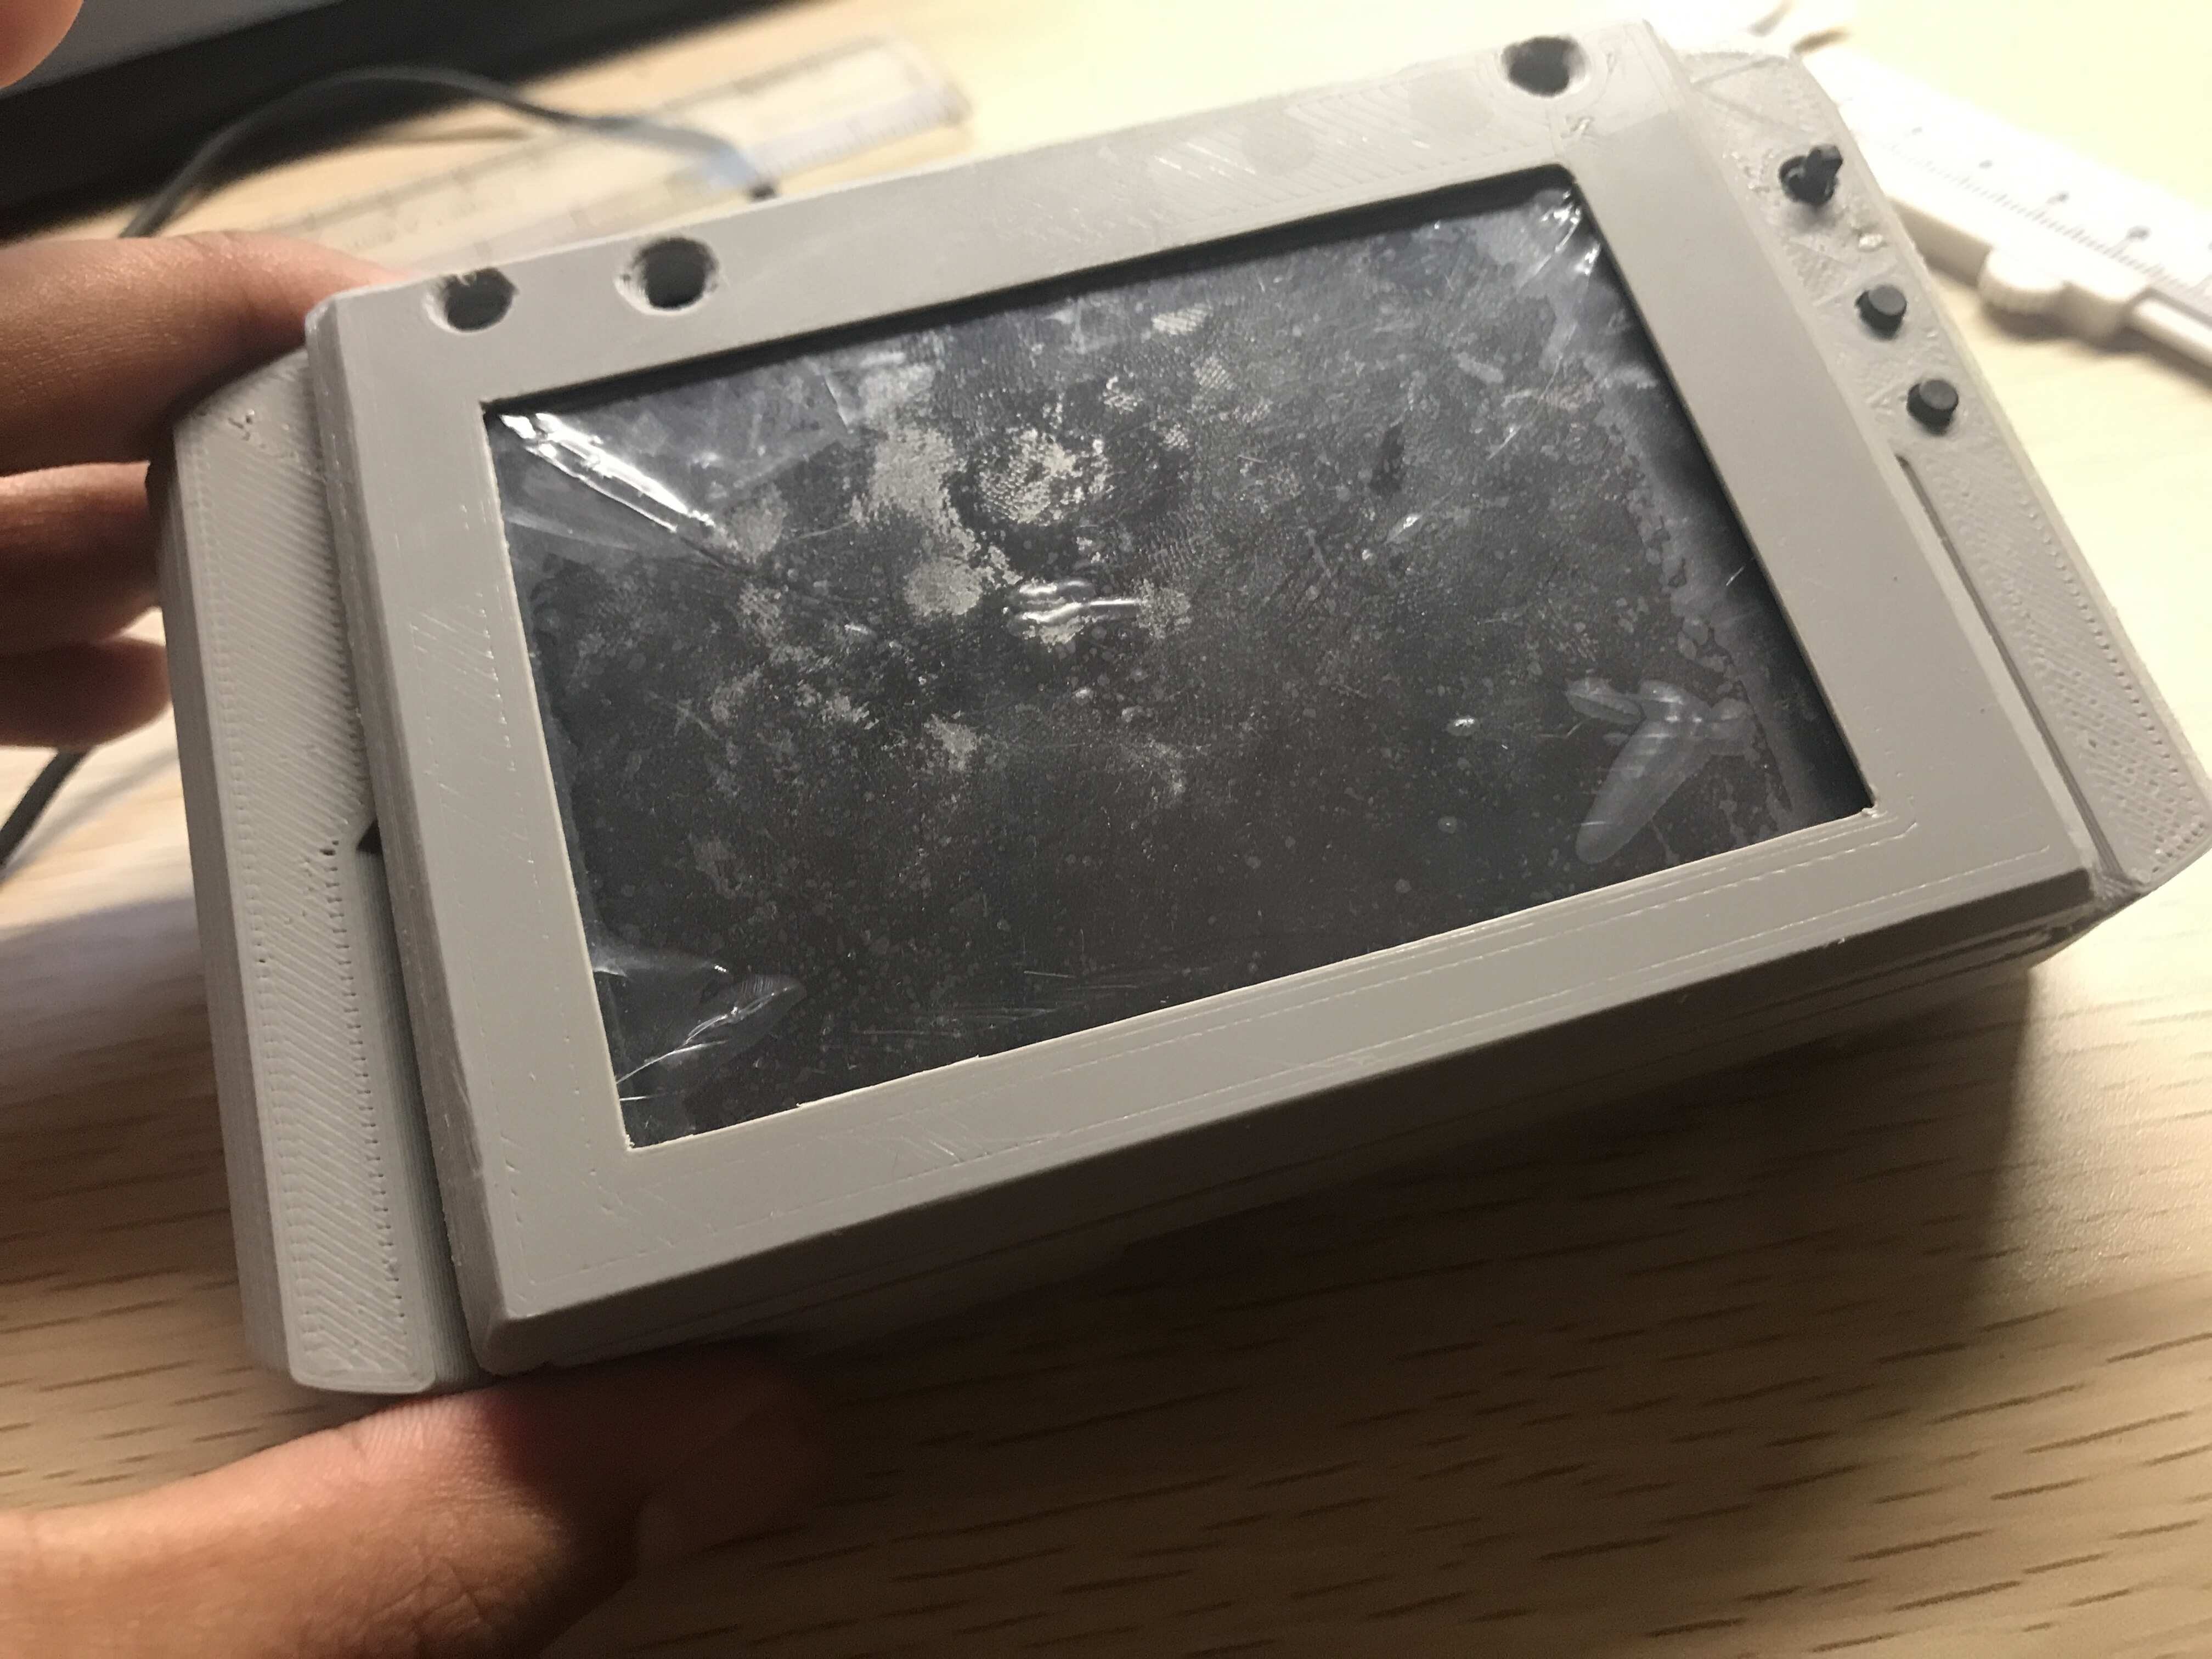
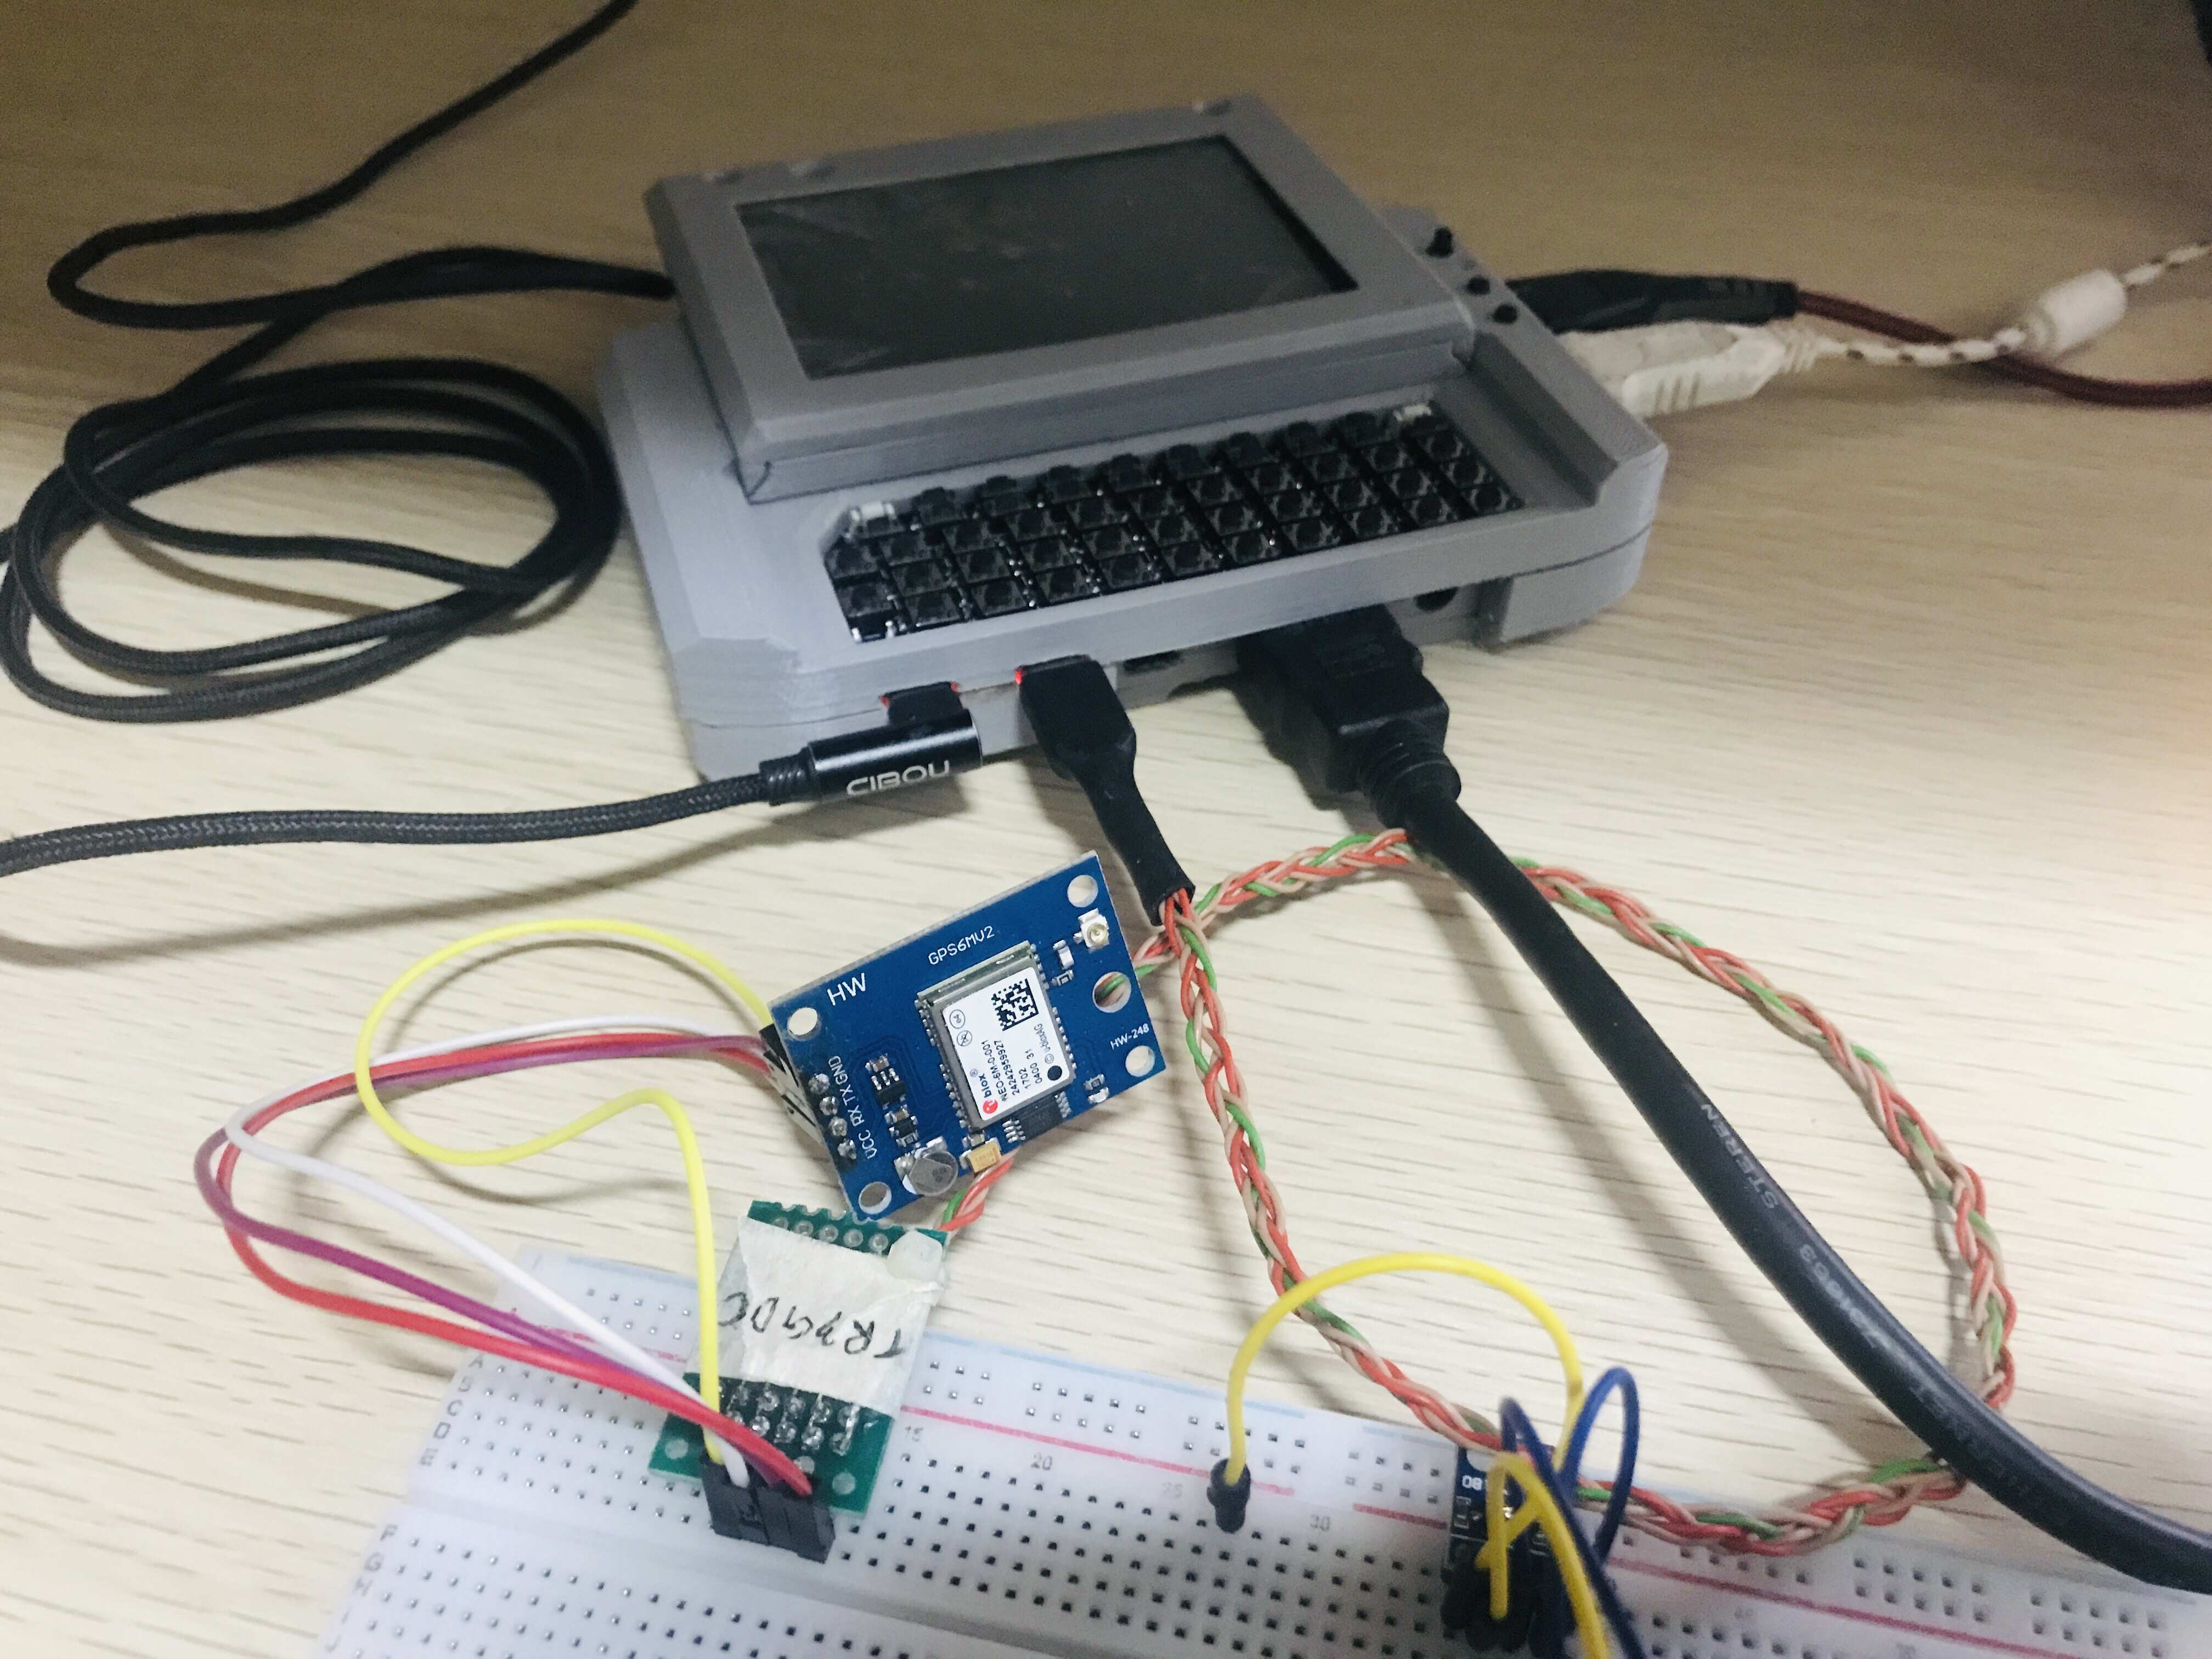
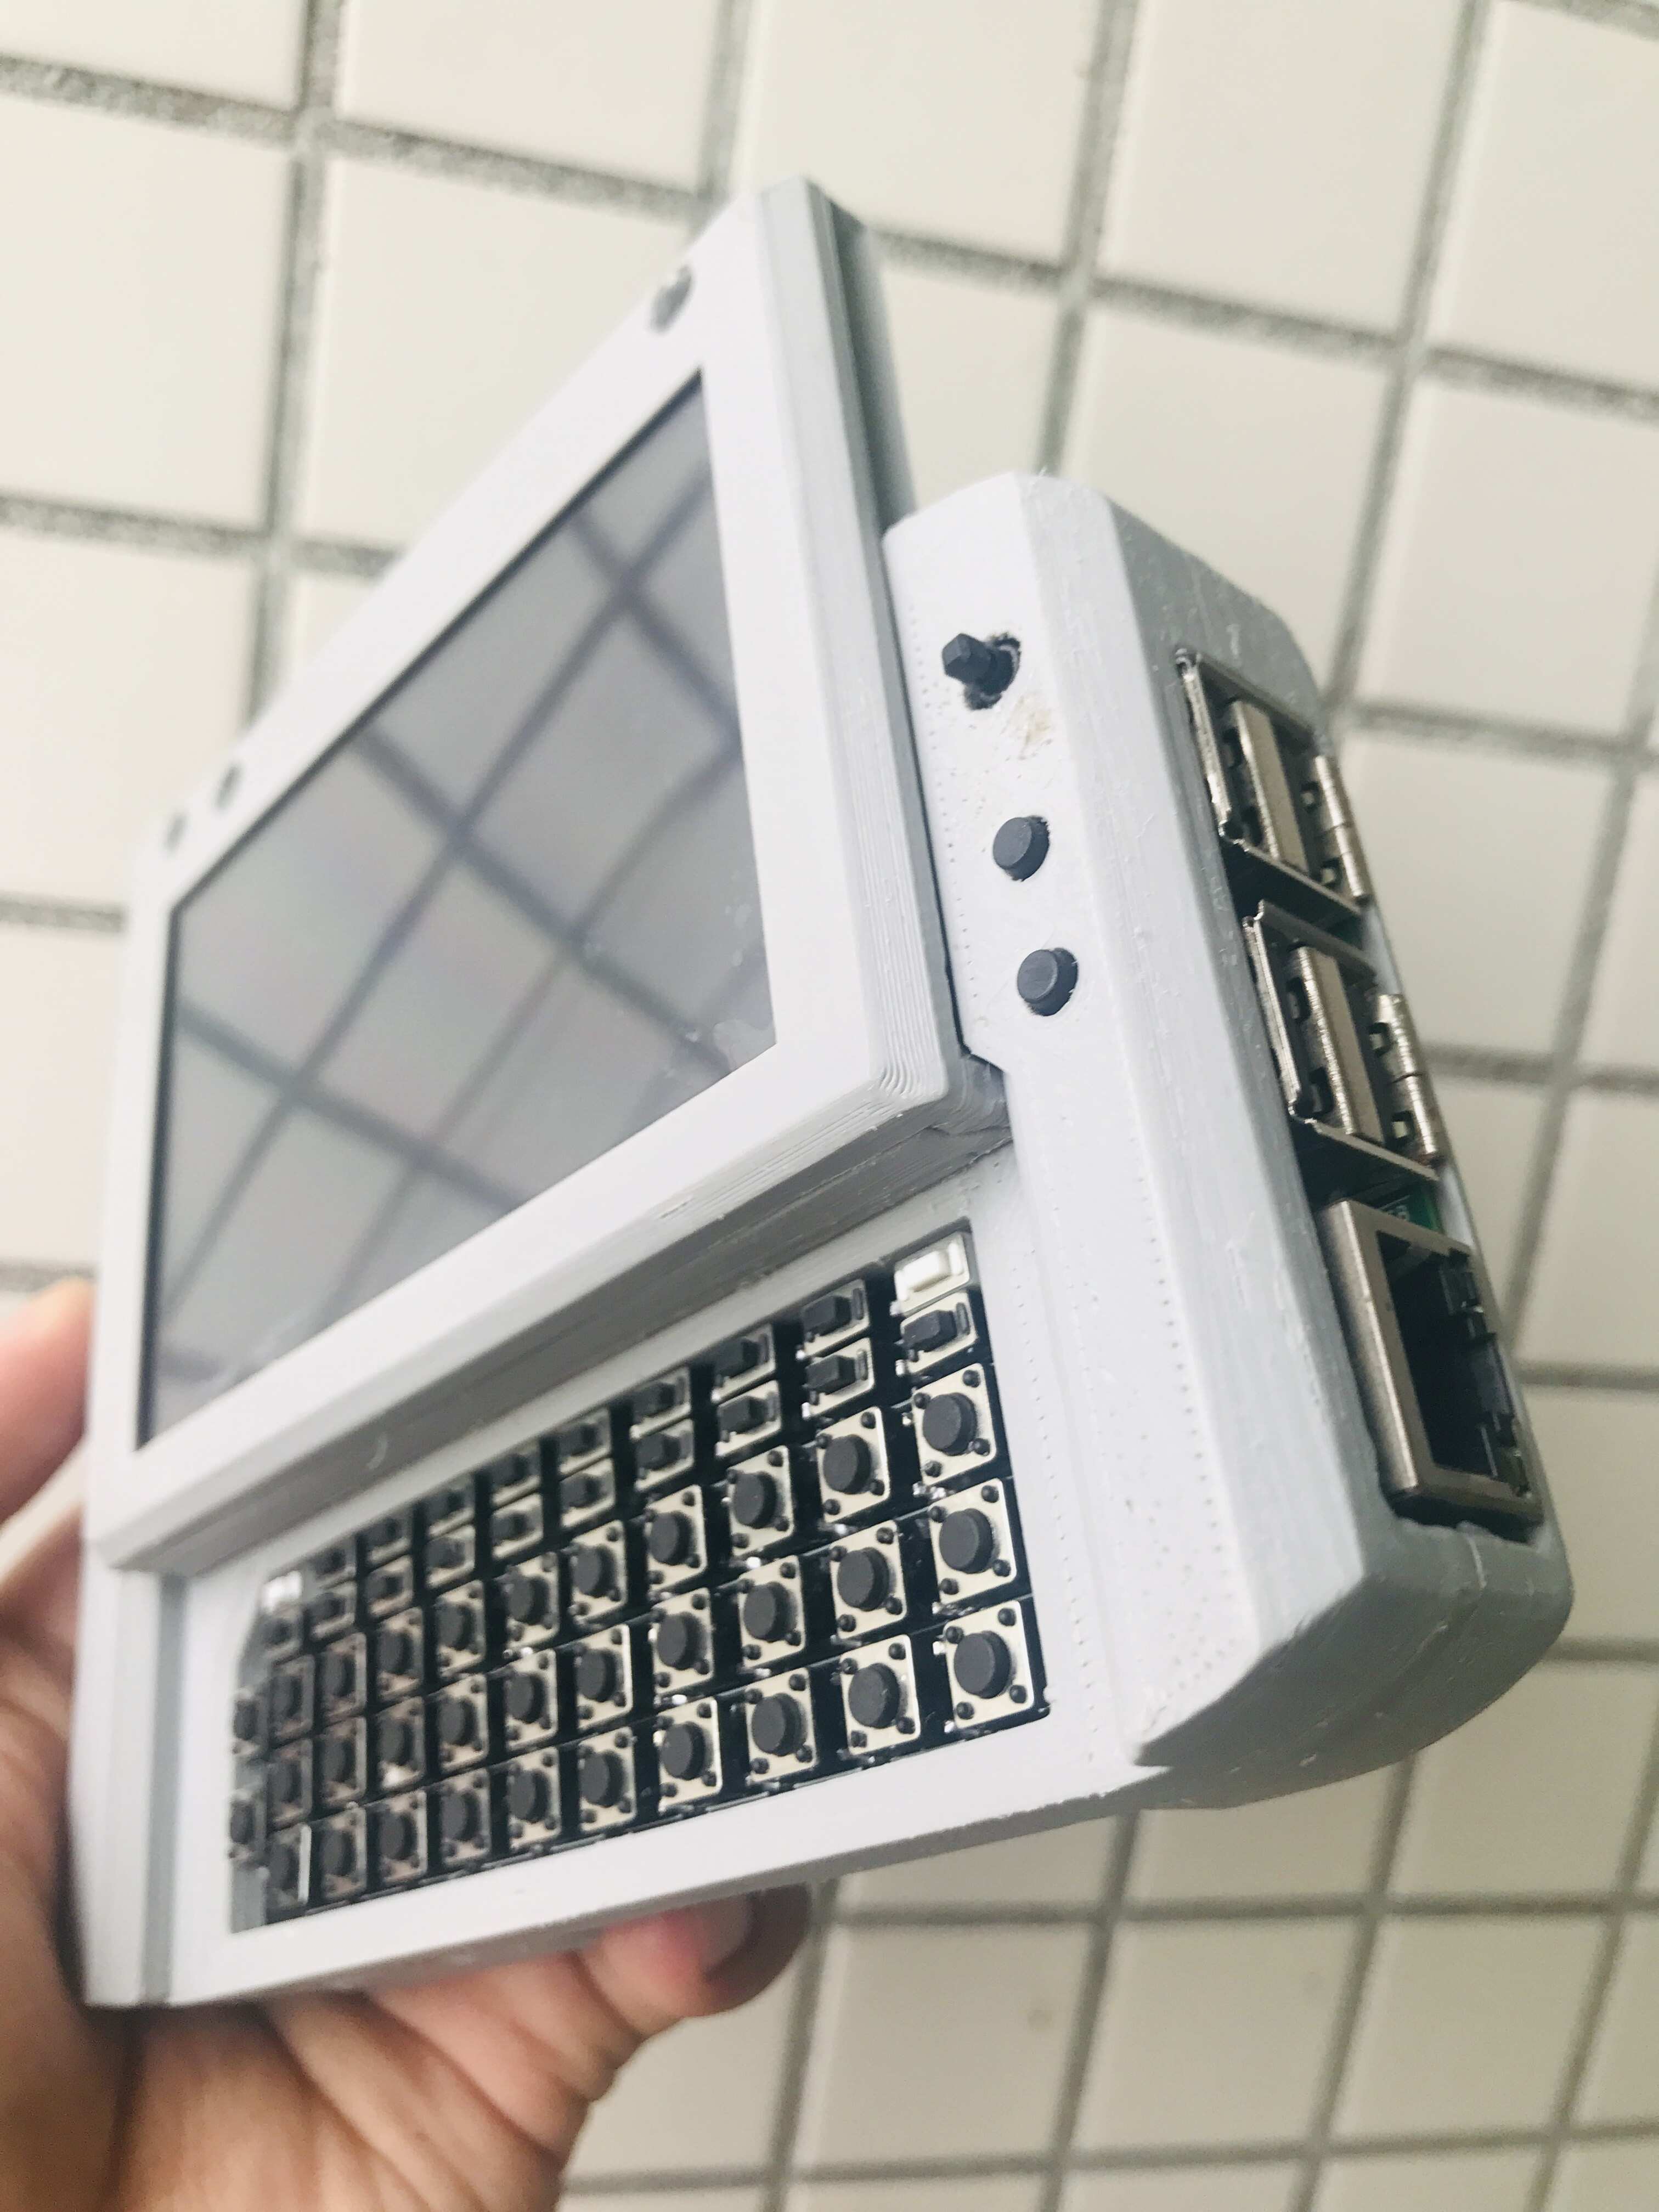
A Raspberry-pi handheld platform with a physical keyboard, Display and Expansion header for add-on boards (Like Arduino Shield).
Here we will discuss what you need to build one. This device is very easy to make, you don't need lots of tools and parts.
No codding skill is needed. just basic stuff like upload a code to Arduino, little skill in Linux CMD line to install the driver. Little soldering skill that's all.
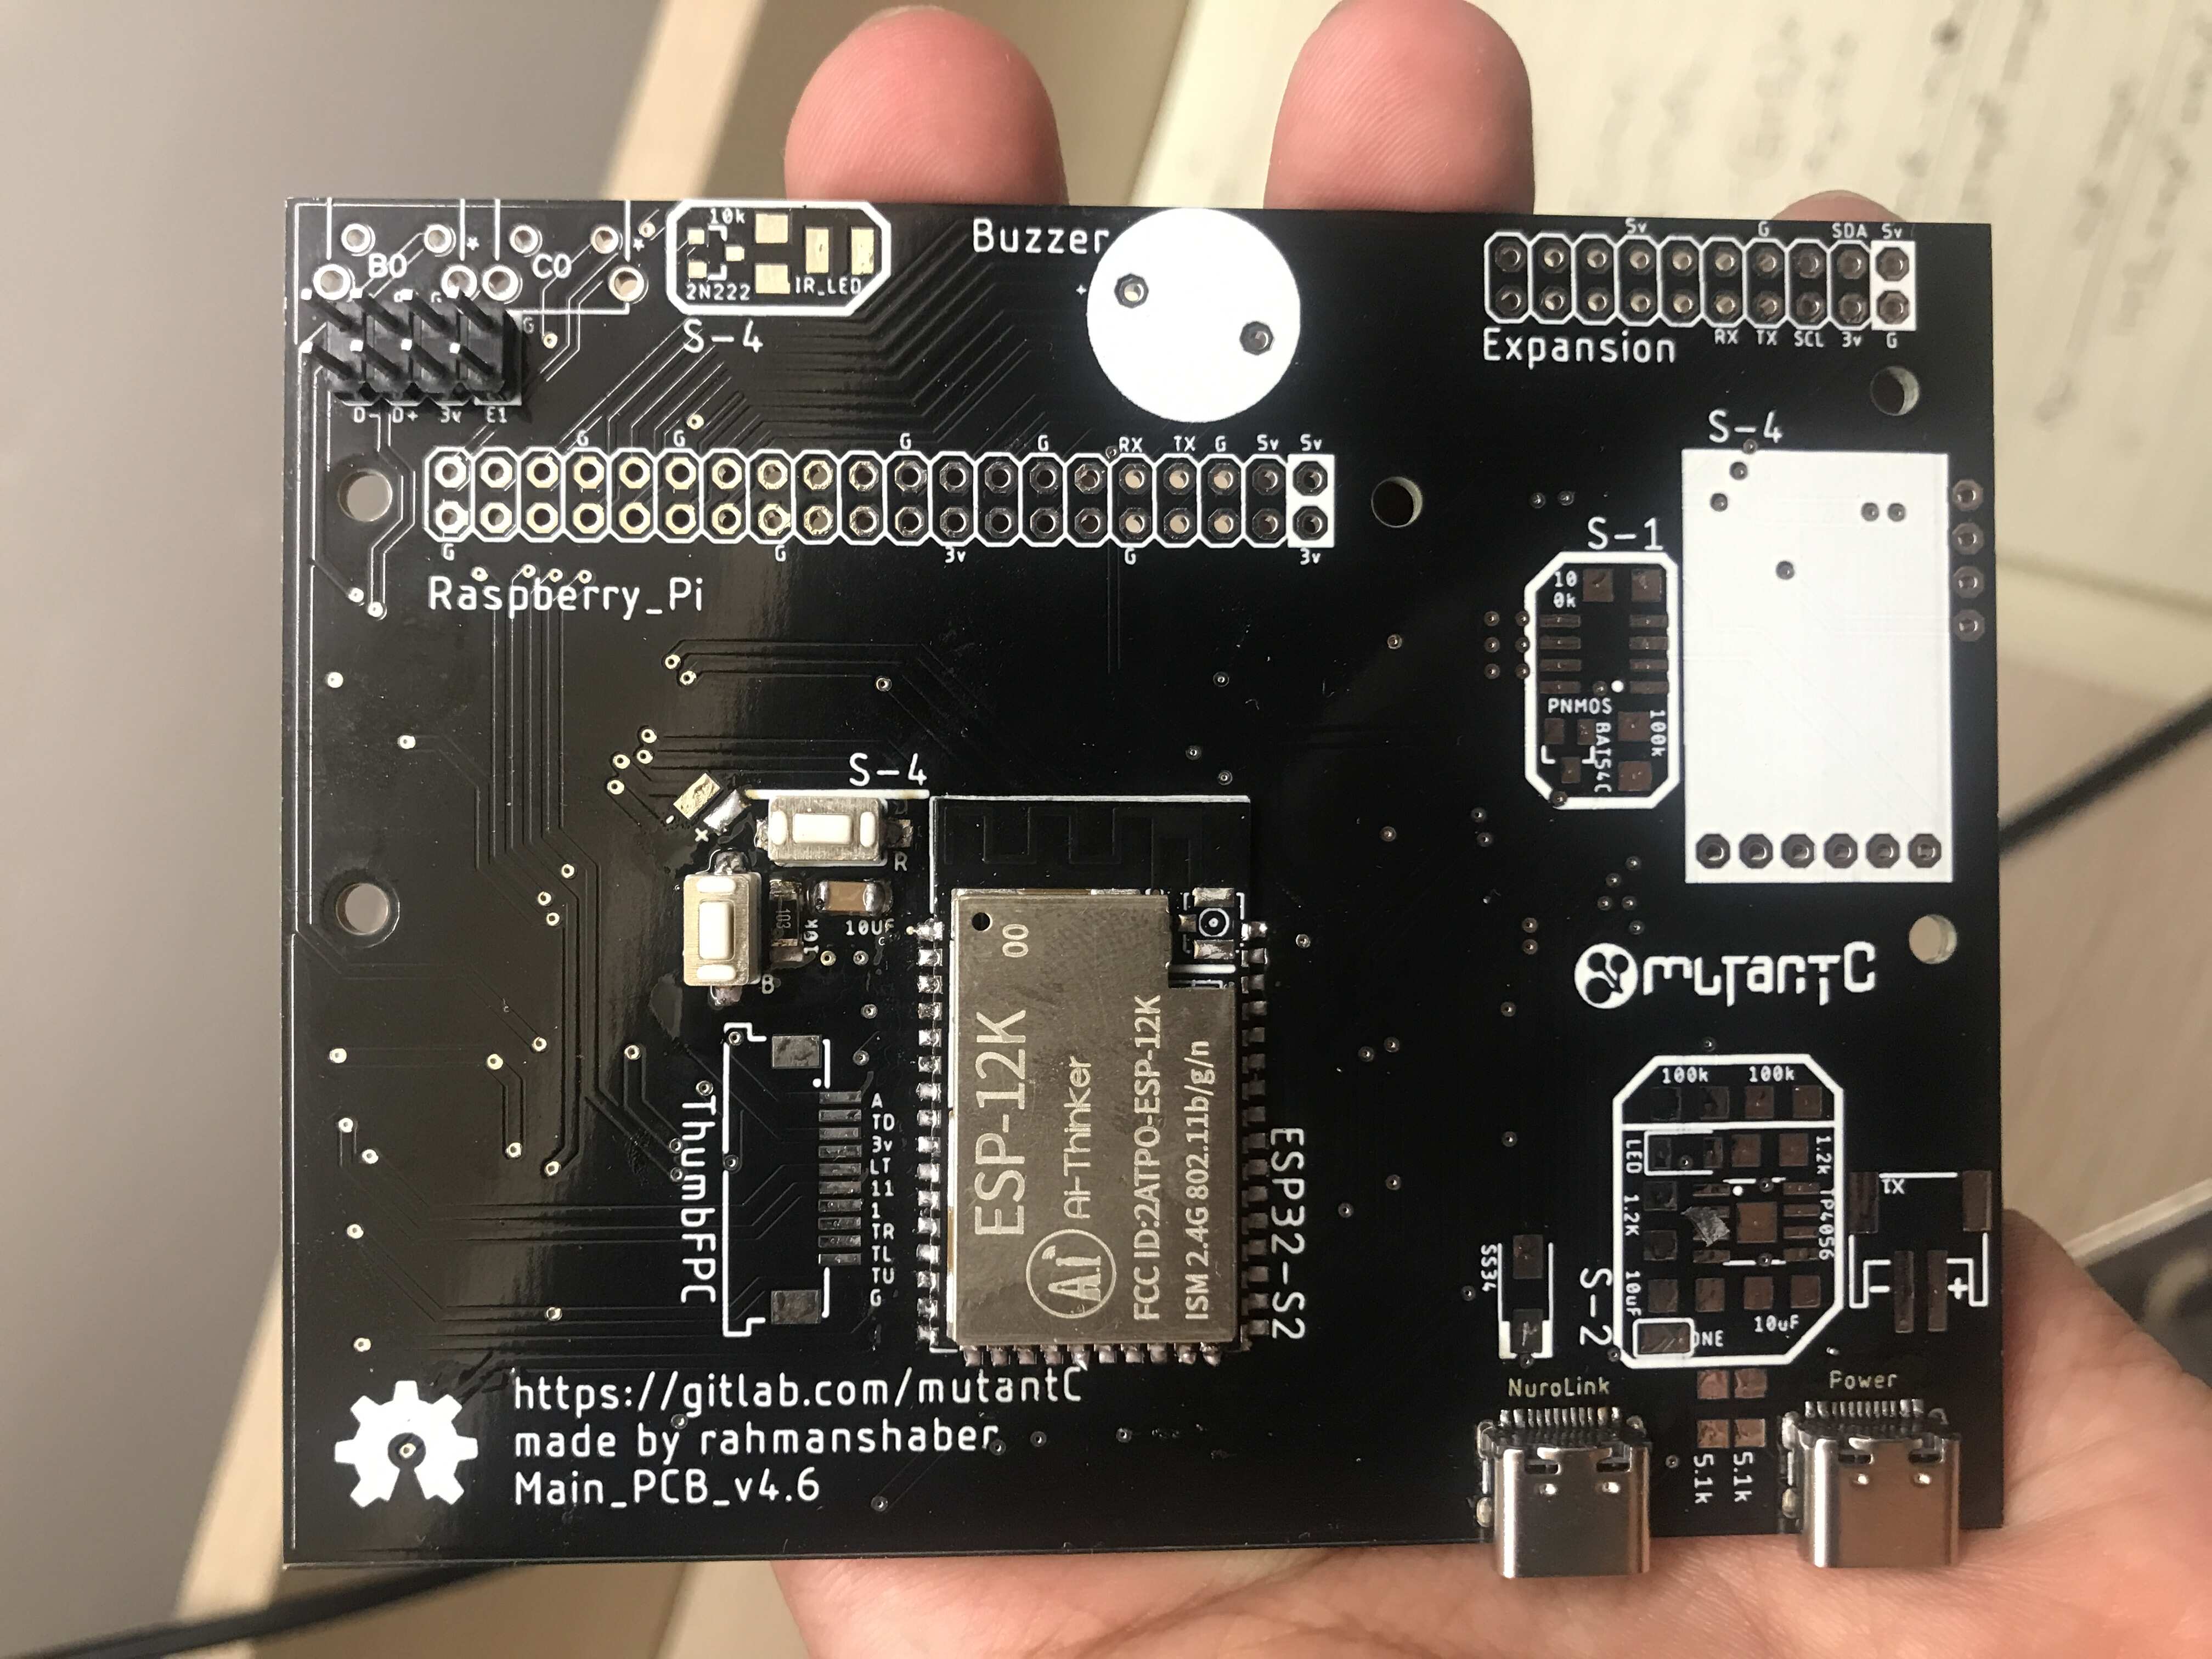
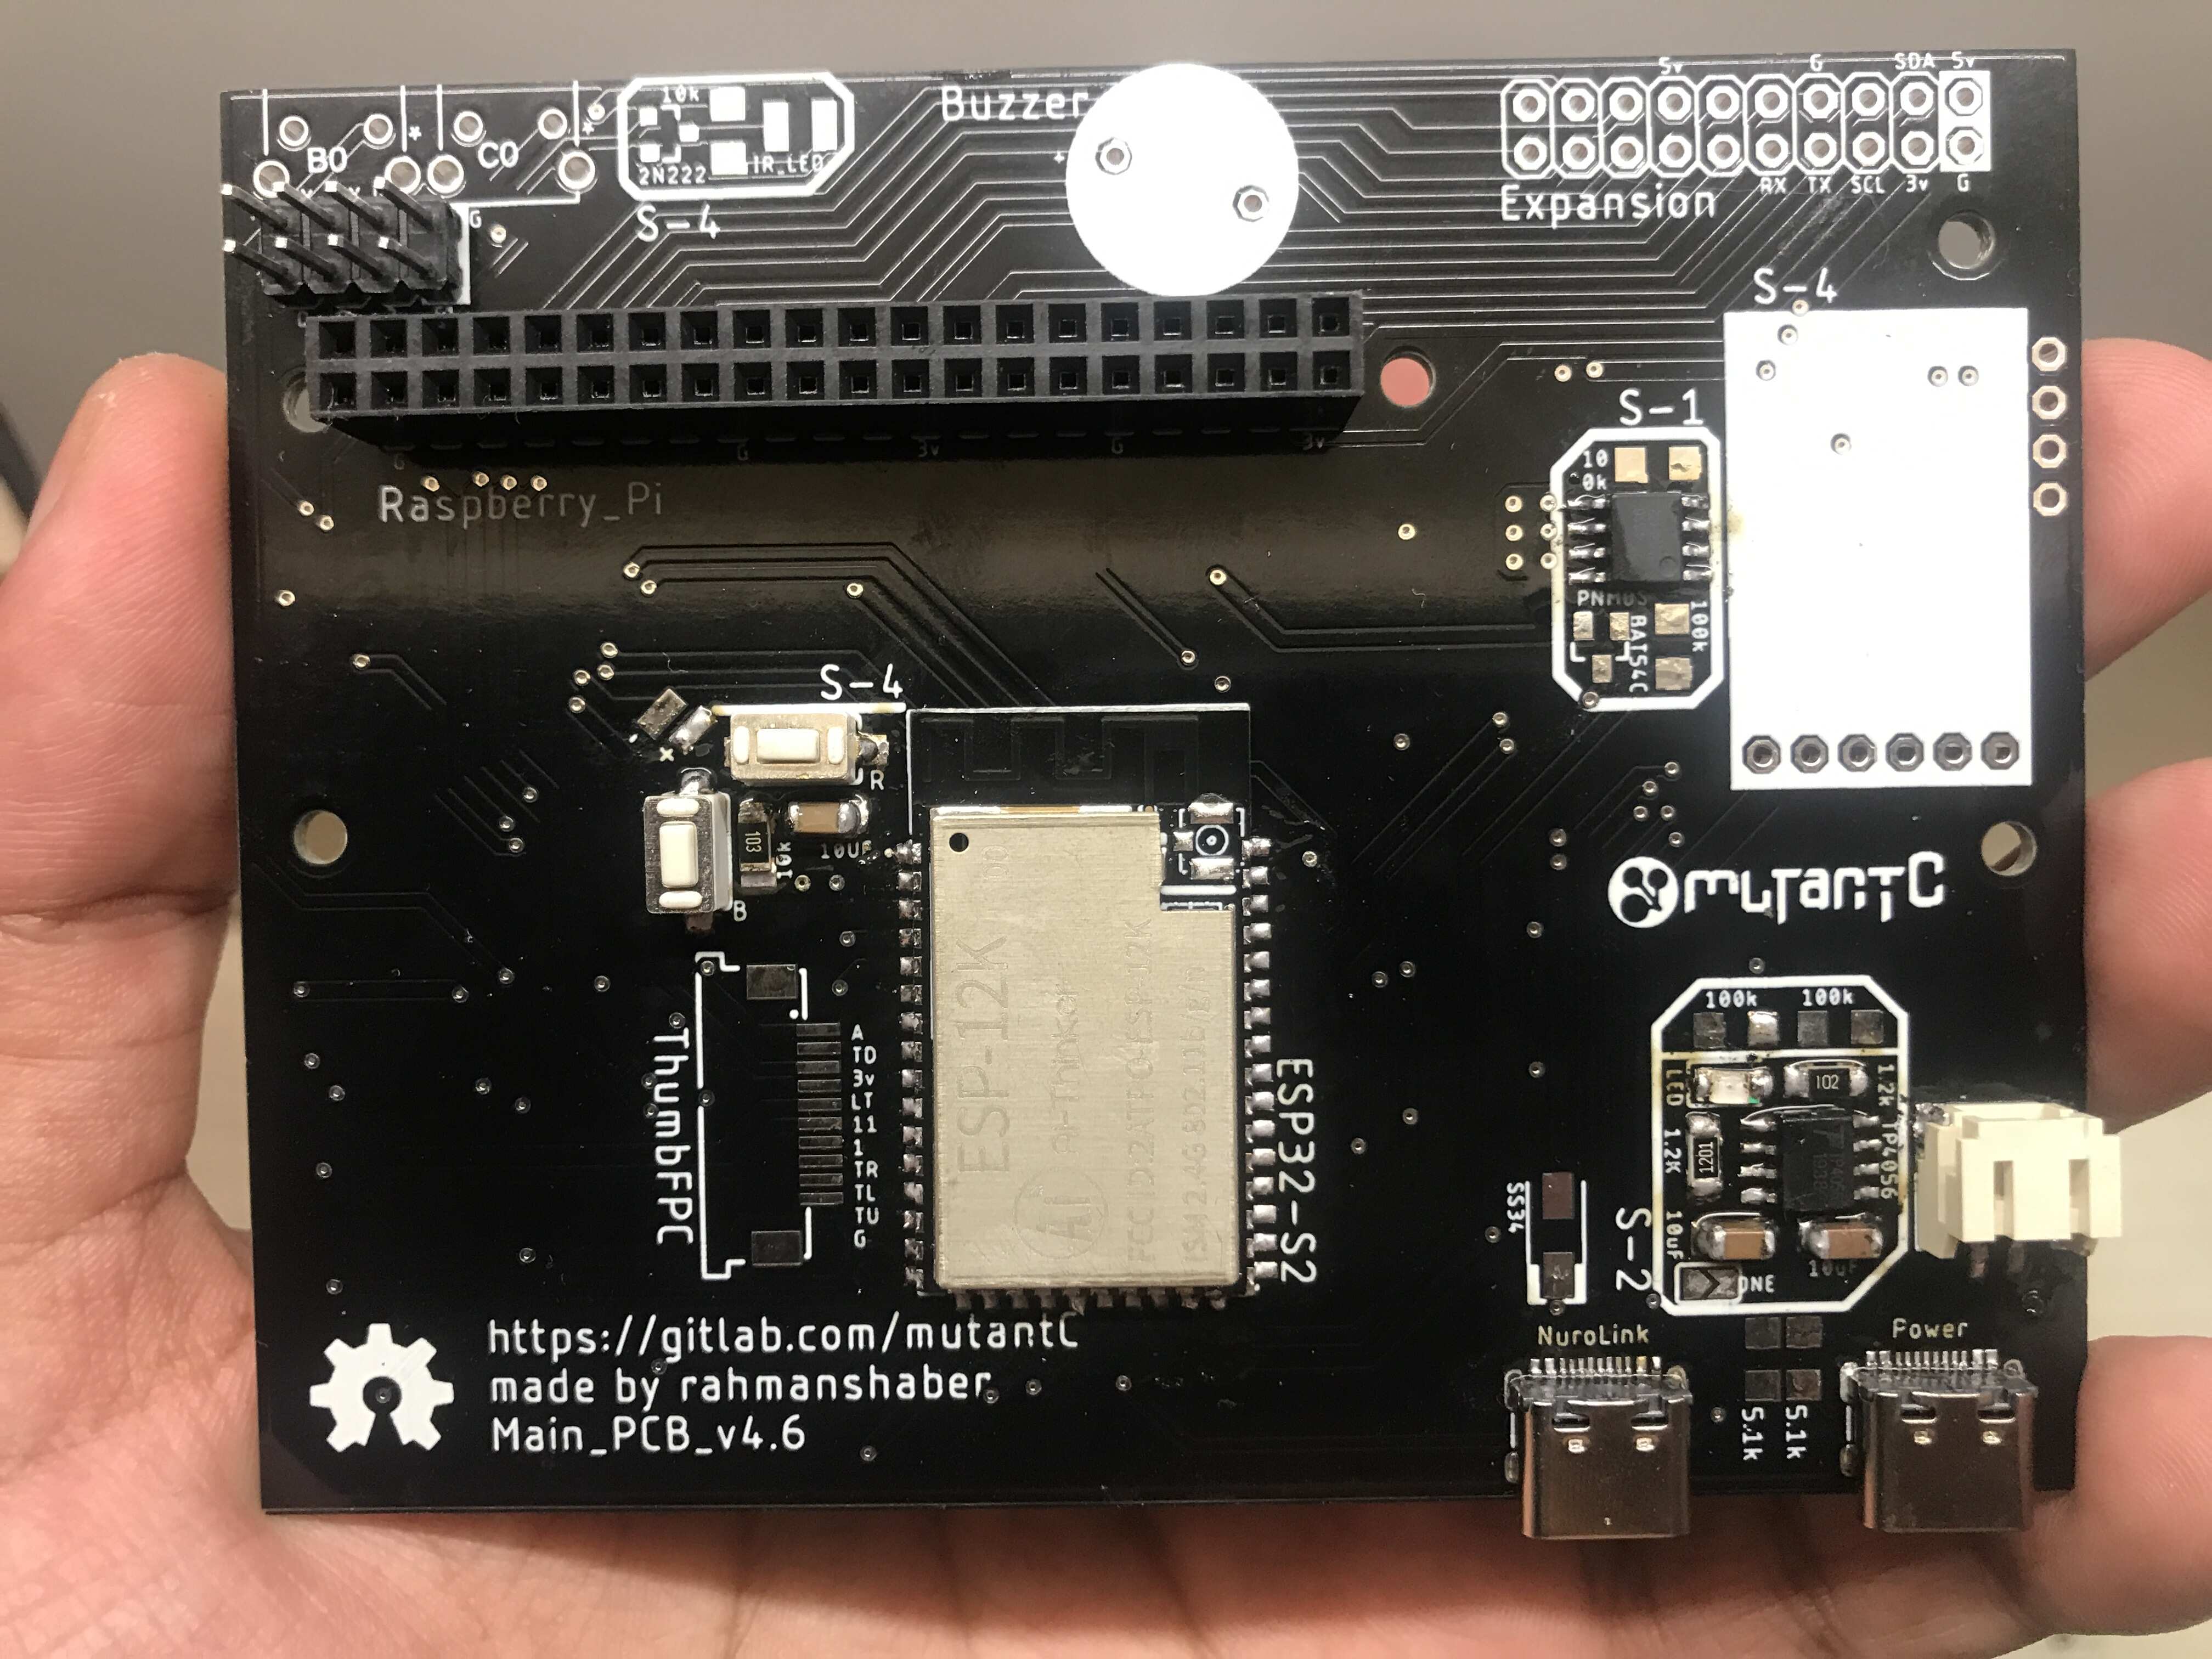
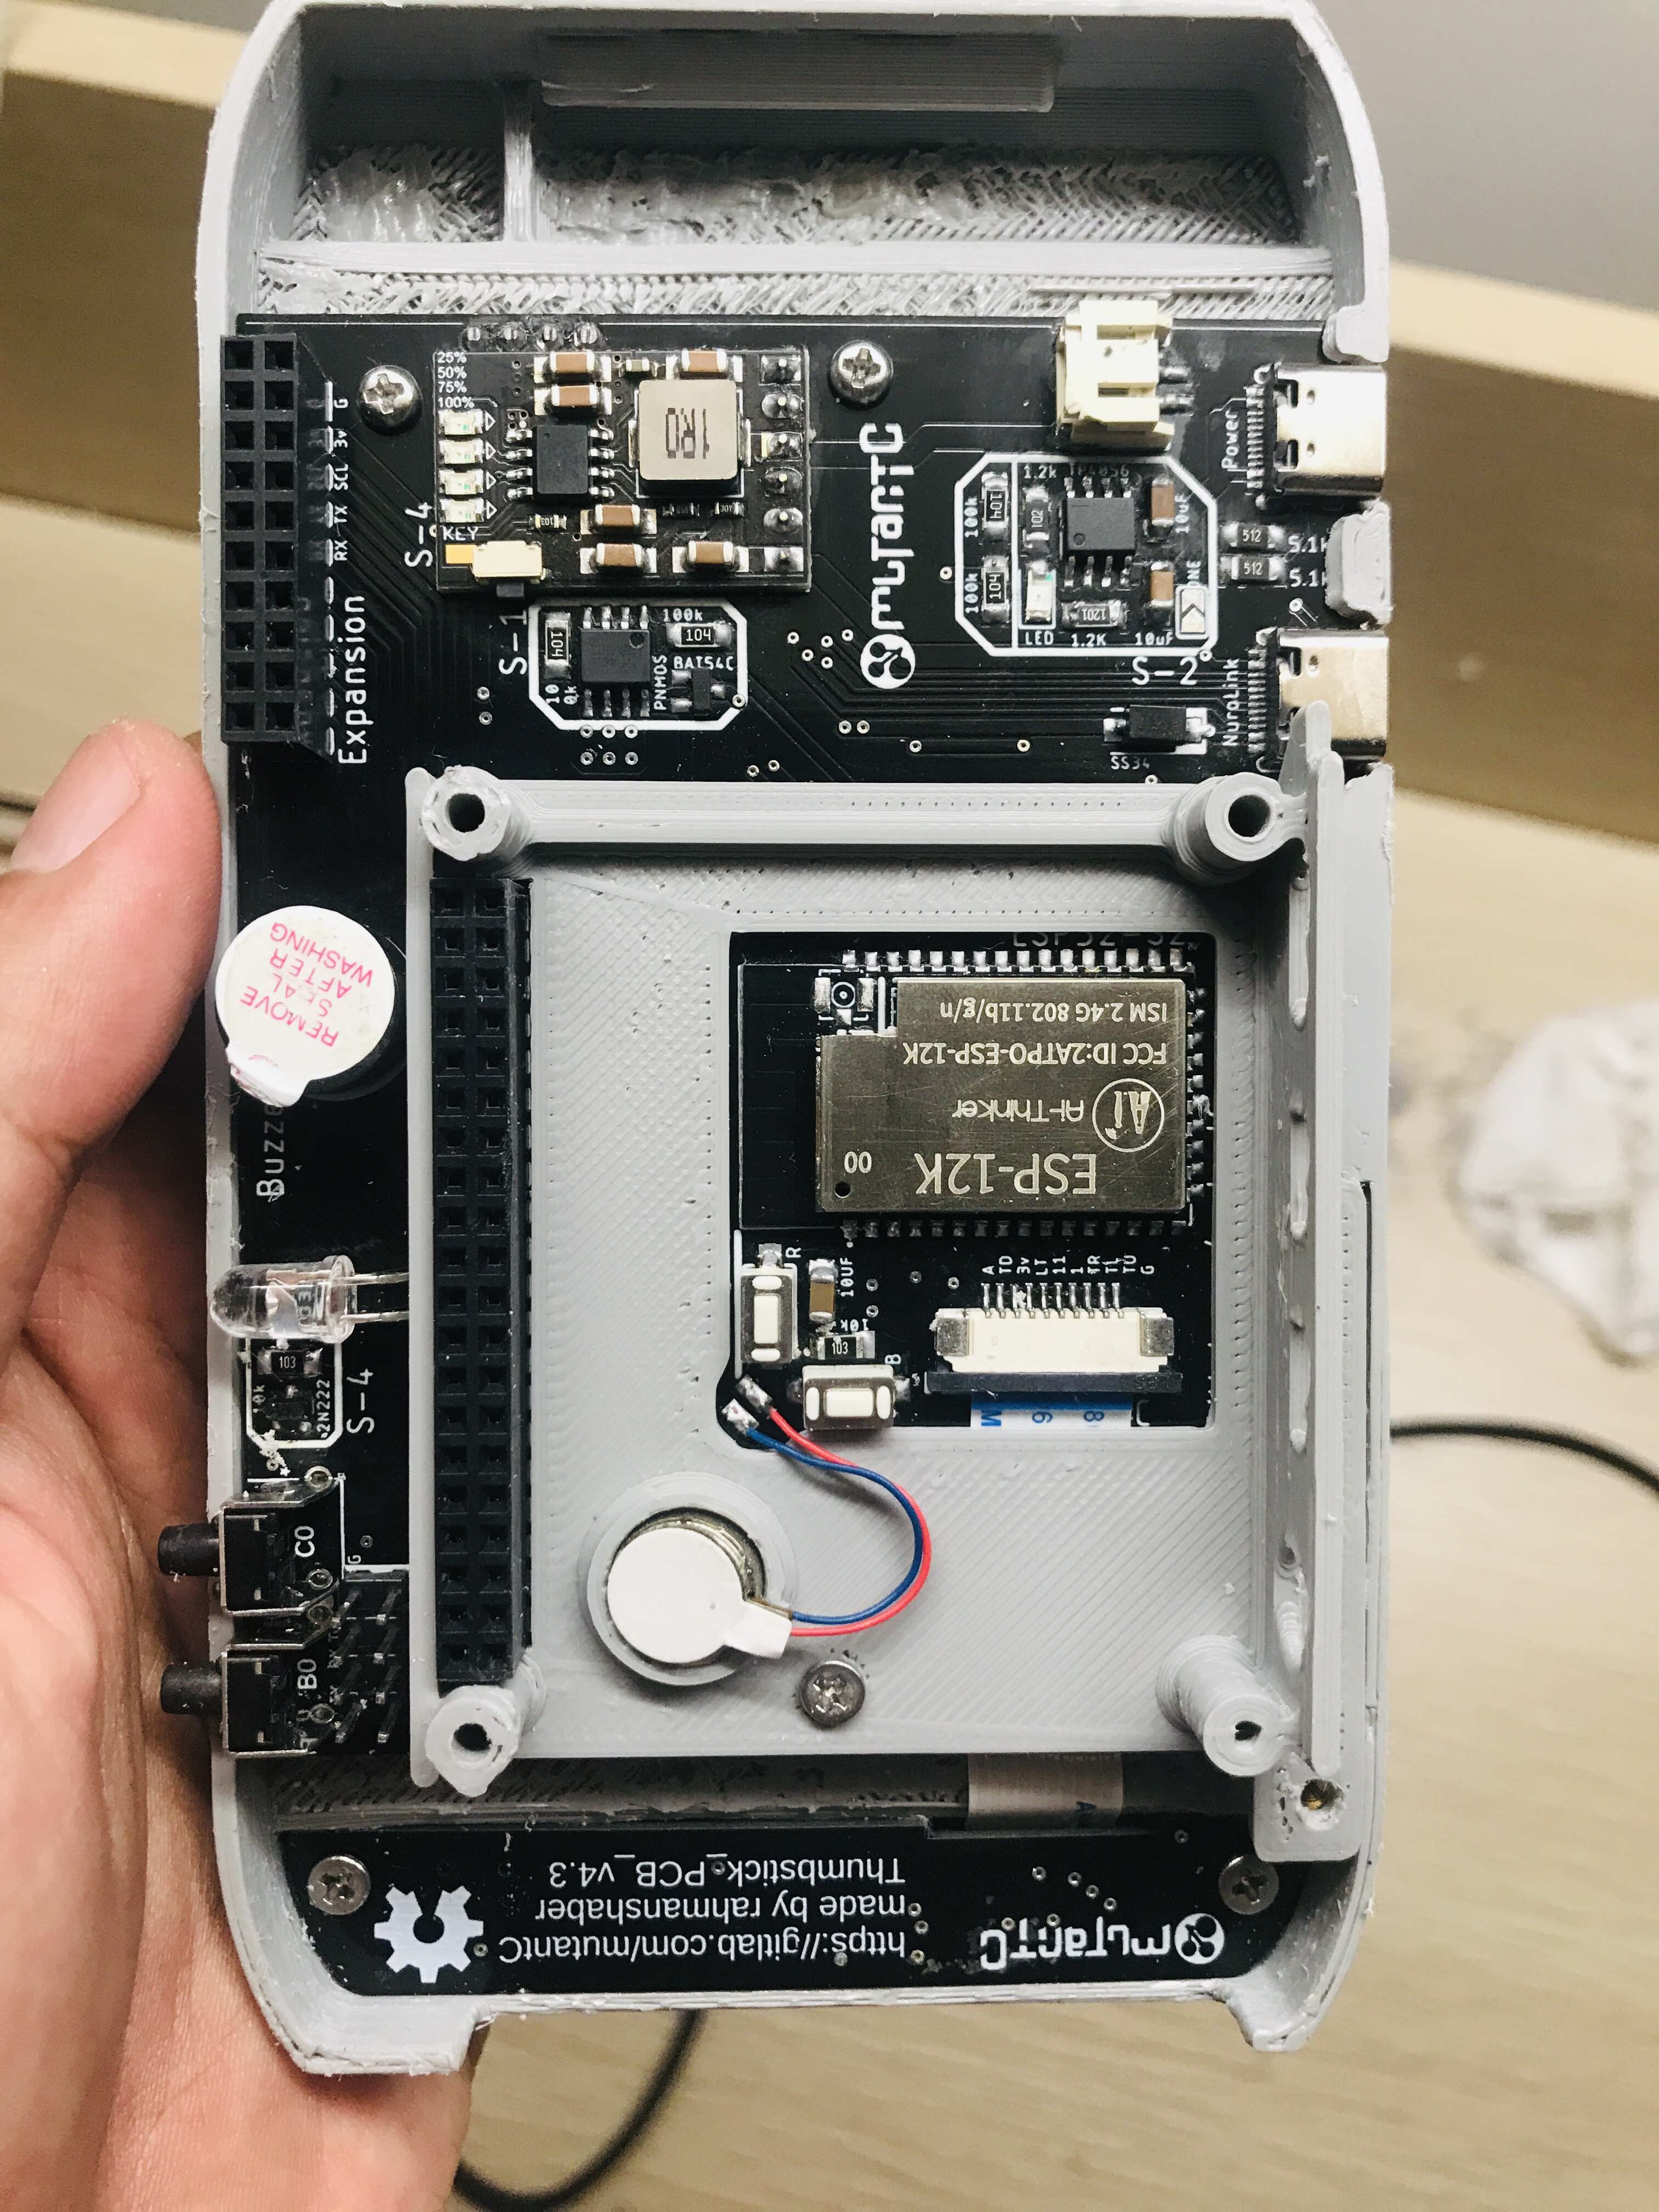
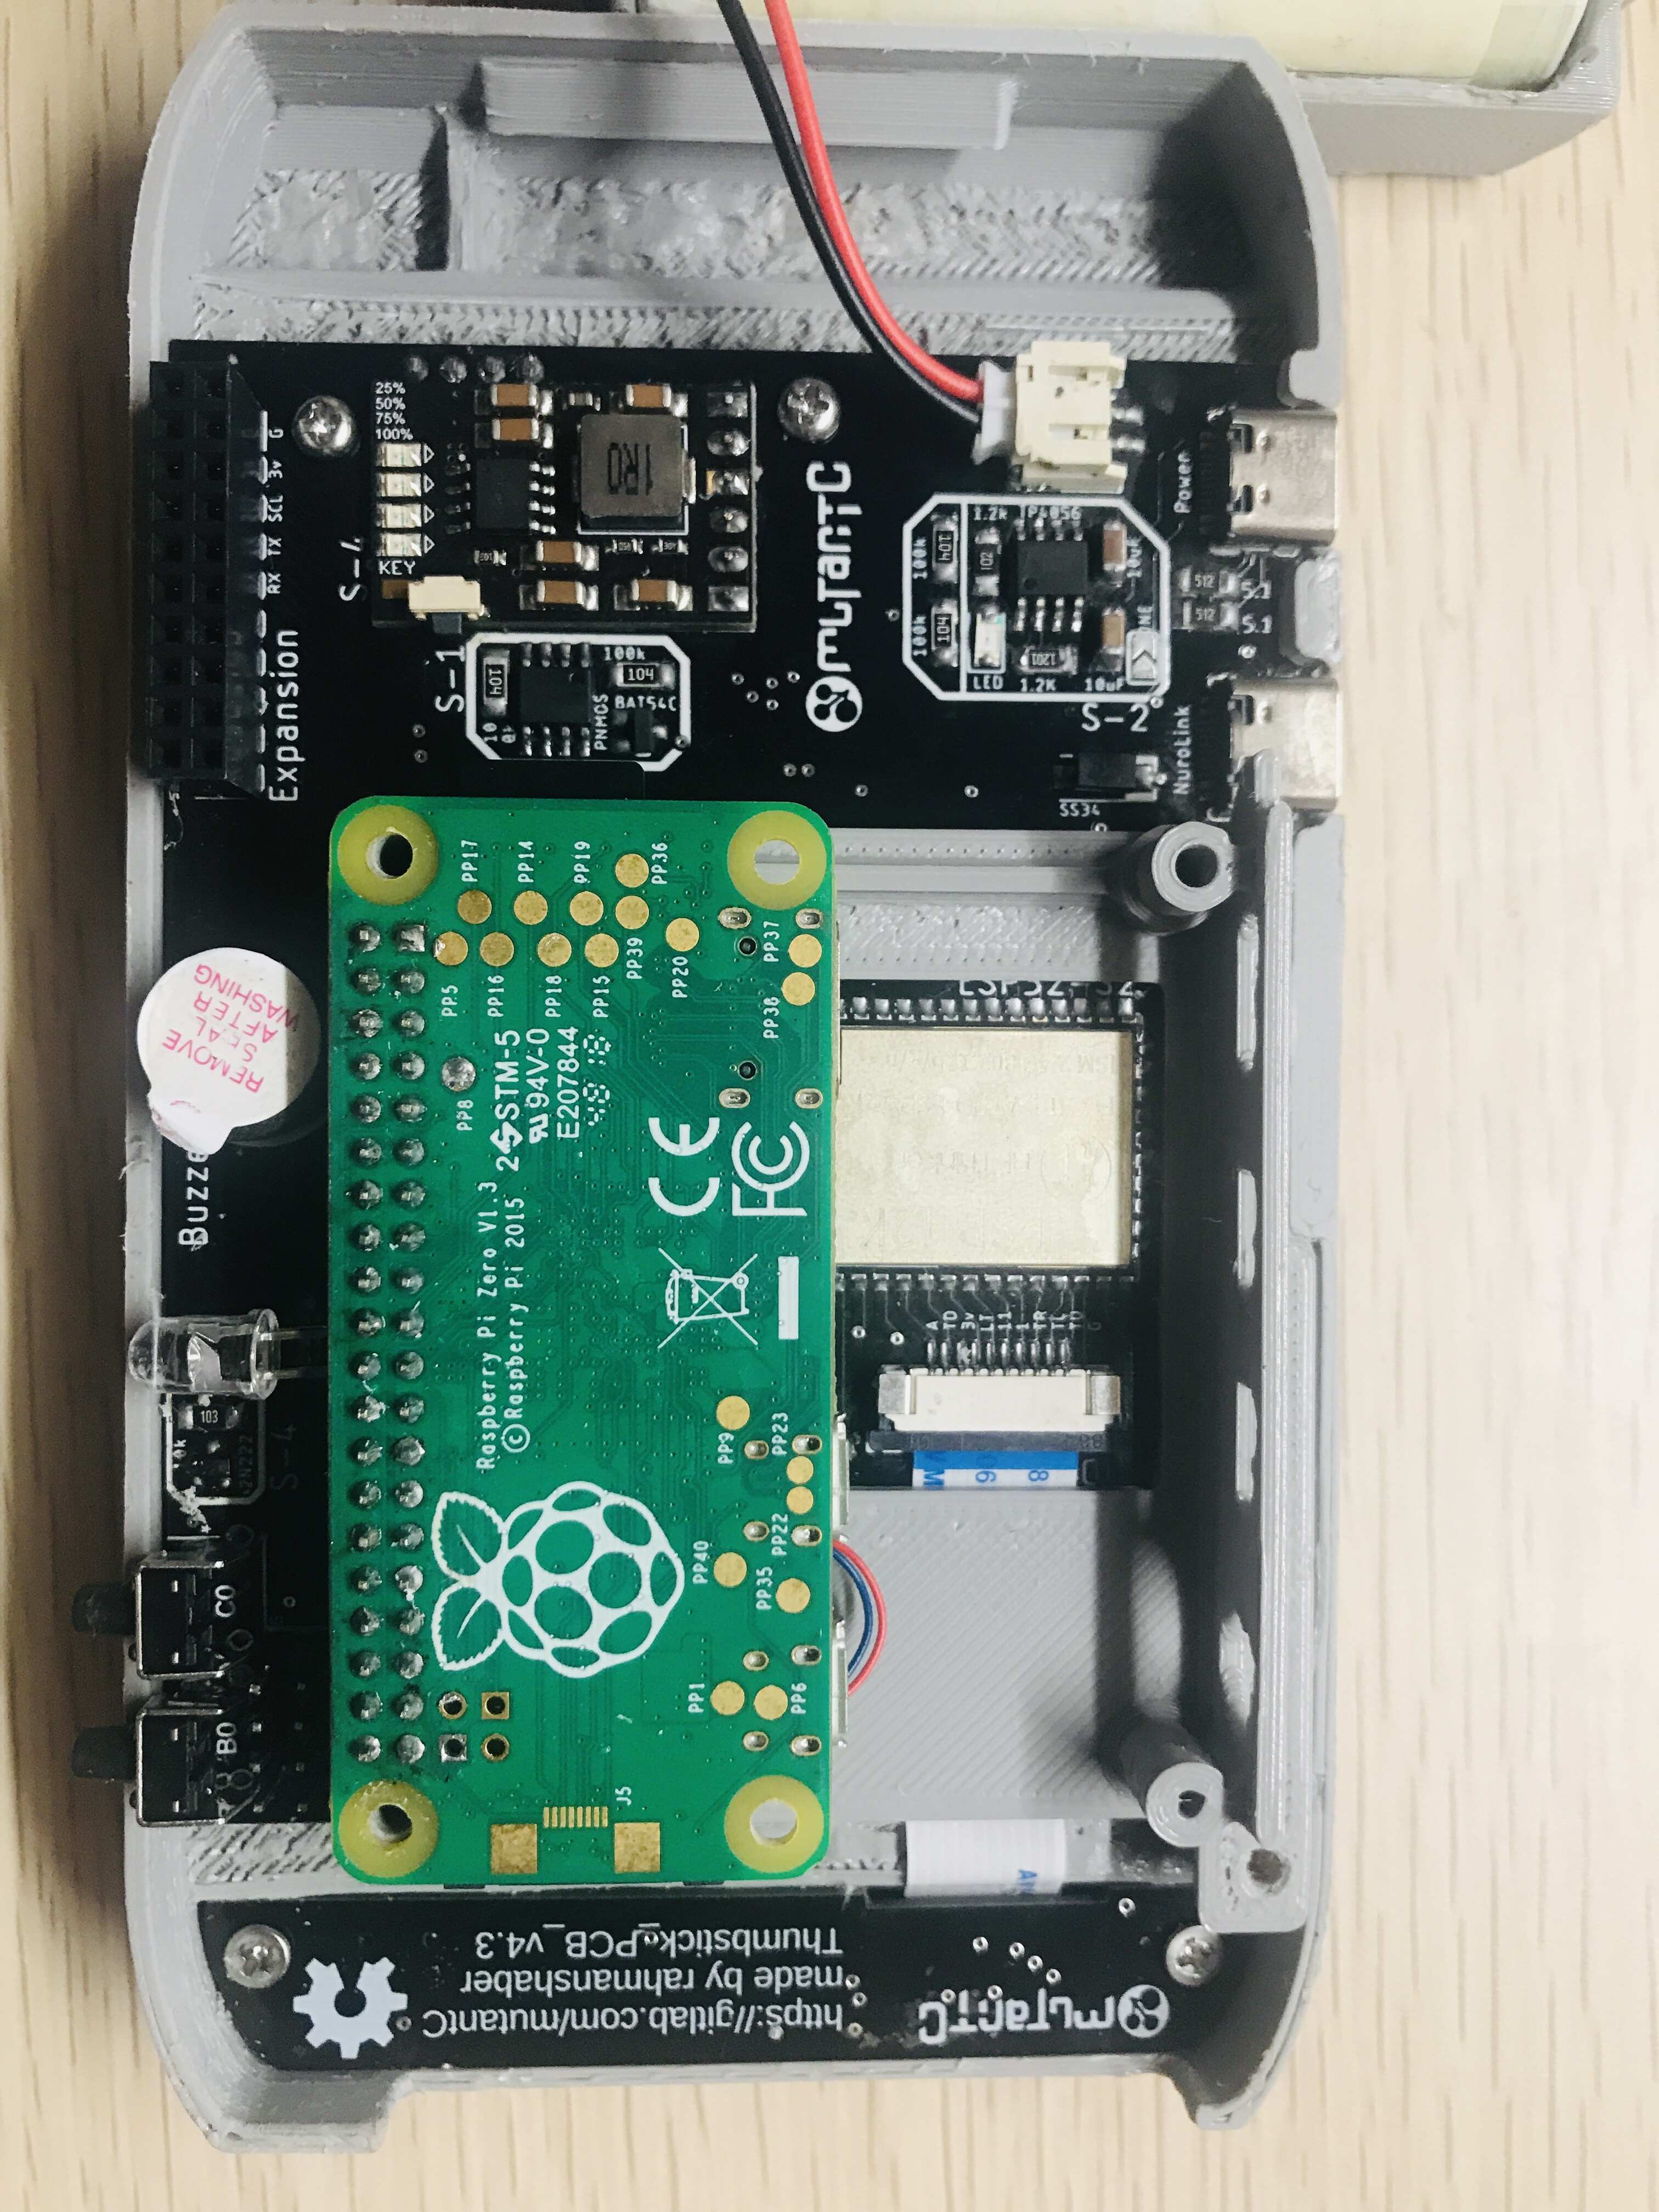
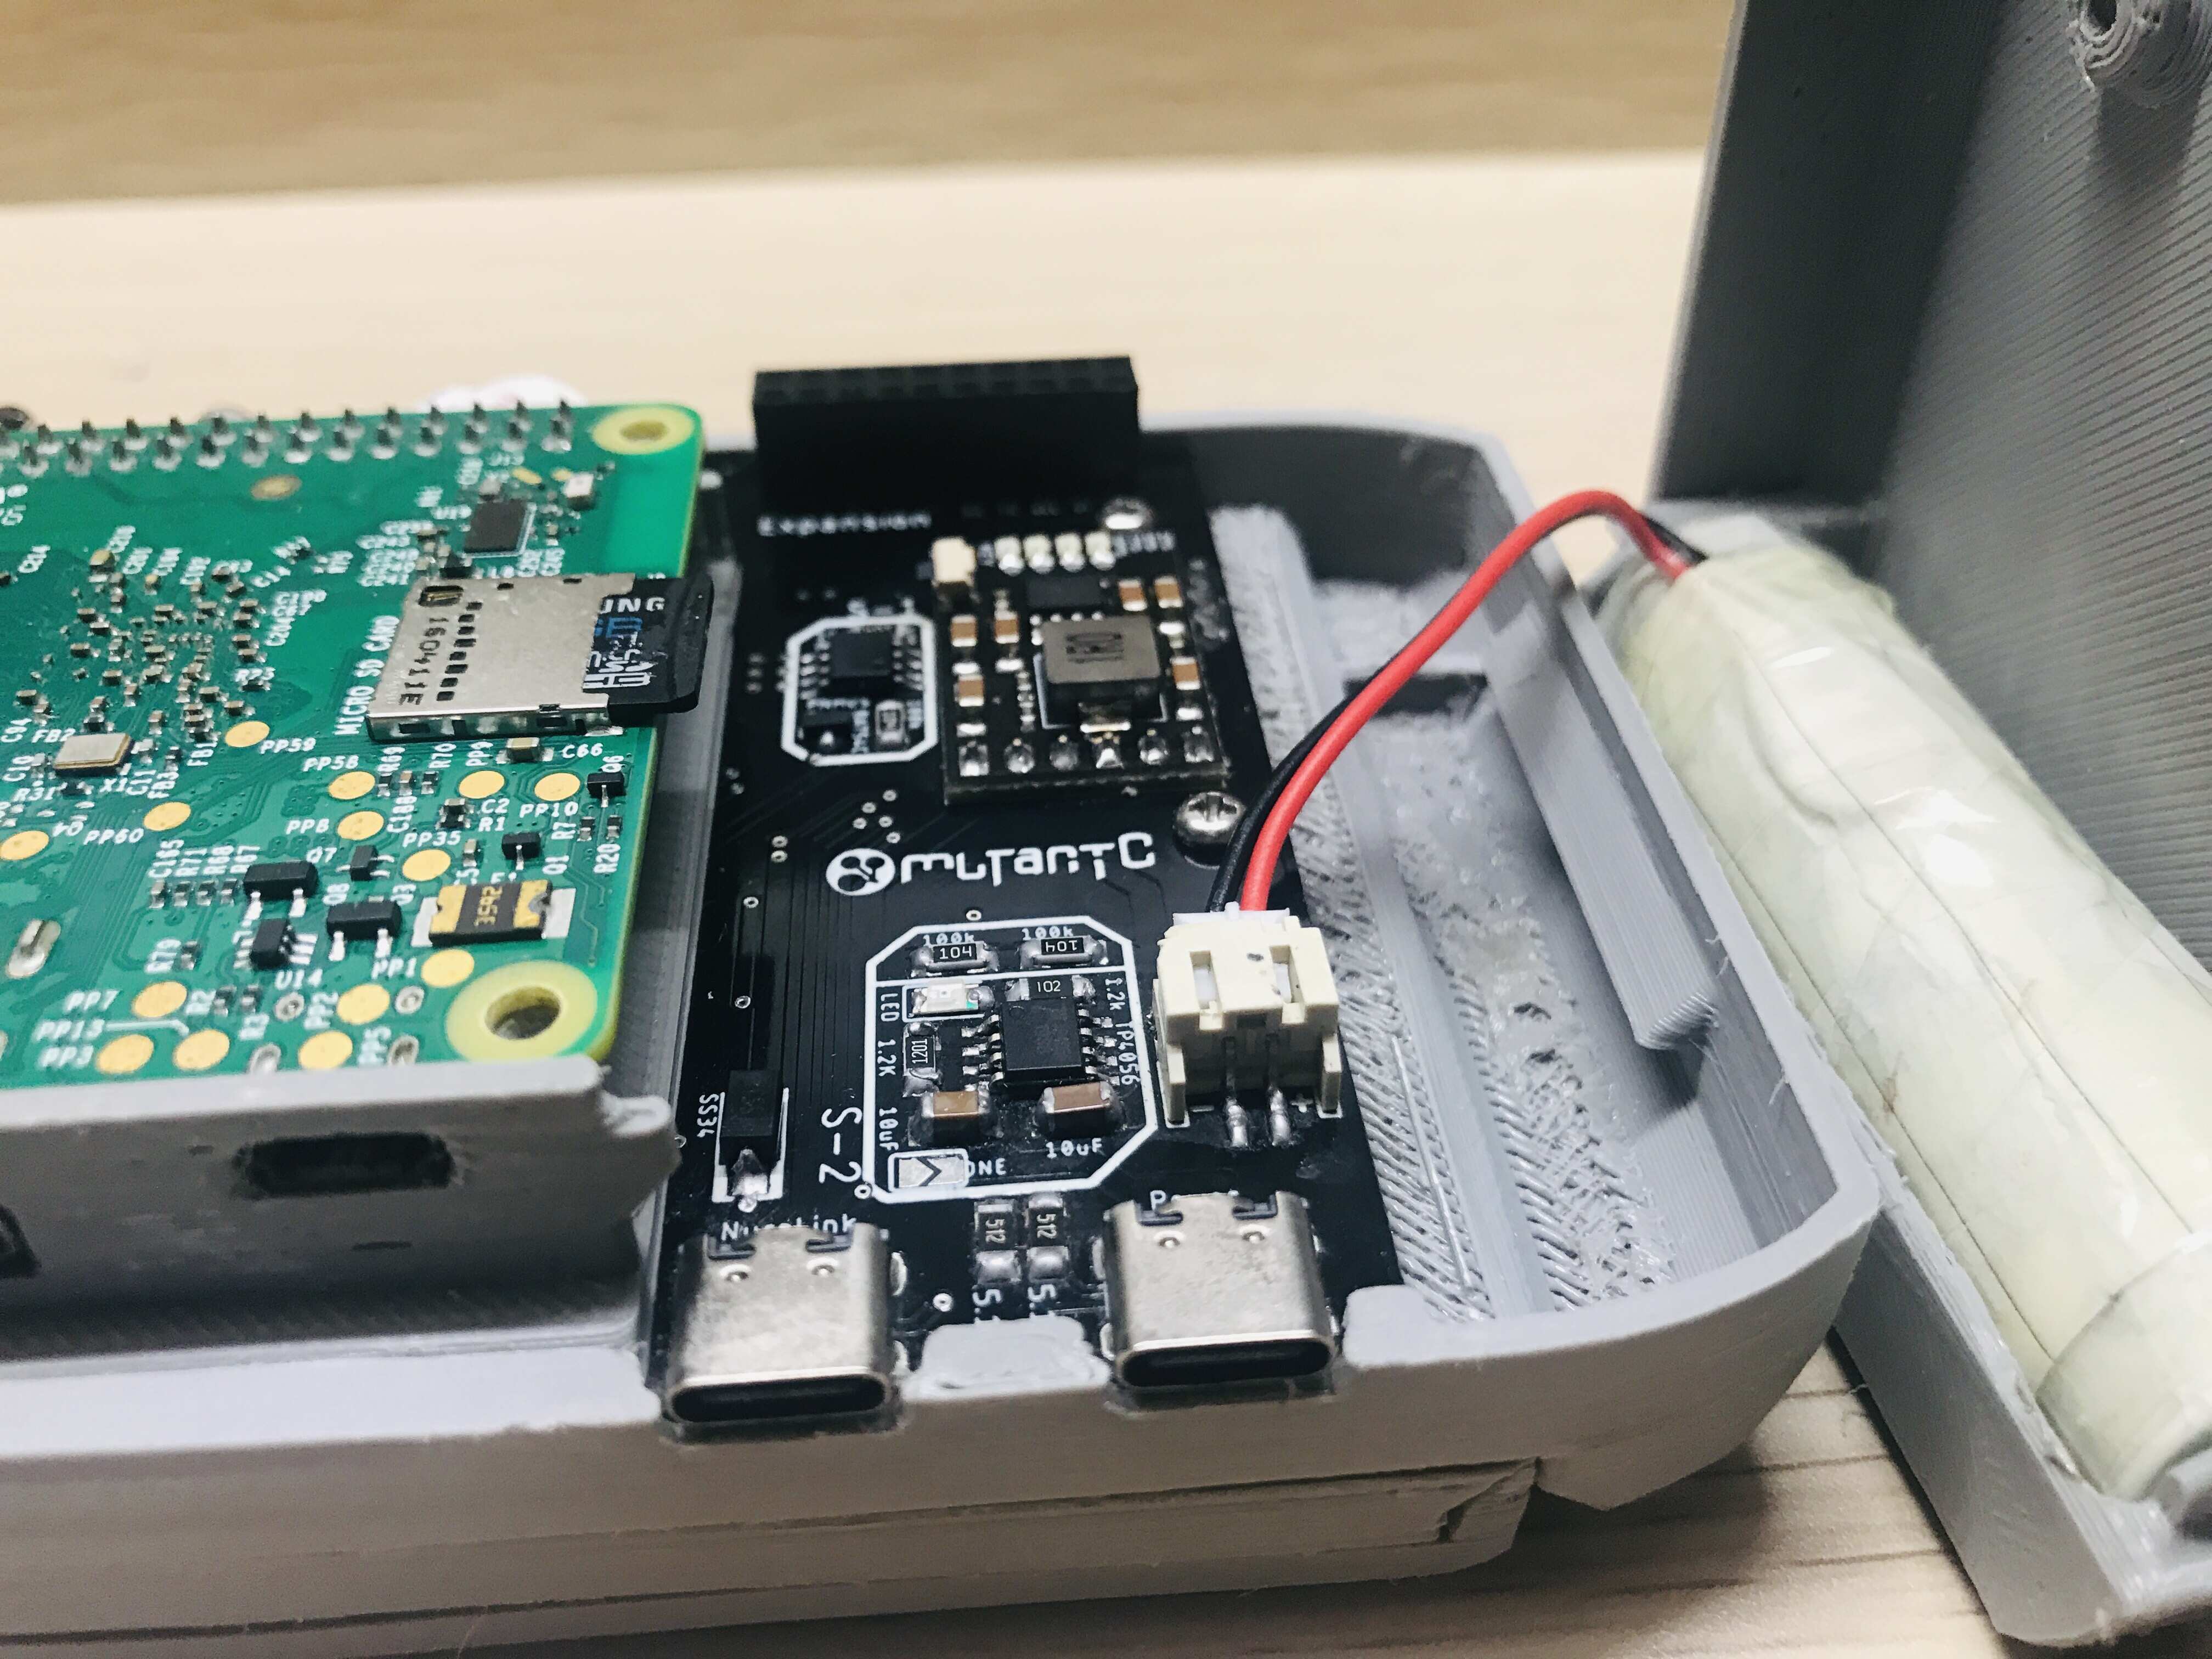
PCB blocks
You can see there is a list in the PCB, that points to some blocks. Each blocks give you one or multiple features. So if you want a feature, just solder all the parts in that block. Here is the list of the blocks.
| Blocks | Name | Feature | Priority |
|---|---|---|---|
| S-1 | Main Power Switch | Ability to turn on/ off the device | Required |
| S-2 | Continuous Charging | It prevents device the reboot when you disconnect the charger | Optional |
| S-3 | Boost & Charge | It boost the battery voltage to 5v | Required |
| S-4 | Esp32-s2 + Reset | Controls everything in the device | Required |
| S-5 | Vibration | Give vibration feedback | Optional |
| S-6 | Real Time Clock | Keeps the time when device is powered off | Optional |
| S-7 | MP6050/BME280 | Can use Gyro or see Pressure, Temp and Humidity | Optional |
| S-8 | Expansion Power Switch | Can turn off display, expansion and the modules in S-7 block | Optional |
| S-9 | IR Transmitter | Using IR mutantC can act as a TV, AC remote | Optional |
Compare Lite Vs Regular
mutantC_v5 have 2 type and select the bulid depening if you are a Pro or Newbie in PCB soldering. See this comparison table to select which one you want to build. I will highly recommend building the Lite one as it requires less parts and time to build and you will miss a little of the features. And later on you can add you can also do your own custom build by selecting the features you want on top the Lite version.
| Features | Lite | Regular |
|---|---|---|
| Parts List | Parts_list | Parts_list |
| 56 key keyboard | ||
| Battery Life | 8 hours | 8 hours |
| Notification LED | ||
| Real Time Clock | ||
| Battery Monitor | ||
| LDR, Vibration, Buzzer | ||
| IR Transmitter | ||
| Gyro/ Pressure, Temp and Humidity | ||
| Power off modules, Display, Add-ons | ||
| Nurolink/ Docking port | ||
| Continuous Charging |
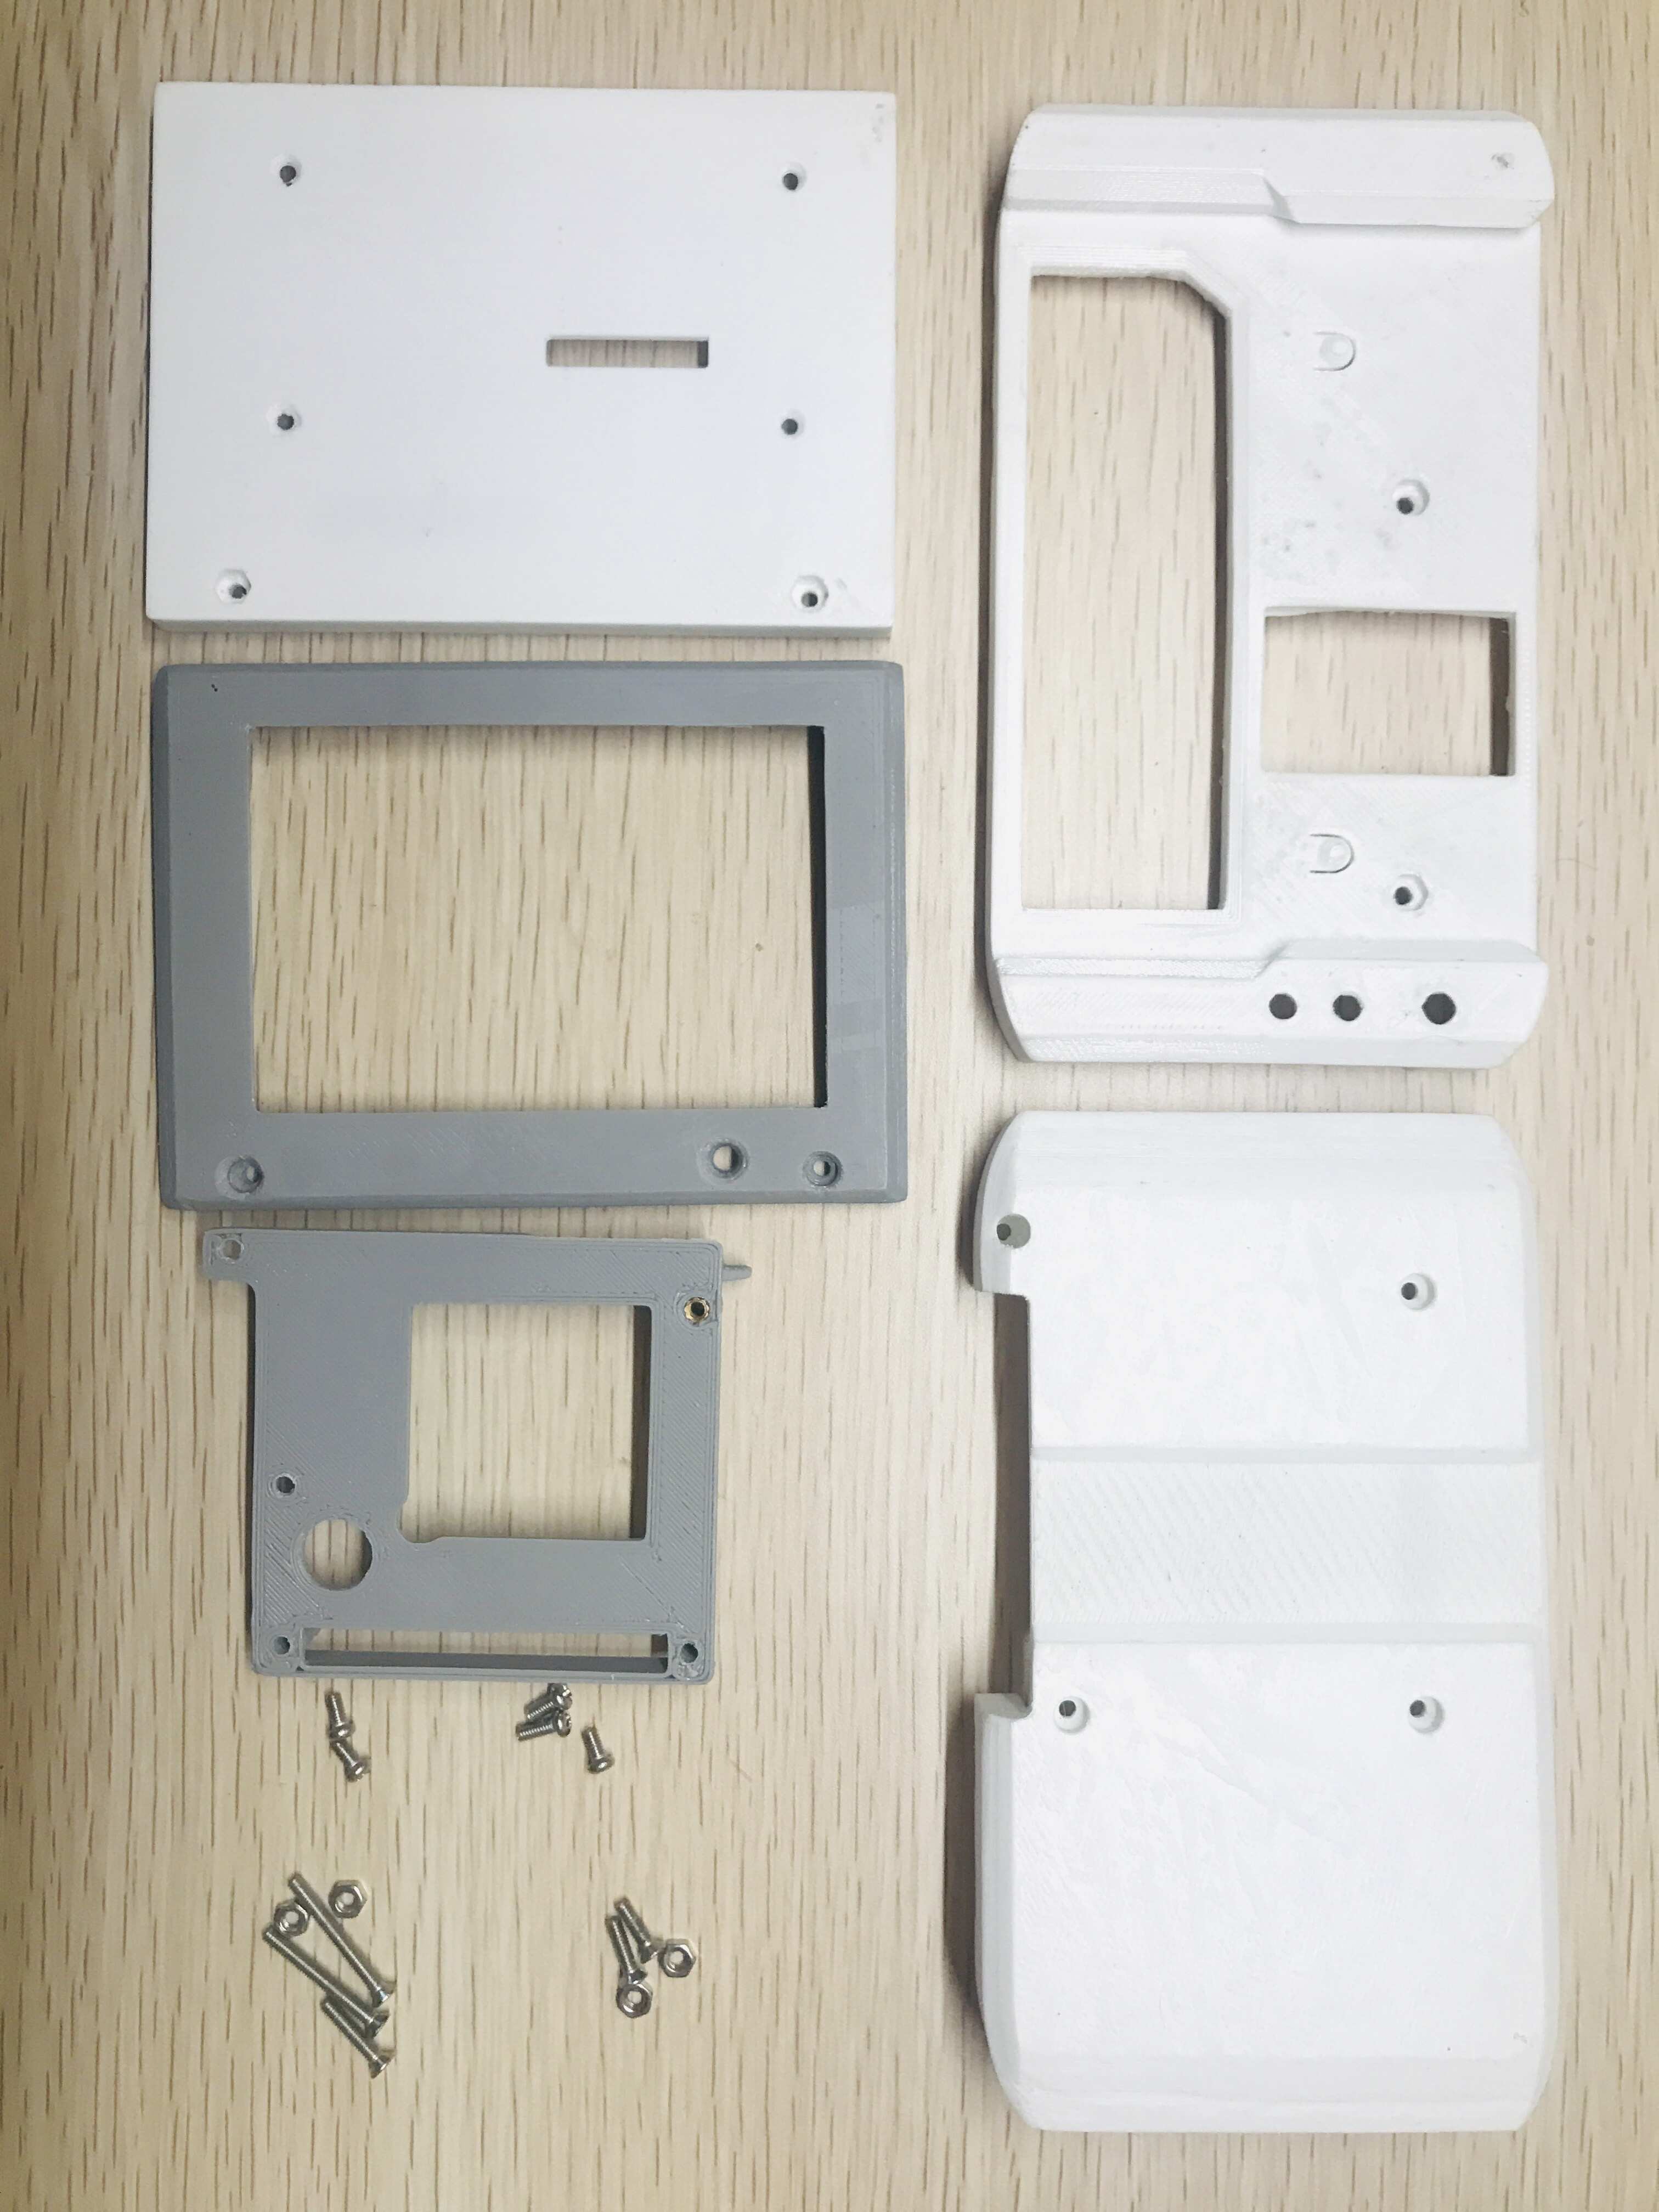
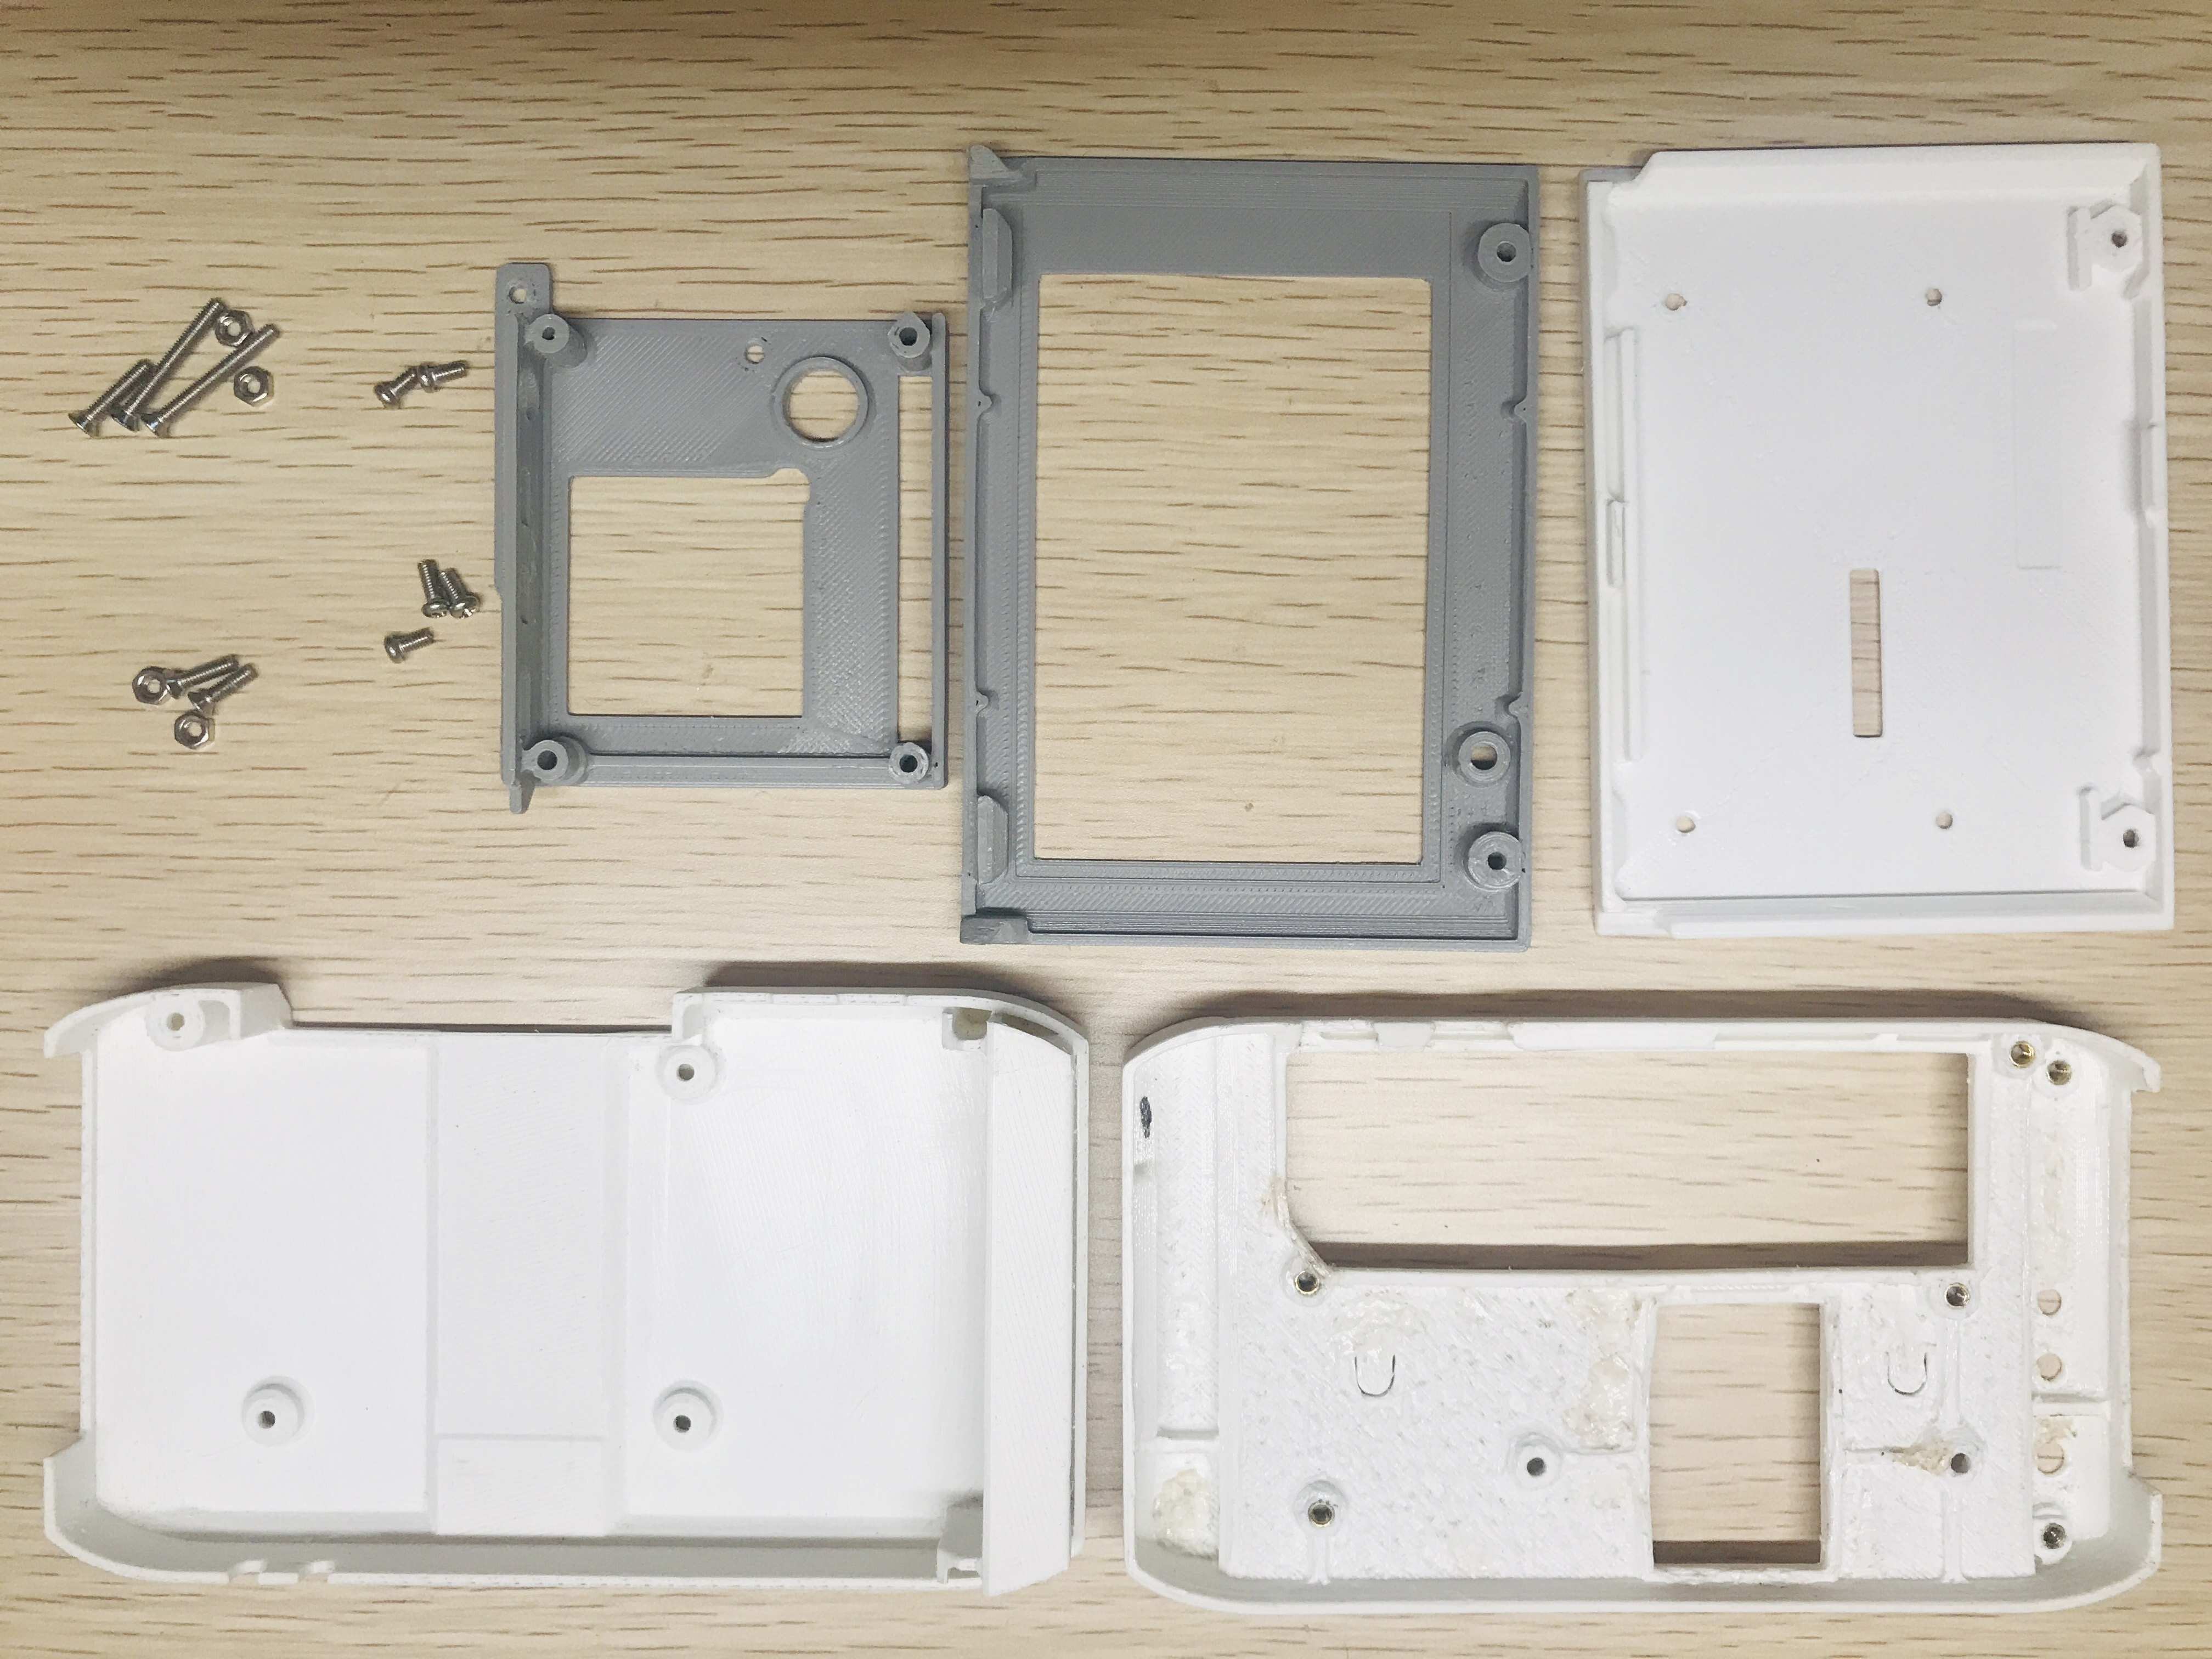
Download
There are total 5 piece of 3D printed parts, here is the link of the STL files that you need to print those parts :
- Download link - Case.
Total 3 PCBs, go to each folder and use the file named Gerber to order the PCB.
- Download link - PCB.
All the 3D parts, PCB and Gerber files, Device Firmware are in Gitlab and free to download and use:
- Download link - Gitlab.
- Download link - AutoDesk Fusion 360 online.
Build Guide
I added the build guide in Instructables as it is perfect place for it:
Videos
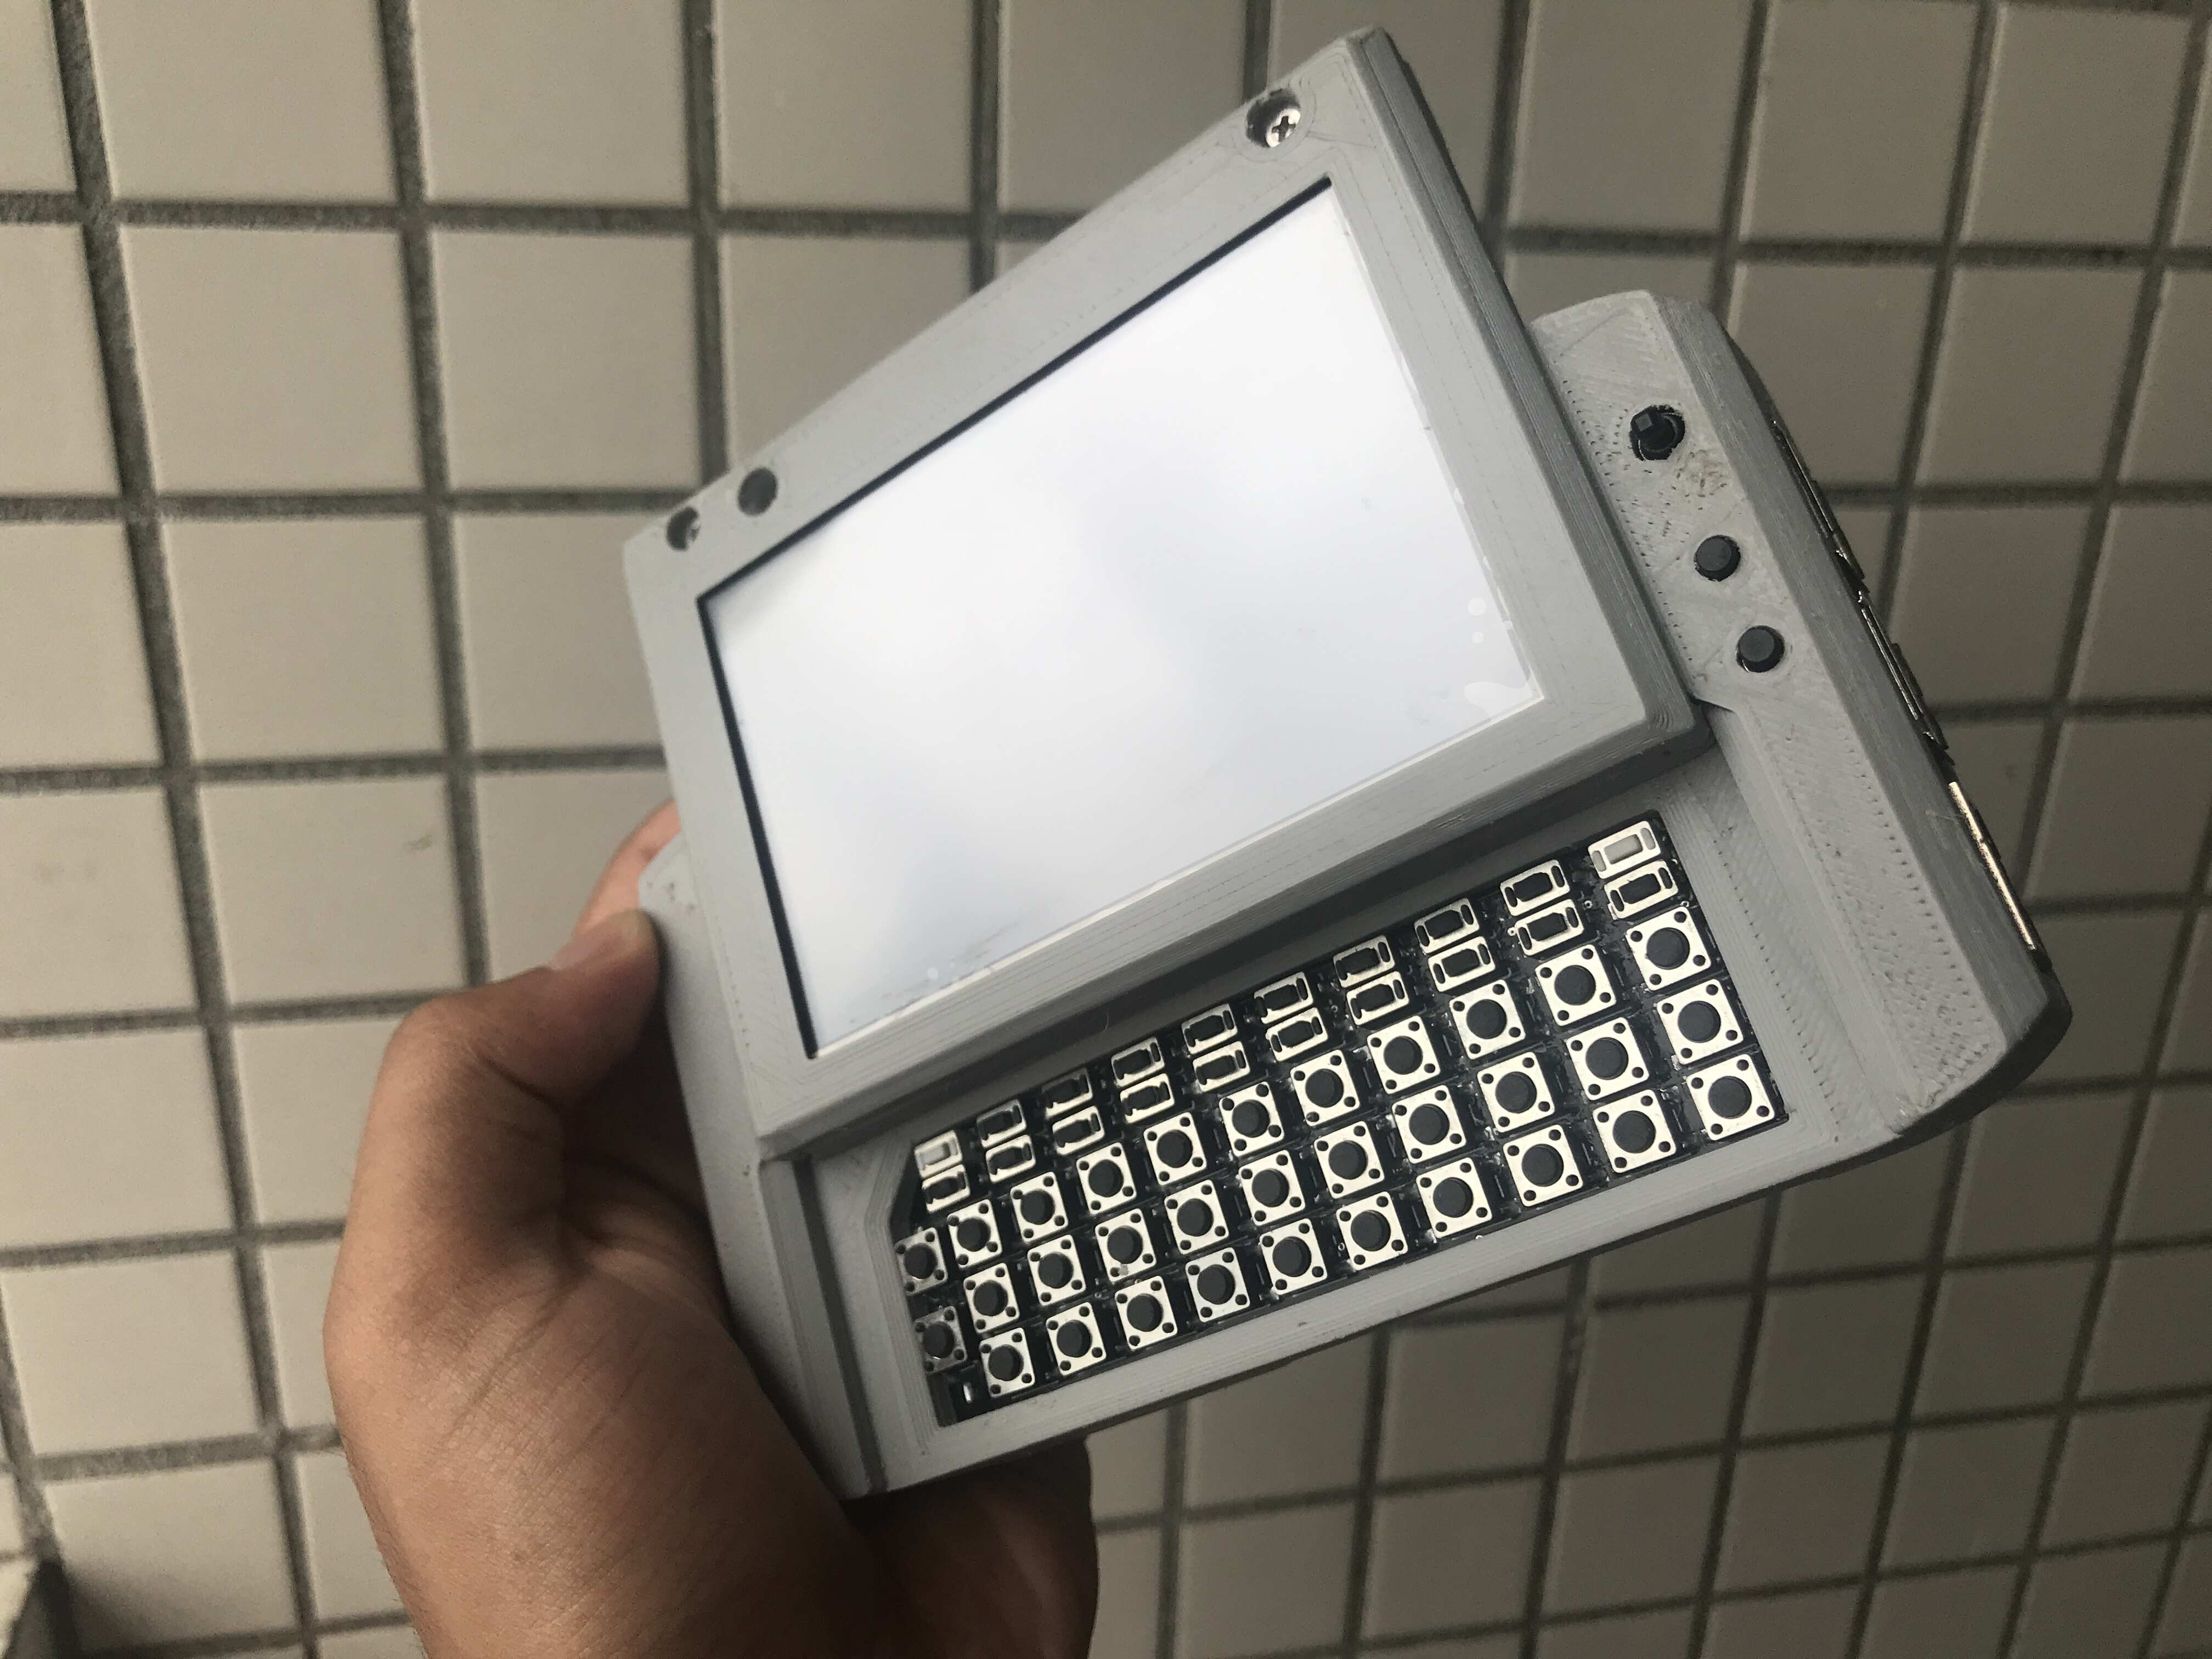
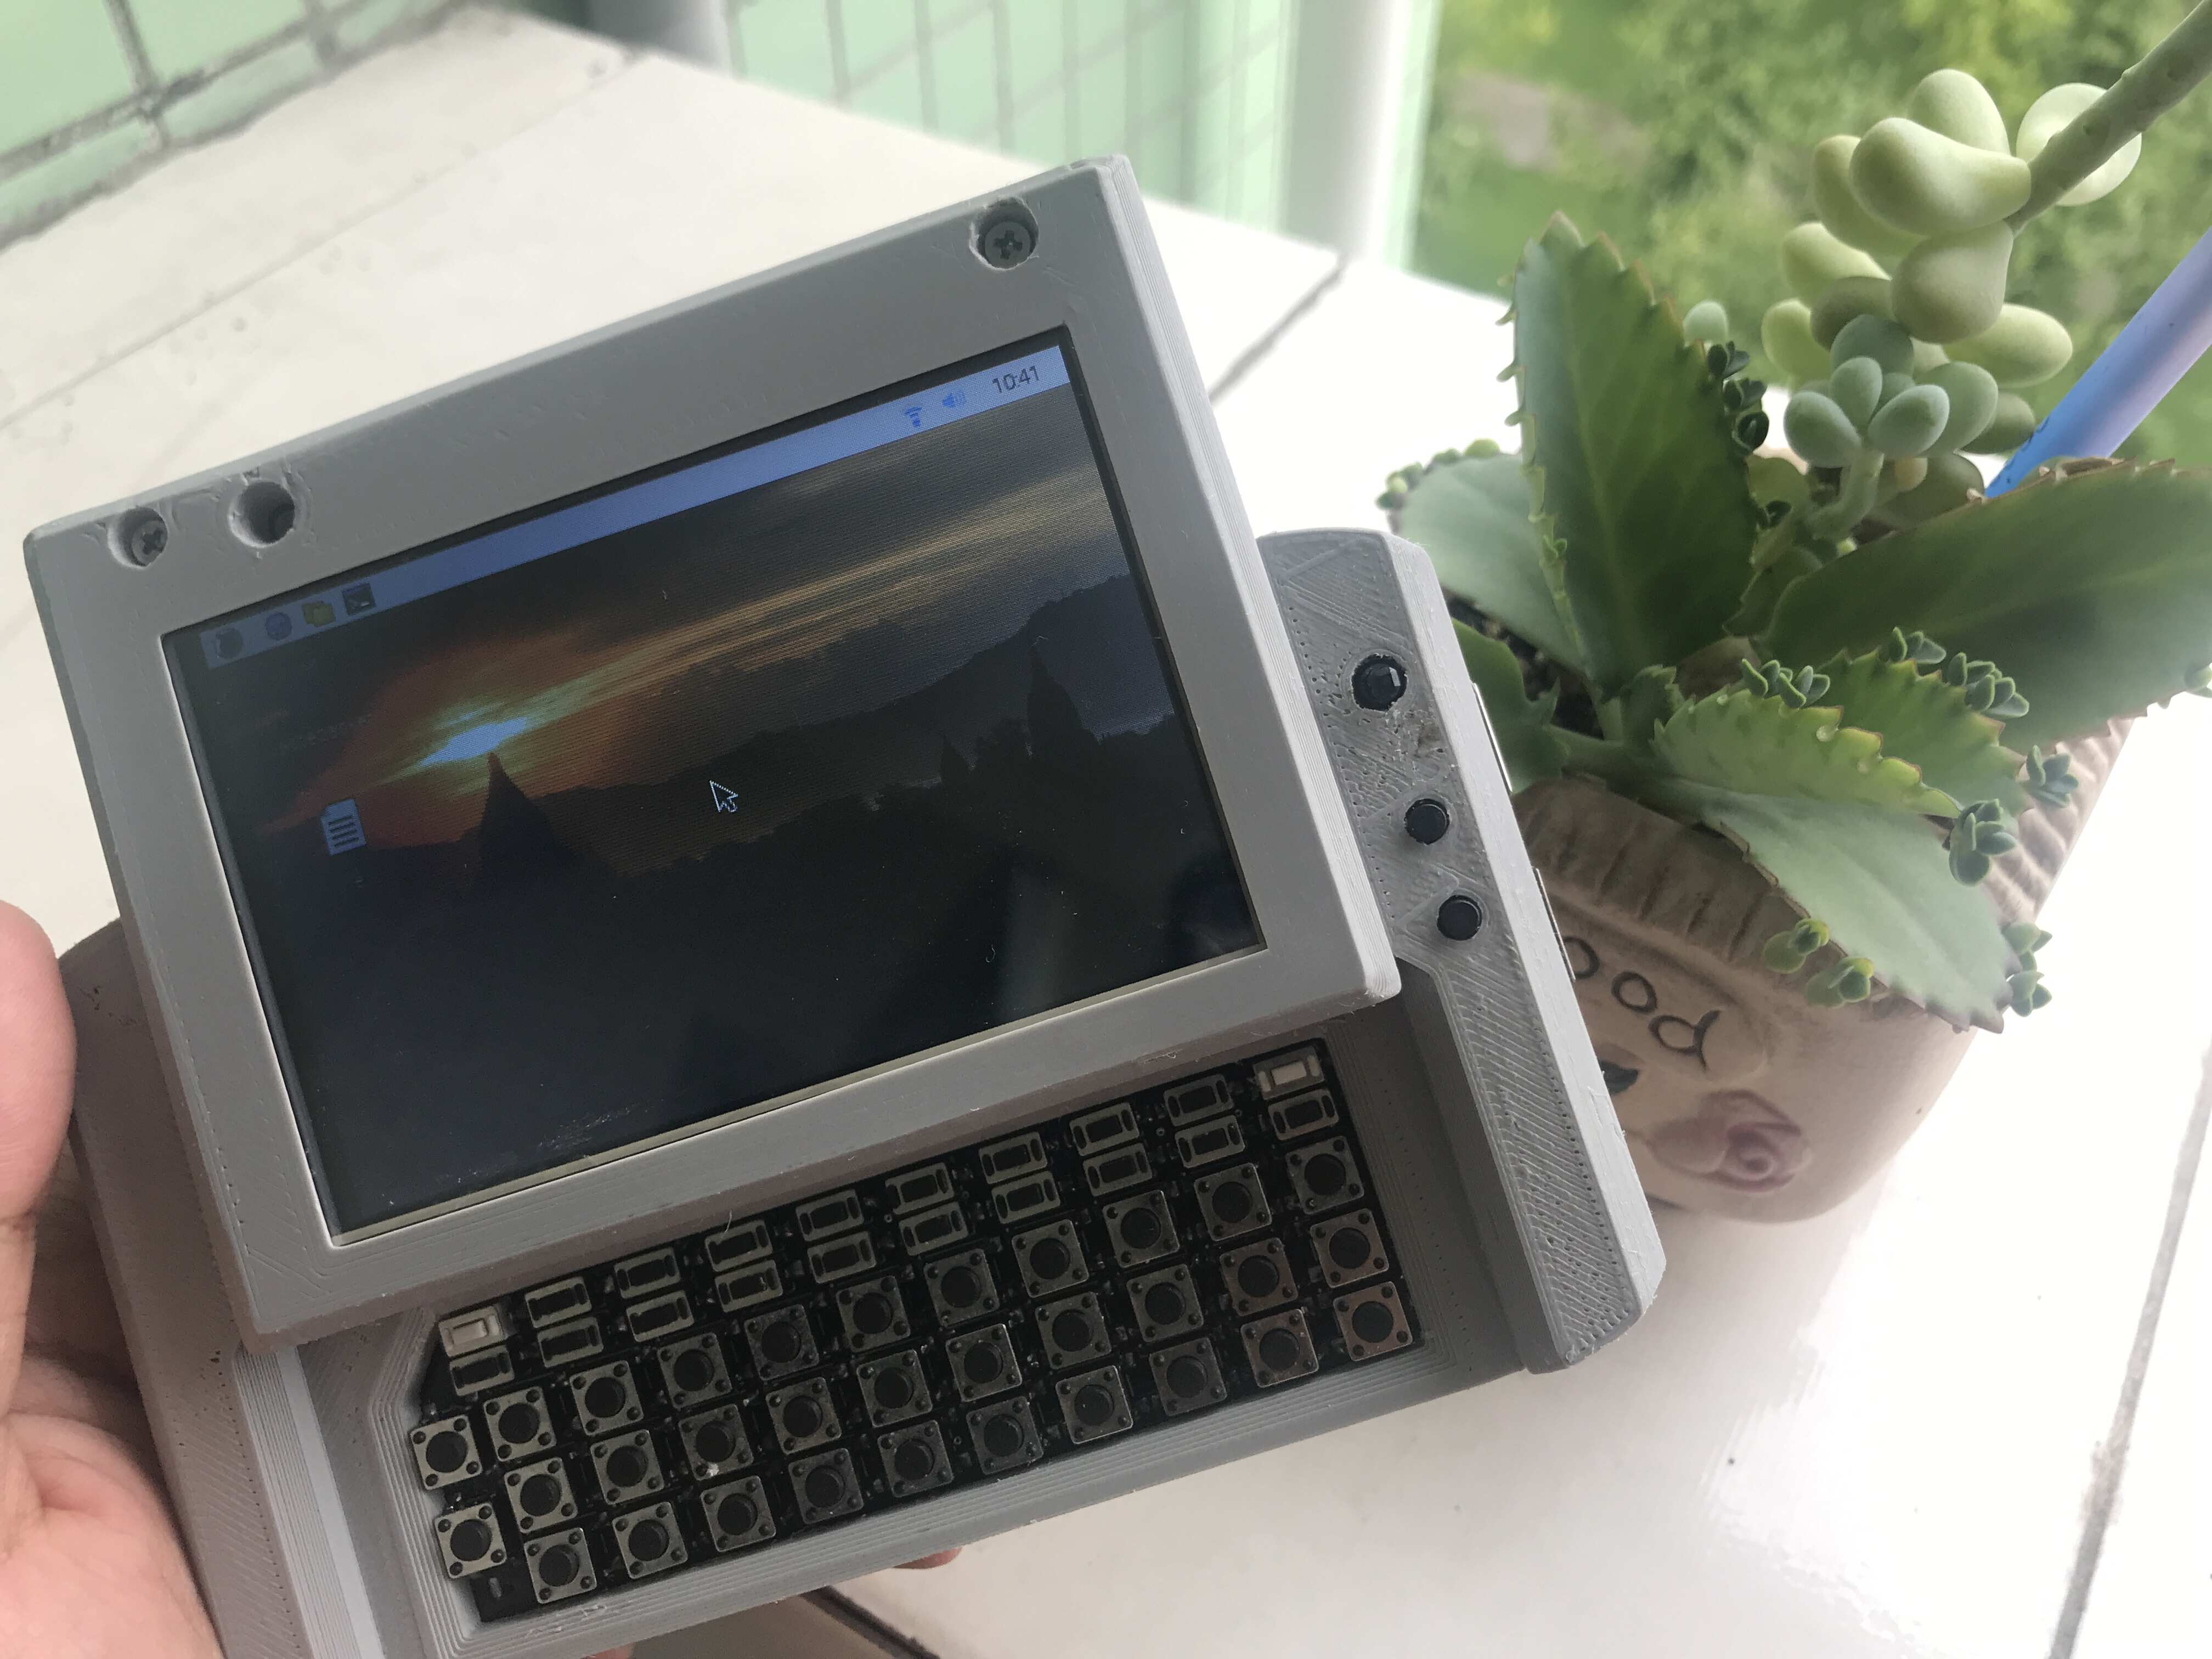
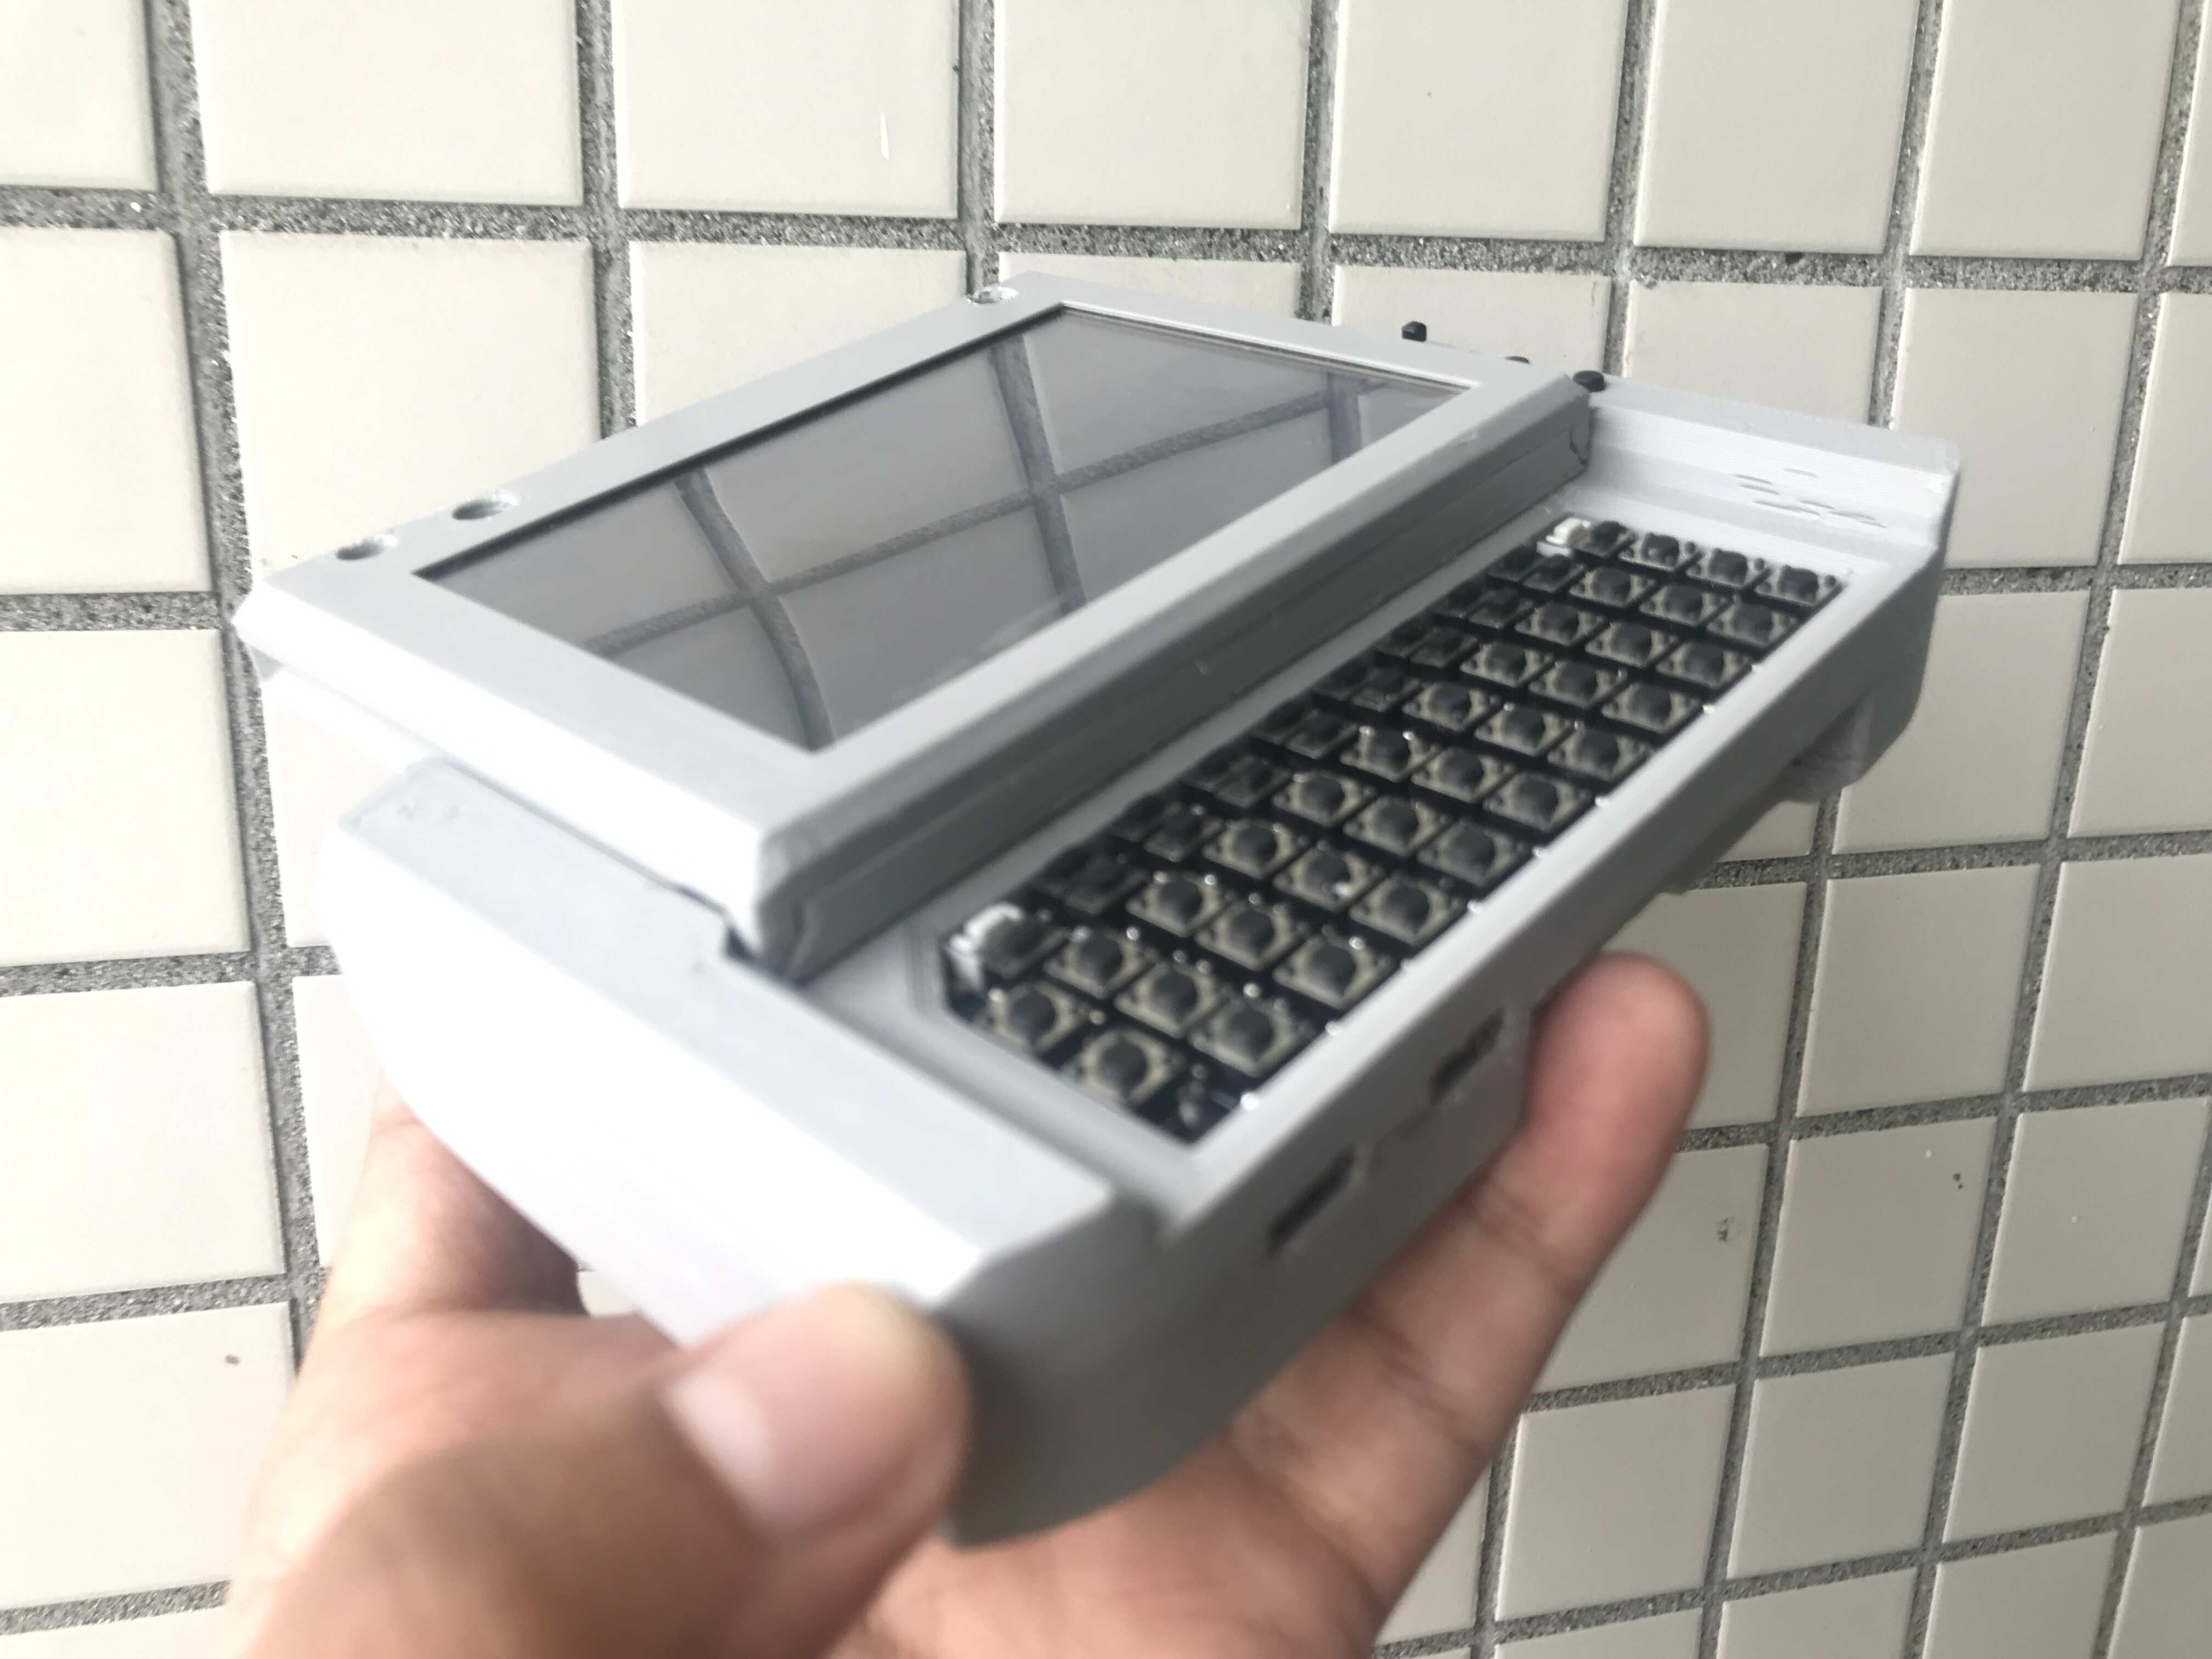
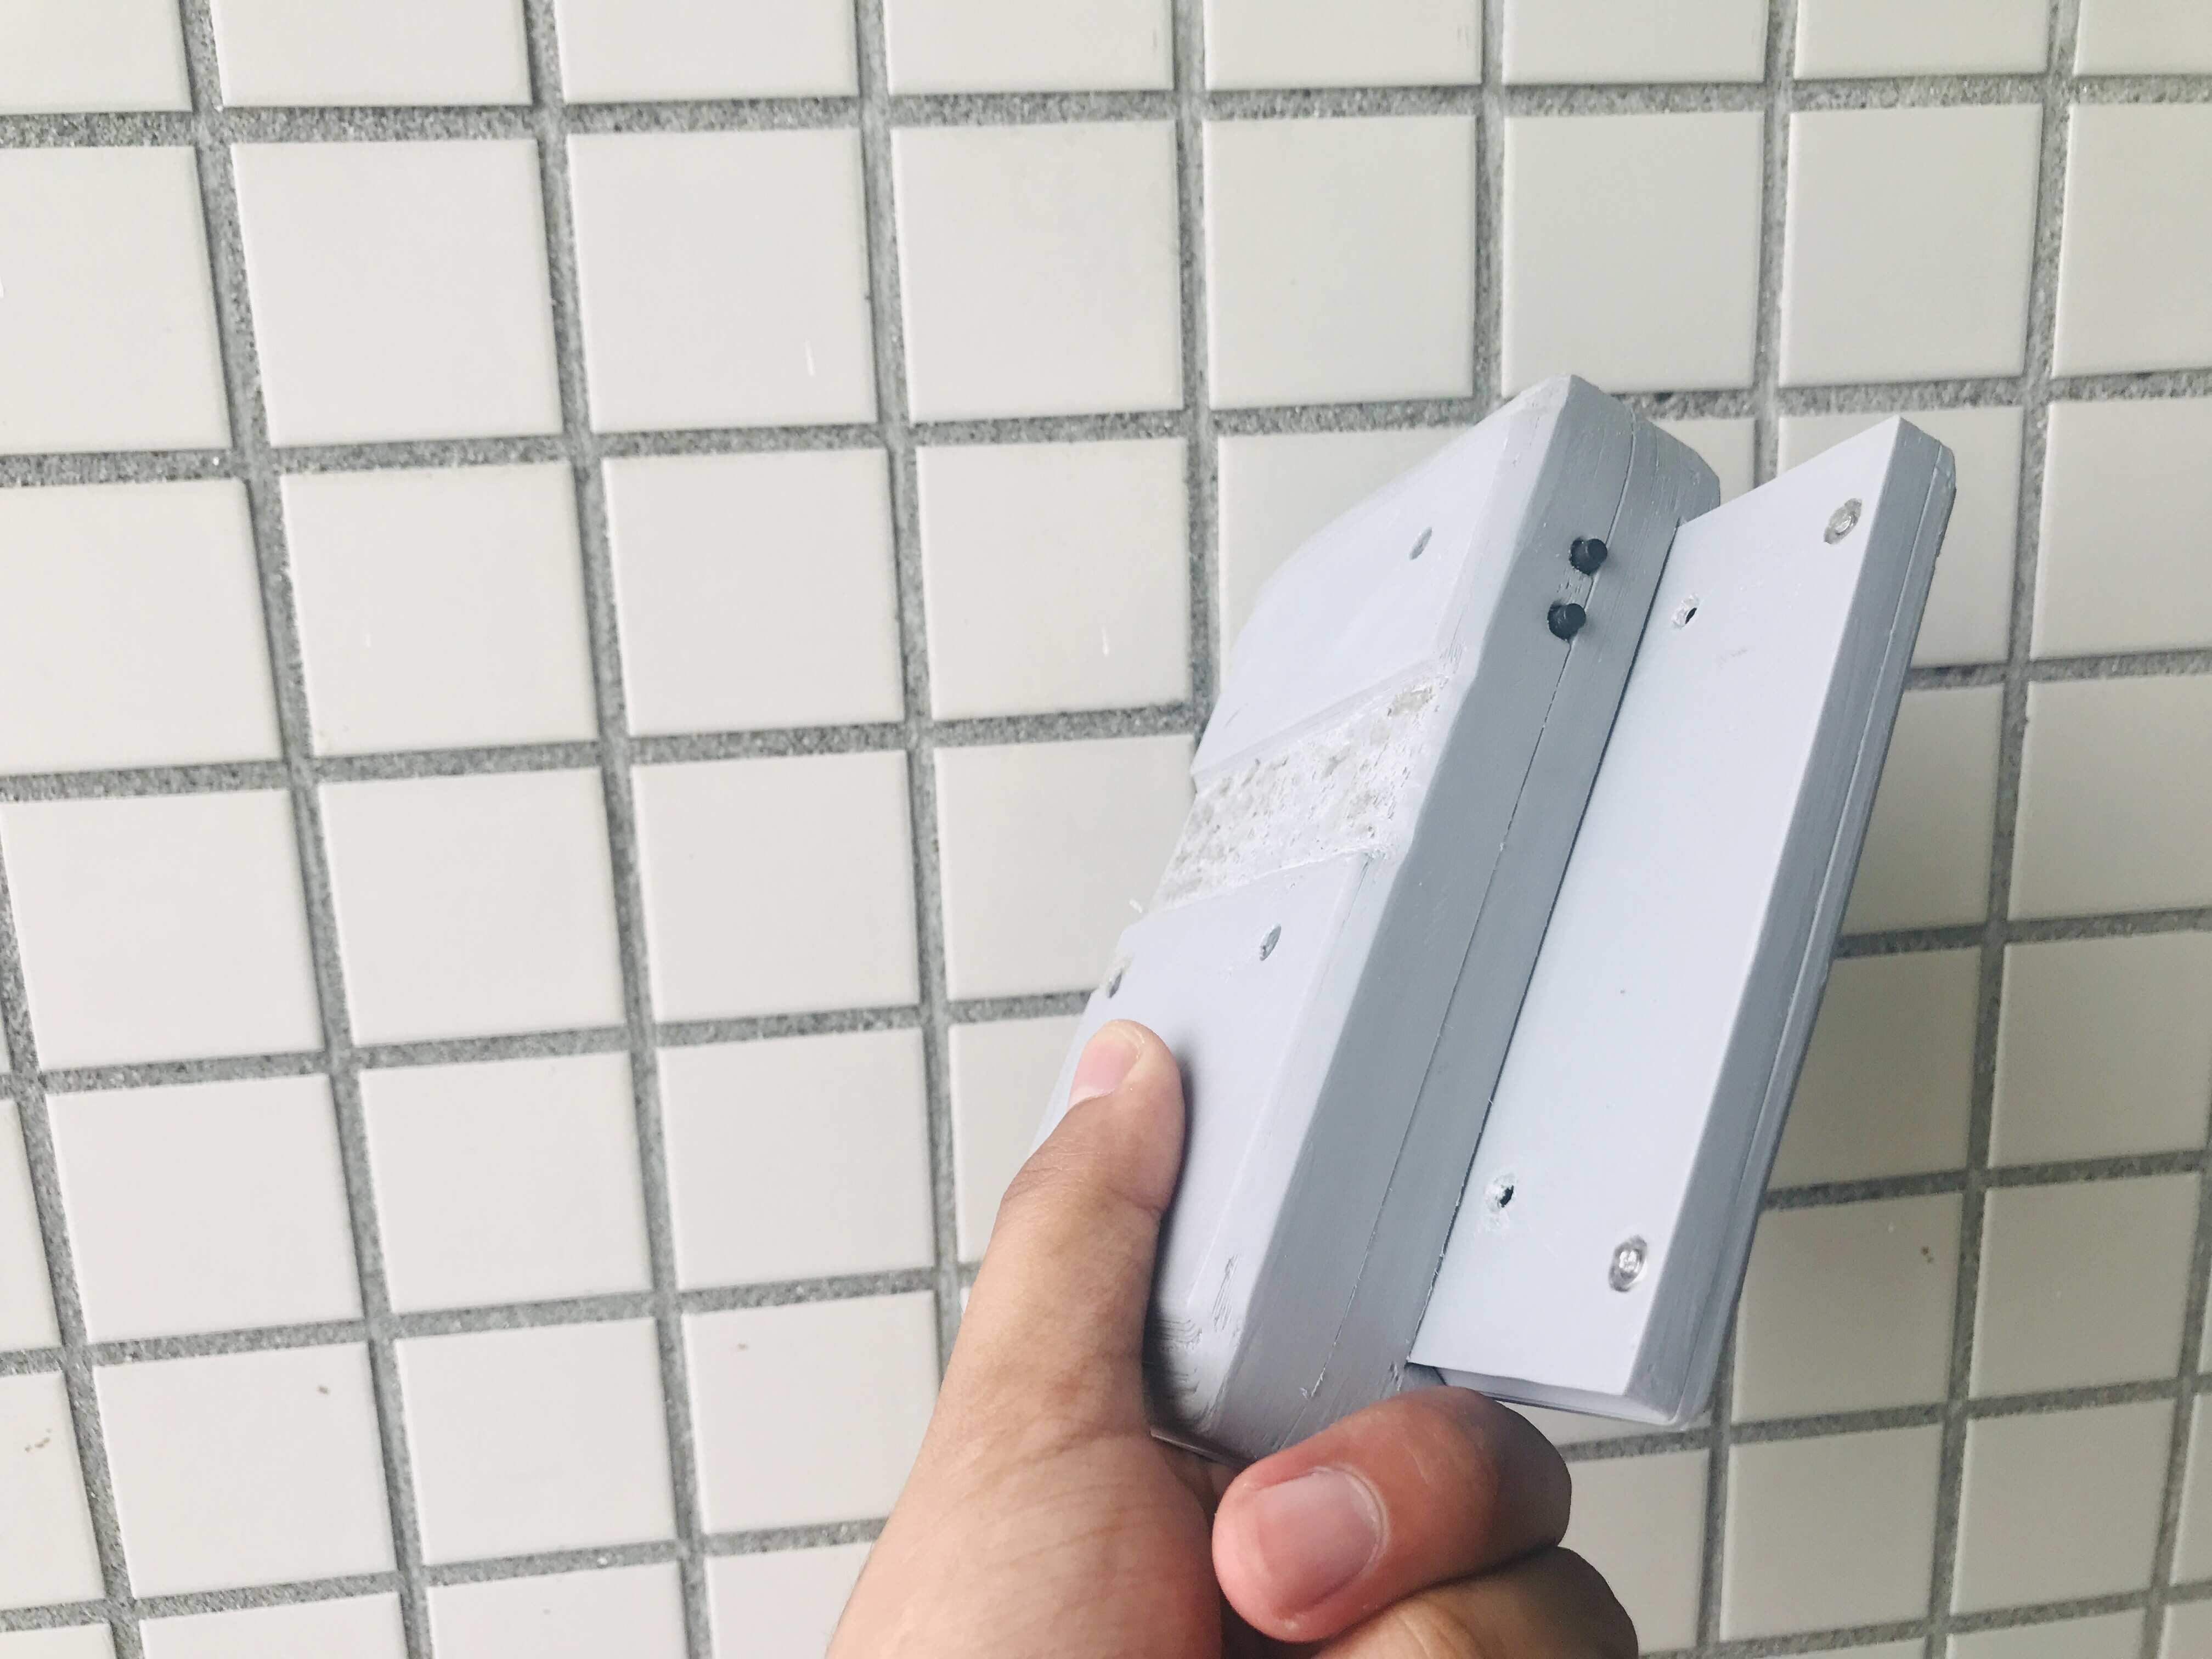
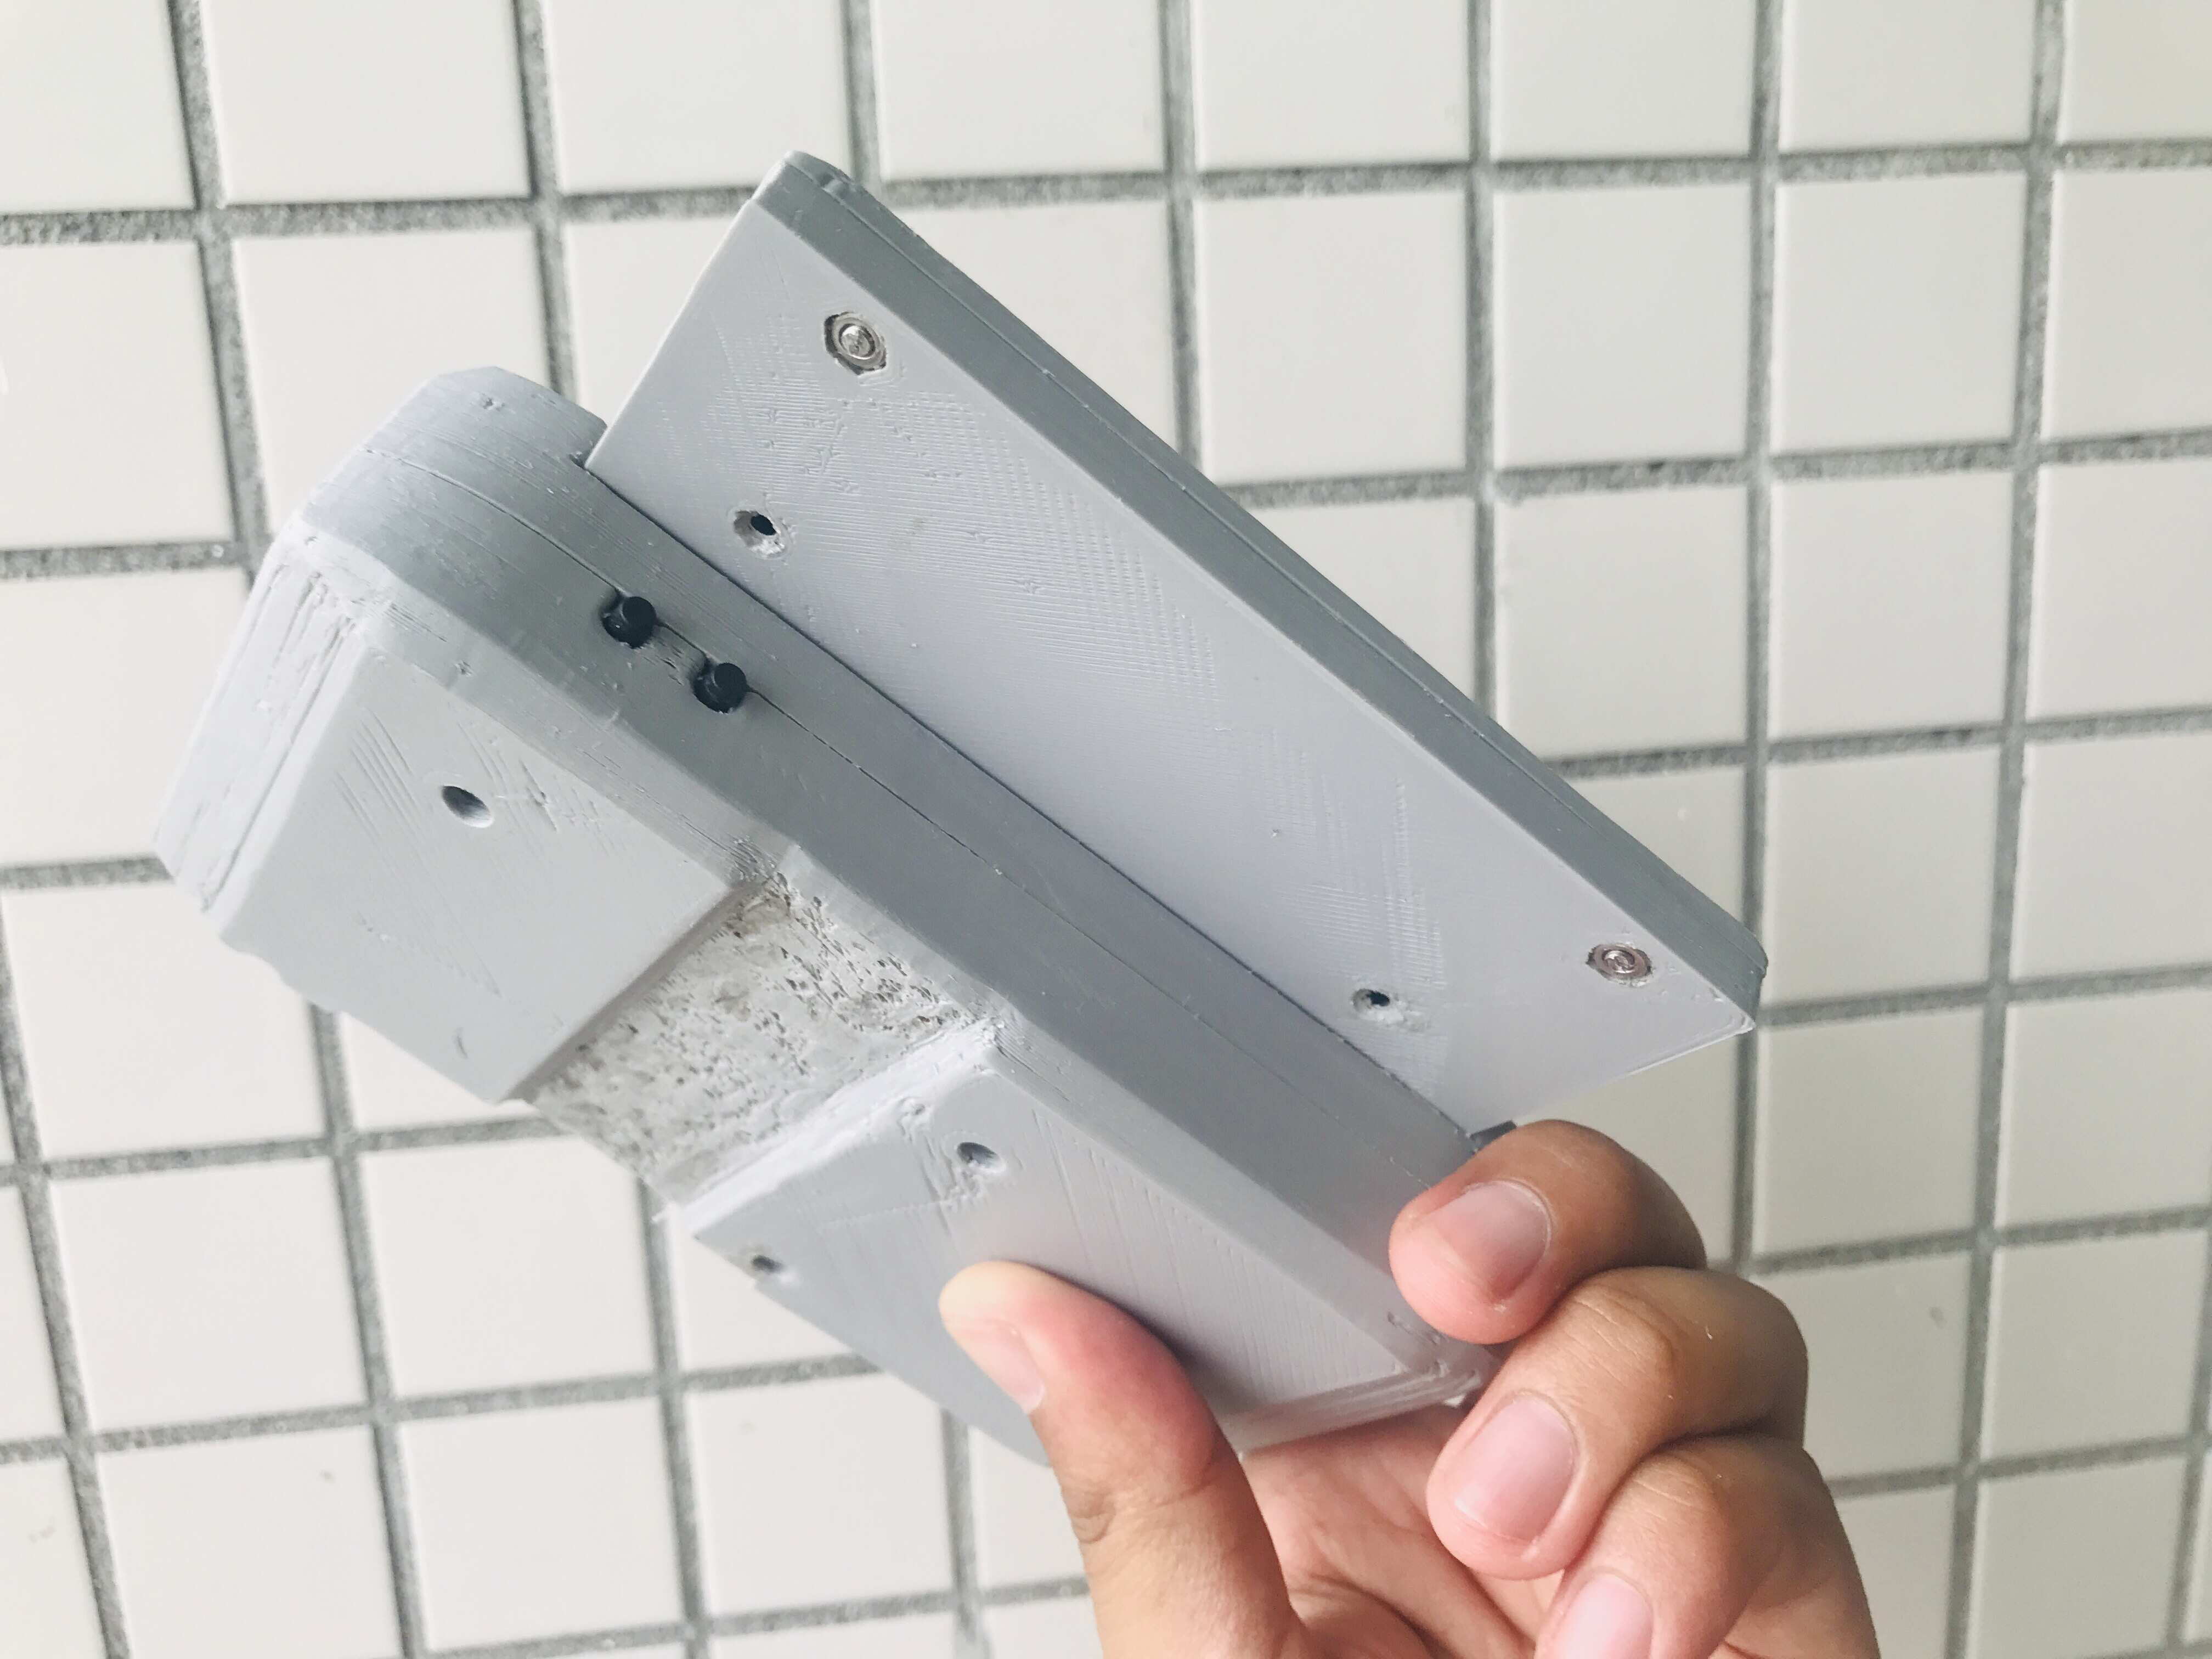
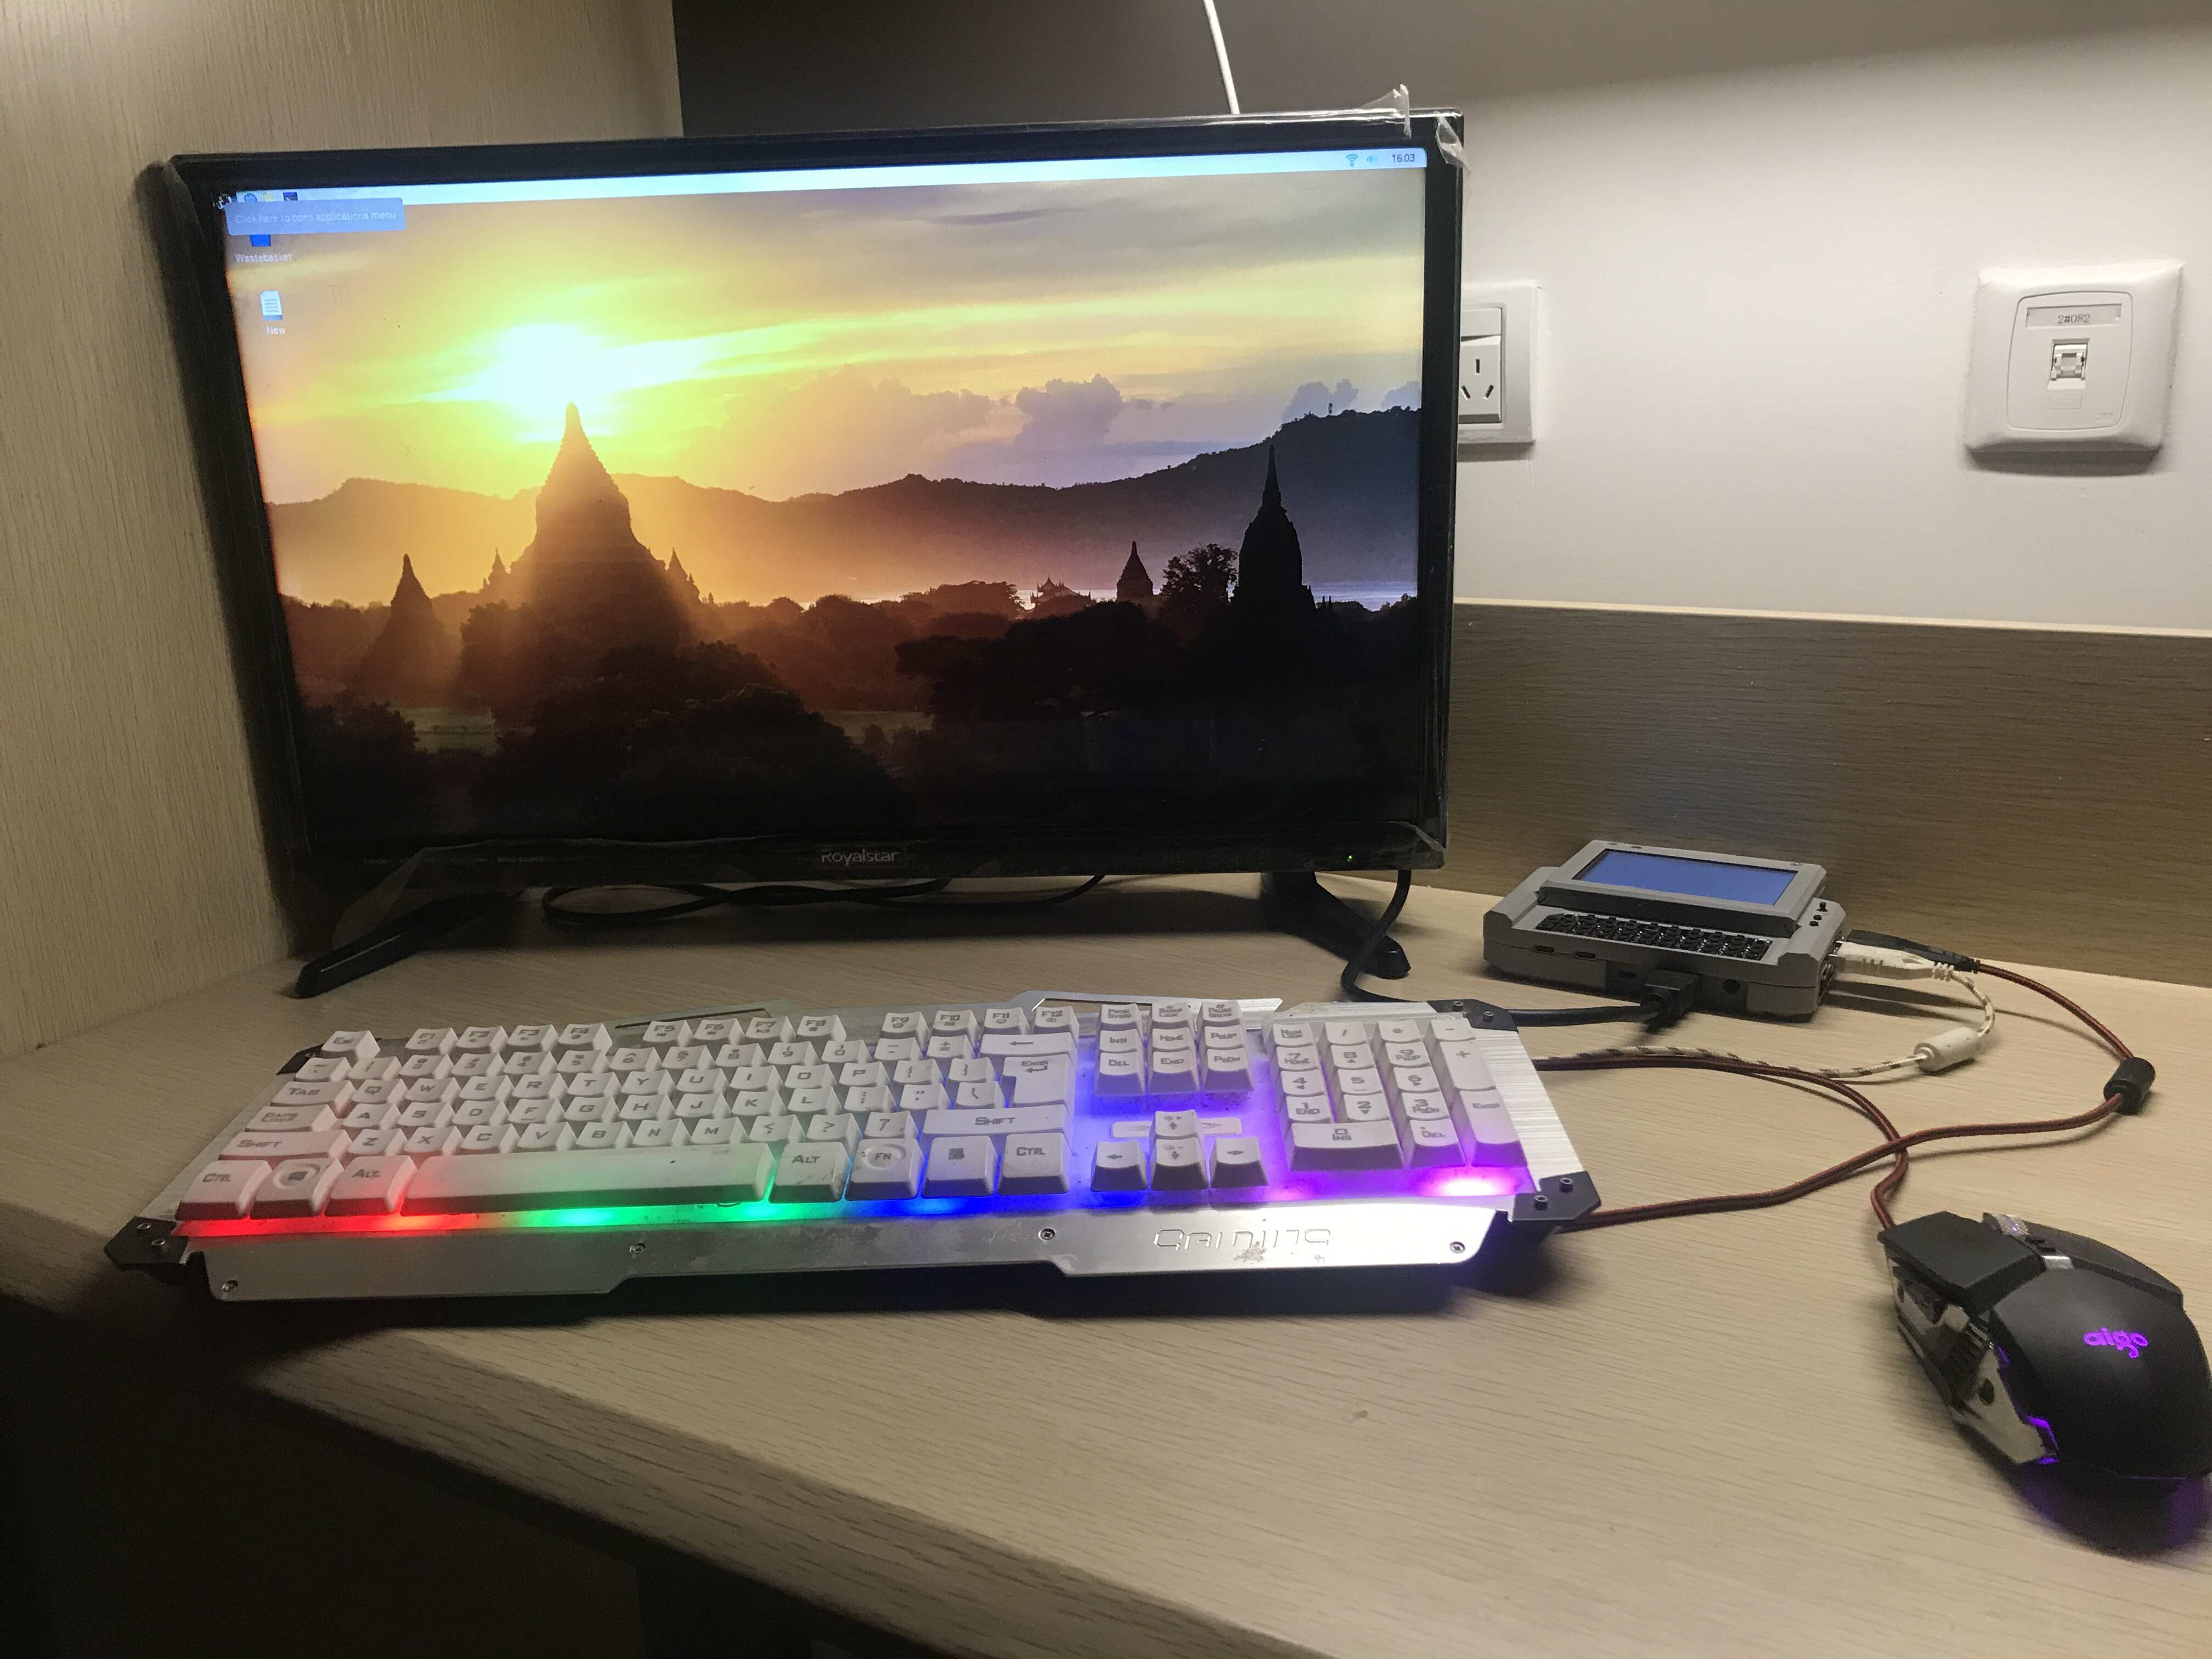
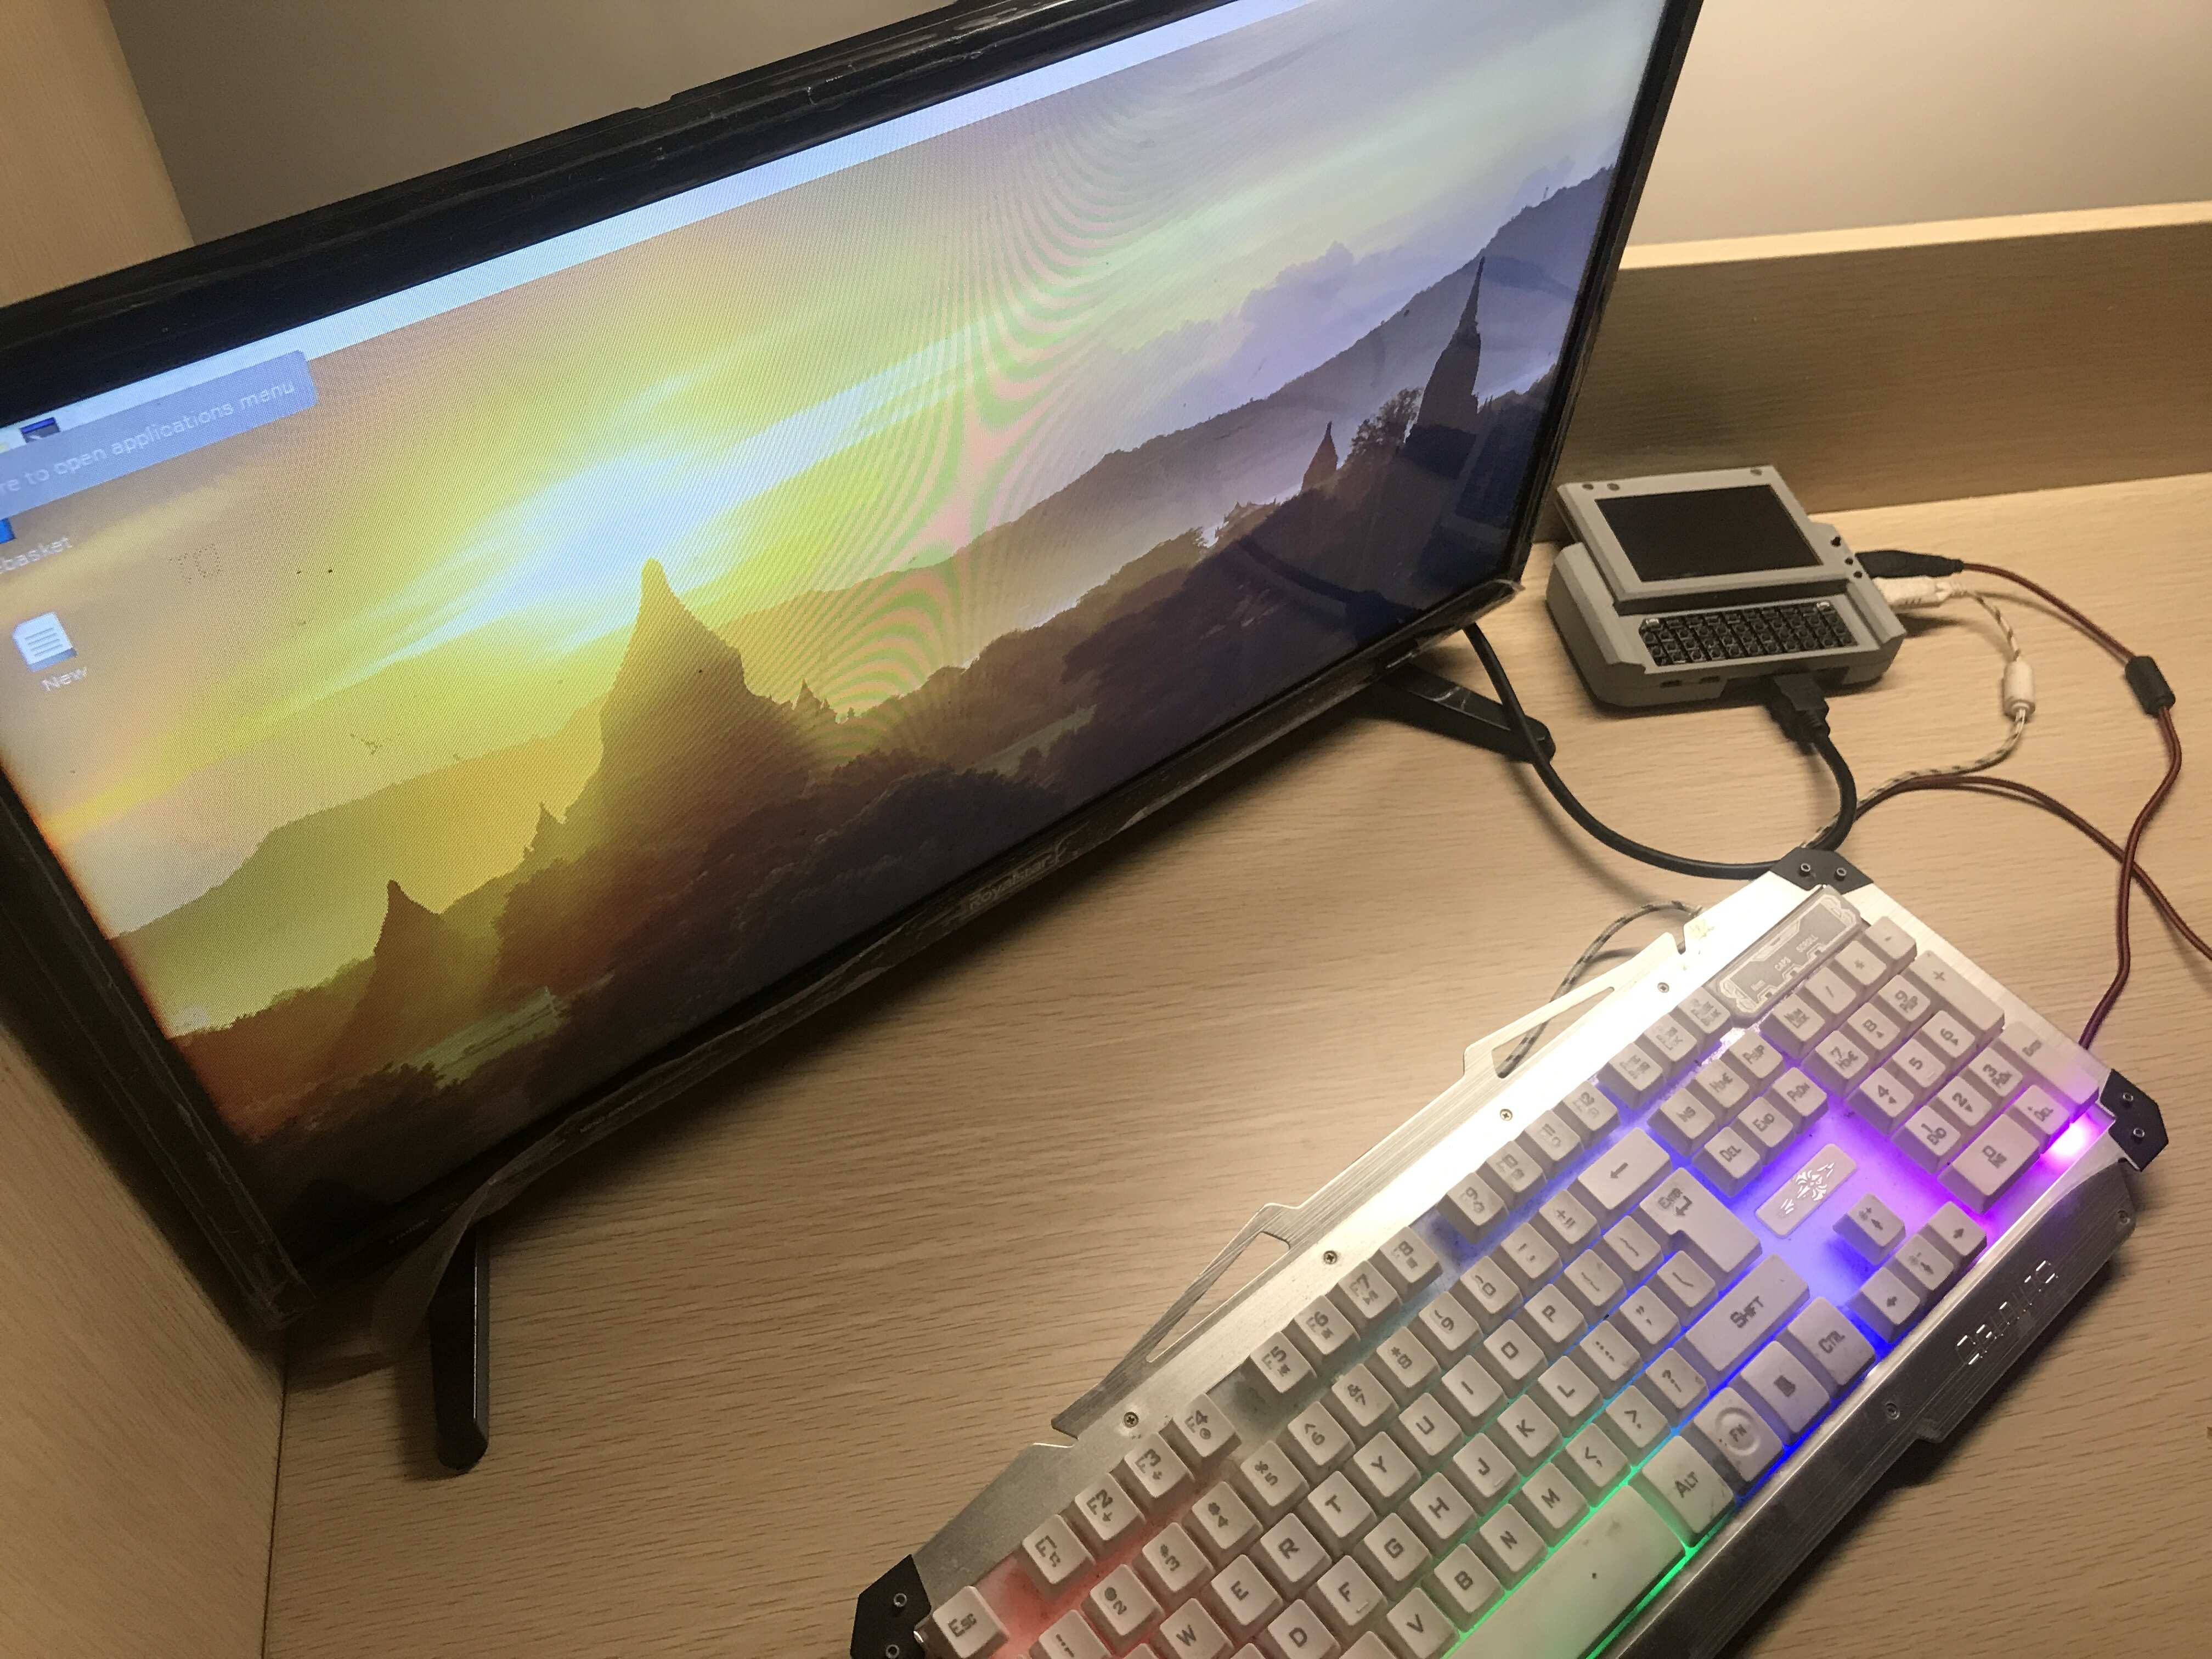
Pictures